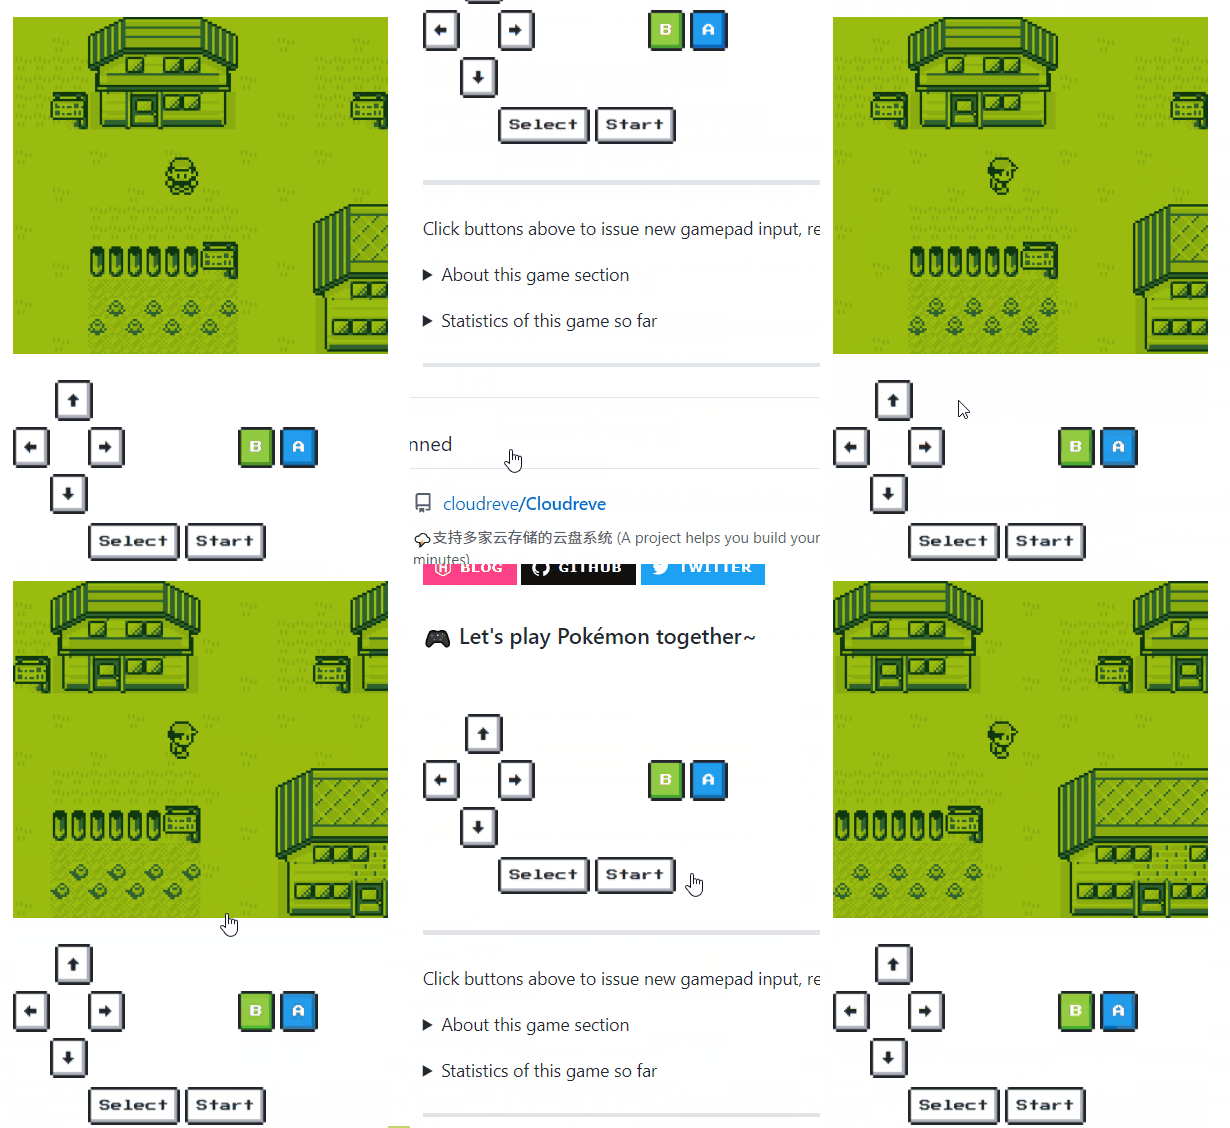
Là một dự án mã nguồn mở, HFO4/gameboy.live đã đạt 4.9k sao trên GitHub, ngôn ngữ Go. 🕹️ A basic gameboy emulator with terminal "Cloud Gaming" support
Tóm tắt dựng từ metadata GitHub của chính dự án — chưa có bài review TopGit. Trang sẽ tự động cập nhật khi bài review đầy đủ được xuất bản.
VÌ SAO CHƯA CÓ REVIEW
TopGit viết bài đầy đủ cho repo có nhiều sao nhất và được yêu cầu nhiều nhất. Trang này là snapshot trong thời gian chờ — xem README gốc ở tab READ ME.
🕹️ Gameboy.Live is a Gameboy emulator written in go for learning purposes. You can simply play Gameboy games on your desktop:
Or, "Cloud Game" in your terminal with a single command (The demo server is down now, you have to deploy on you own server):
telnet gameboy.live 1989
Even play with other visitors together on someone's GitHub profile:
Installation
You can directly download the executable file from the Release page, or build it from the source. Go Version 1.11 or higher is required. Run go version to check what the version currently installed is. On Debian based systems, the packages libasound2-dev and libgl1-mesa-dev must be installed.
git clone https://github.com/HFO4/gameboy.live.git
cd gameboy.live
go build -o gbdotlive main.go
Usage
Usage of gbdotlive:
  -G    Play specific game in Fyne GUI mode
  -S    Start a static image cloud-gaming server
  -c config
        Set the game option list config file path
  -d    Use Debugger in GUI mode
  -f FPS
        Set the FPS in GUI mode (default 60)
  -g    Play specific game in GUI mode (default true)
  -h    This help
  -m    Turn on sound in GUI mode (default true)
  -p port
        Set the port for the cloud-gaming server (default 1989)
  -r ROM
        Set ROM file path to be played in GUI mode
  -s    Start a cloud-gaming server
GUI mode
Play a specified ROM file in GUI mode:
gbdotlive -G -r "Tetris.gb"
Set up a telnet Cloud Gaming server
You can use Gameboy.Live as a "Cloud Gaming" server, where players use telnet to play Gameboy games in terminal without additional software installation required. (Except telnet itself xD)
A gamelist.json config file is required to specify game options. This is a typical example:
[{
	"Title": "Tetris",
	"Path": "test.gb"
}, {
	"Title": "Dr. Mario",
	"Path": "Dr. Mario (JU) (V1.1).gb"
}, {
	"Title": "Legend of Zelda - Link's Awakening",
	"Path": "Legend of Zelda, The - Link's Awakening (U) (V1.2) [!].gb"
}]
It is recommended to test every ROM before putting them in the config file.
Next, start a Gameboy.Live server with the config file from the previous step:
gbdotlive -s -c "gamelist.json"
You will see an output like this, which means your server has started successfully:
2019/04/30 21:27:56 Listen port: 1989
Now, you can play games anywhere you want! The simulation and rendering process is done entirely on the server.
telnet <ip of your server>:<port>
"Cloud Gaming" is only supported in terminals which support standard ANSI and the UTF-8 charset. You can use WSL instead of CMD on Windows.
Set up a static Cloud Gaming server
You can also set up a static cloud gaming server, where one specific game is emulated, everone can play it cooperatively by clicking hyperlinks. Start such a server with folowing command:
gbdotlive -S -r "Pokemon - Red Version (USA, Europe) (SGB Enhanced).gb"
A HTTP server will start up on default port 1989, these HTTP routes is avaliable to use:
Routes
Method
Description
/image
GET
Show the latest game screenshot.
/svg?callback=[Redirect URL]
GET
Show the latest game screenshot with Gameboy style border and clickable gamepad. An SVG template gb.svg is required.
Thanks to szymonWojdat, you can use websockets interface for sending static images so that you don't need to reload the website after each button press.
Make sure the static server above is already started up on default port 1989.
Use ws://localhost:1989/stream route in order to start a websocket communication channel.
Images will be streamed to the client in PNG encoding.
The client can send their input commands in text format using one of these codes:
Right Arrow: 0
Left Arrow: 1
Up Arrow: 2
Down Arrow: 3
A: 4
B: 5
Select: 6
Start: 7
check out client_demo.html for a simple demo and don't forget to run the server before by using the command above 🌝
Debug
Gameboy.Live has a simple built-in debugger. To turn on debug mode, set the d flag to true:
gbdotlive -r "test.gb" -d=true
The emulator will firstly break at the ROM entry point 0x0100 in debug mode, which is the entry point of the game program. You can type the address of next breakpoint. The emulator will continue to run until the next breakpoint is reached. At each breakpoint, the emulator will print the register's contents like above and dump the main memory into memory.dump (ROM and RAM bank not included)
Sound simulation is incomplete, still got differences compared to the Gameboy real machine
Sprite priority issue (see Wario Land II and Metroid II: Return of Samus)
Failed to pass Blargg's instruction timing test
Game saving & restore in emulator level
Multiplayer support in cloud gaming mode
Testing
Contribution
This emulator is just for learning and entertainment purposes. There are still many places to be perfected. Any suggestions or contributions is welcomed!
Credits
Thanks:
szymonWojdat Adding a WebSockets implementation.
andydotxyz Adding Fyne GUI driver and saving support for cartridges, also fixing some bugs.
maxolasersquad and tilkinsc Polishing README and documents.
Trang TopGit này là một snapshot — tab "Readme" hiển thị nguyên văn README của repo (đã bỏ link, giữ ảnh). Repo GitHub ở github.com/HFO4/gameboy.live là nguồn chính thức.
HFO4/gameboy.live có phải mã nguồn mở không?
Có — HFO4/gameboy.live phát hành theo license MIT, nghĩa là mã nguồn mở để đọc, fork và (tùy license) tái sử dụng. Mã: github.com/HFO4/gameboy.live.
HFO4/gameboy.live là gì?
HFO4/gameboy.live (HFO4/gameboy.live) là dự án Go trên GitHub. Theo mô tả gốc: 🕹️ A basic gameboy emulator with terminal "Cloud Gaming" support
Đọc đầy đủ README ở tab phía trên.
Vẫn đang phân vân về gameboy.live?
Một cú bấm sẽ gửi câu hỏi kèm trang này cho AI — xem AI nói gì về gameboy.live.

 /gameboy.live