Daltron/NotificationBanner — 4.9k★ on GitHub (Swift). The easiest way to display highly customizable in app notification banners in iOS
Snapshot summary built from the project's own GitHub metadata — there's no written TopGit review yet. The page will update automatically when a full review is published.
WHY NO REVIEW YET
TopGit writes full reviews for the most-starred, most-requested repositories. This page is a snapshot until then — see the READ ME tab for the original README in full.
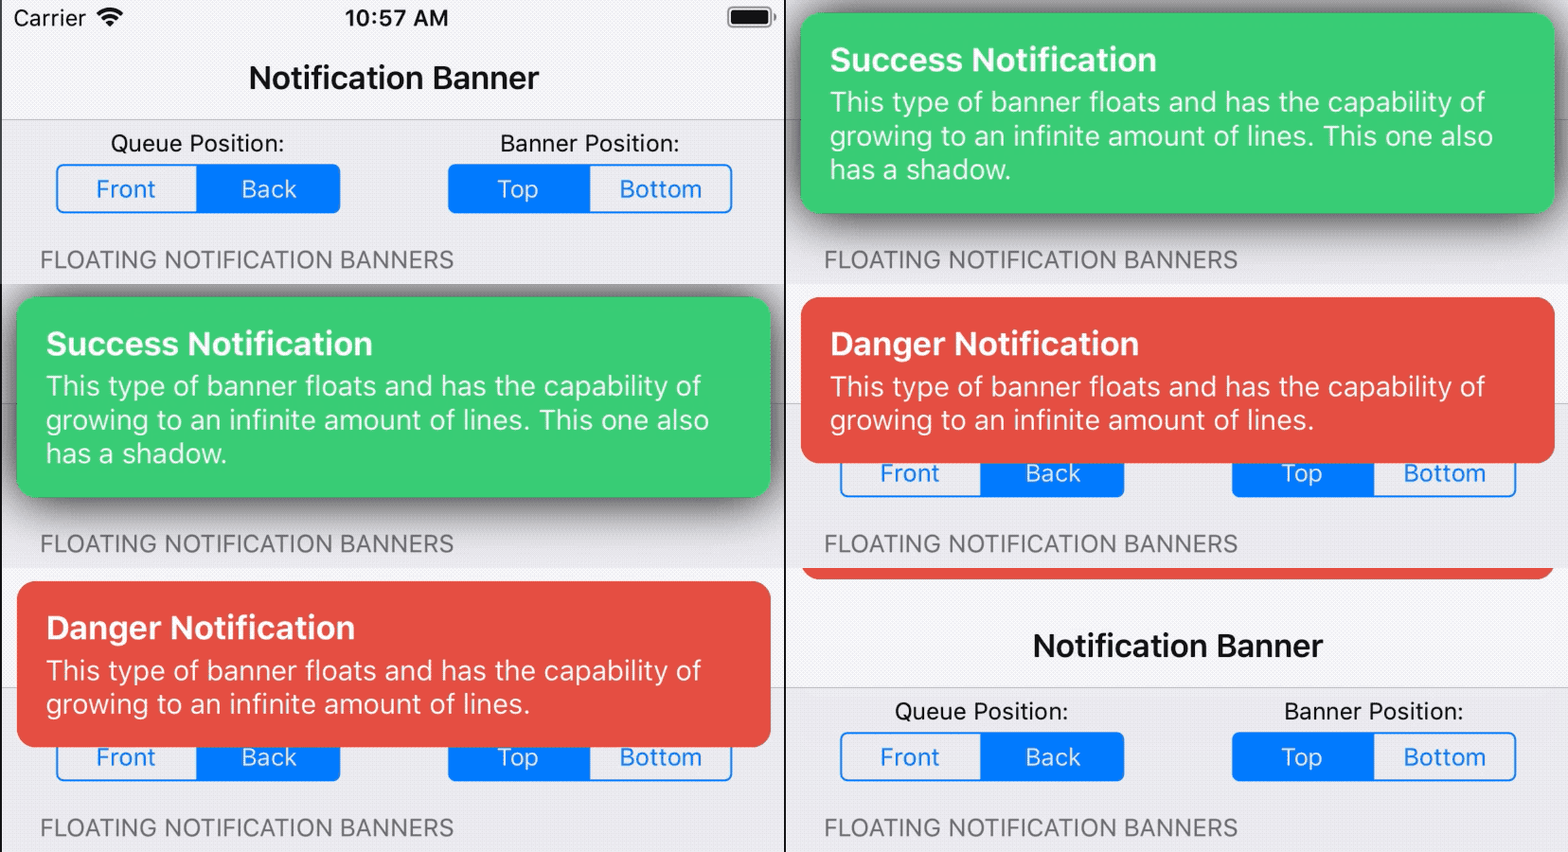
NotificationBanner is an extremely customizable and lightweight library that makes the task of displaying in app notification banners and drop down alerts an absolute breeze in iOS.
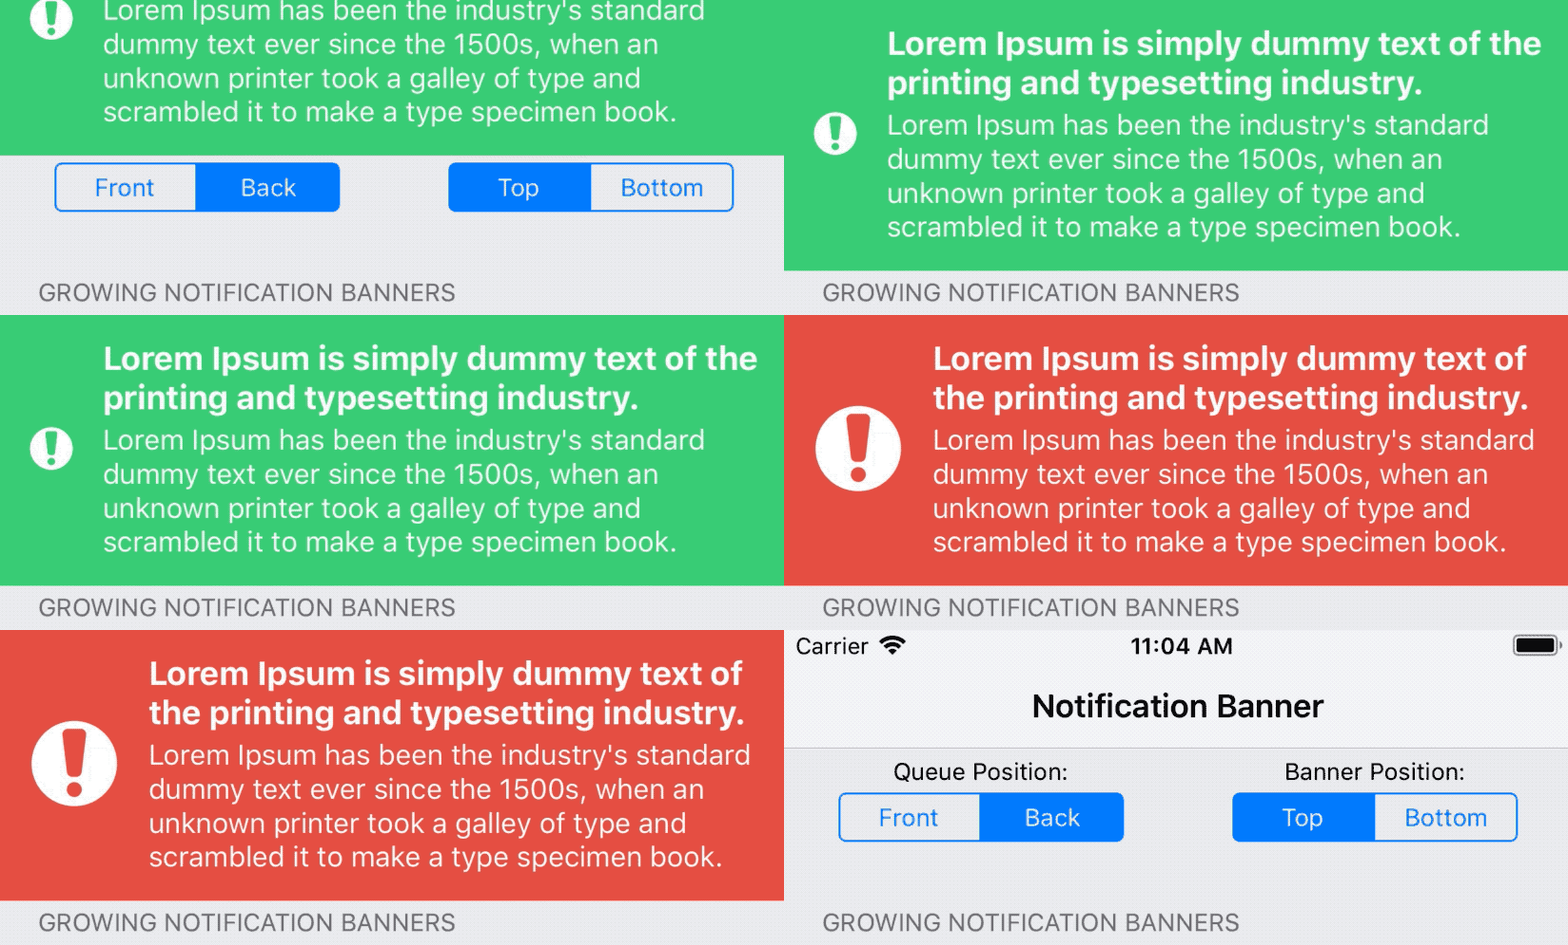
GrowingNotificationBanner grows in height as needed
Presenting from top or bottom support ✅
Haptic feeback support ✅
Built in banner queue ✅
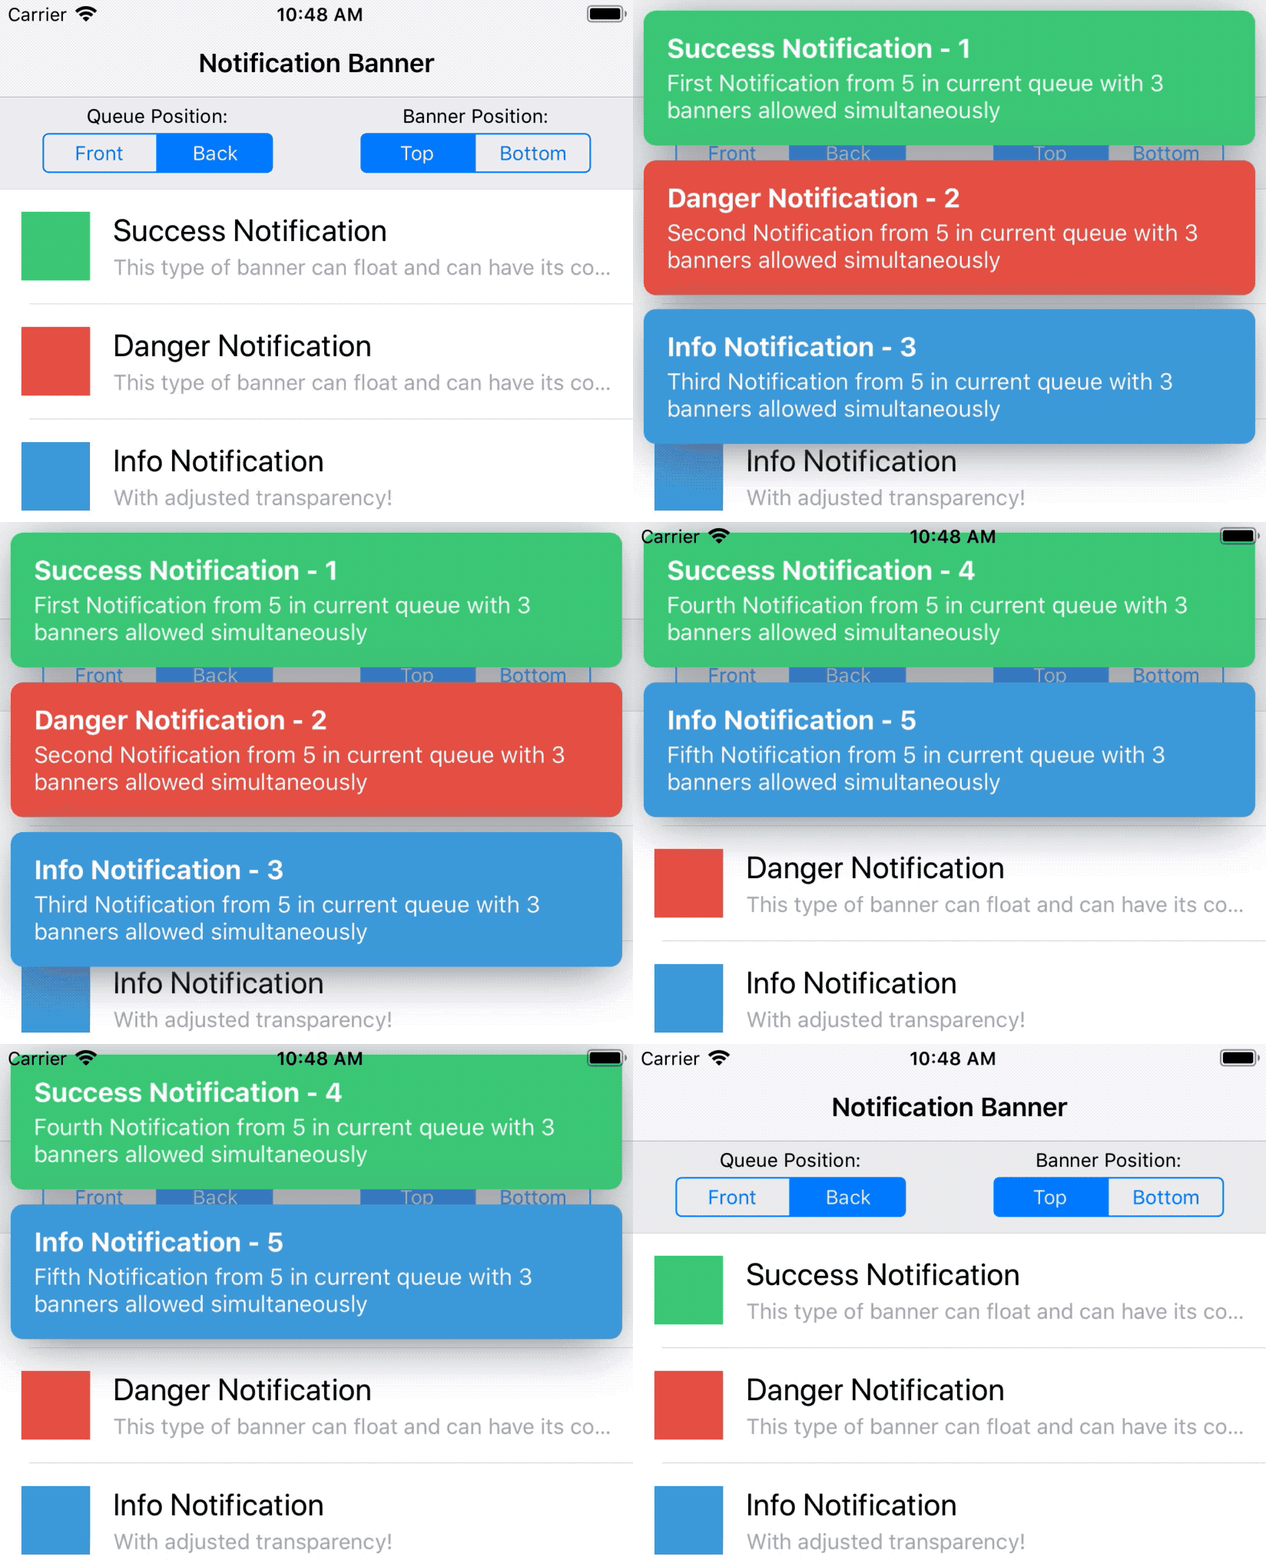
Allow to display several banners simultaneously, configurable in banners queue ✅
Accessibility support ✅
Dynamic Island Support ✅
Requirements
iOS 12.0+
Xcode 10.0+
Installation
Swift Package Manager
This is the preferred way. All other installation methods are officially deprecated and will no longer be supported in future versions.
Go to File > Add Packages
The Add Package dialog appears, by default with Apple packages.
In the upper right hand corner, paste https://github.com/Daltron/NotificationBanner into the search bar
Hit Return to kick off the search
Click Add Package.
CocoaPods
NotificationBanner is available through CocoaPods. To install
it, simply add the following line to your Podfile:
Swift 5 + Xcode 11 + iOS 13 Support
pod 'NotificationBannerSwift', '~> 3.0.0'
Swift 5 + Xcode 10.x
pod 'NotificationBannerSwift', '2.5.0'
Swift 4.2
pod 'NotificationBannerSwift', '2.0.1'
Swift 4.0
pod 'NotificationBannerSwift', '1.6.3'
pod 'MarqueeLabel/Swift', '3.1.6'
Then add import NotificationBannerSwift at the top of each file you use NotificationBanner in your project.
Carthage
To use NotificationBanner via Carthage simply add this line to your Cartfile:
Swift 5
github "Daltron/NotificationBanner" "master"
Then add NotificationBanner.framework and the dependencies SnapKit.framework and MarqueeLabel.framework in your project.
Usage
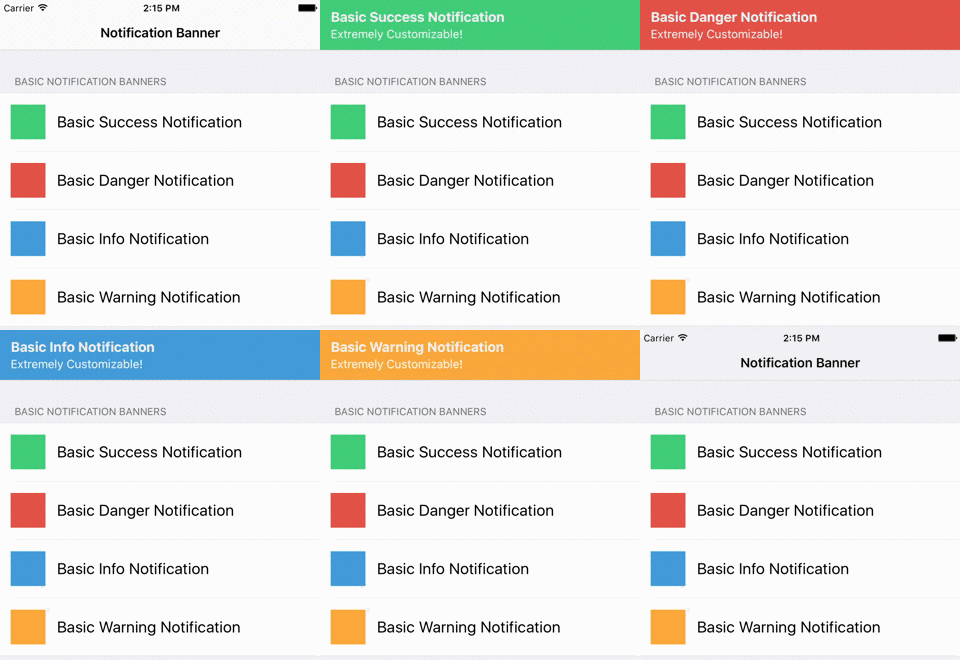
Creating drop down alerts with NotificationBanner is easy. To create a regular banner (with scrolling labels) and show it, simply:
let banner = NotificationBanner(title: title, subtitle: subtitle, style: .success)
banner.show()
If you want to create a banner which grows in height as needed and show it accordingly just use GrowingNotificationBanner instead of NotificationBanner:
let banner = GrowingNotificationBanner(title: title, subtitle: subtitle, style: .success)
banner.show()
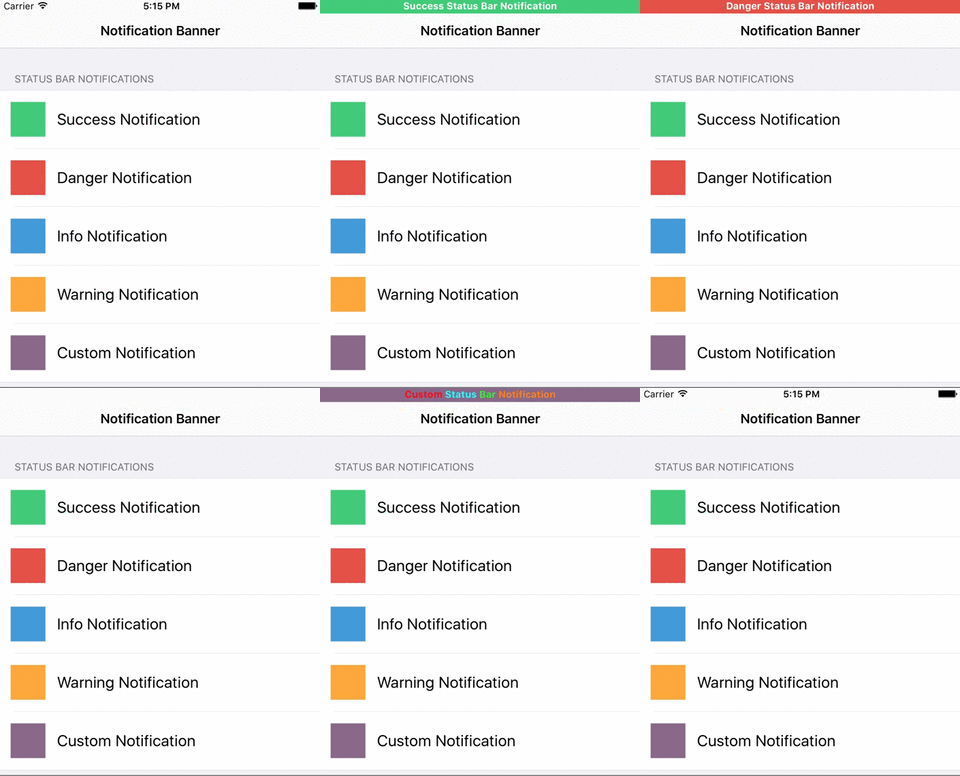
To create a status bar alert, simply:
let banner = StatusBarNotificationBanner(title: title, style: .success)
banner.show()
By default, each banner will be displayed on the main application window. If you are wanting to show a banner below a navigation bar, simply show on the view controller that is within the navigation system:
banner.show(on: viewController)
By default, each banner will present from the top. If you are wanting to display from the bottom, simply:
banner.show(bannerPosition: .bottom)
Each of the show properties defined above can be mixed and matched to work flawlessly with eachother.
By default, each banner will automatically dismiss after 5 seconds. To dismiss programatically, simply:
banner.dismiss()
To show a banner infinitely until it is manually dismissed, simply:
banner.autoDismiss = false
NotificationBanner has five prebuilt styles that you can choose from:
public enum BannerStyle {
    case danger
    case info
    case customView
    case success
    case warning
}
You can override the predefined colors that NotificationBanner uses for any style by conforming to the BannerColorsProtocol:
Its as easy as creating a custom banner colors class:
class CustomBannerColors: BannerColorsProtocol {

    internal func color(for style: BannerStyle) -> UIColor {
        switch style {
            case .danger:	// Your custom .danger color
            case .info:		// Your custom .info color
            case .customView:	// Your custom .customView color
            case .success:	// Your custom .success color
            case .warning:	// Your custom .warning color
        }
    }

}
And then passing in that class to any notification banner you create:
let banner = NotificationBanner(title: title, style: .success, colors: CustomBannerColors())
banner.show()
By default, the .info style will be applied to the banner if no style is provided in the init method. You can set the background color of a banner at any time by simply setting the backgroundColor.
Banners with Side Views
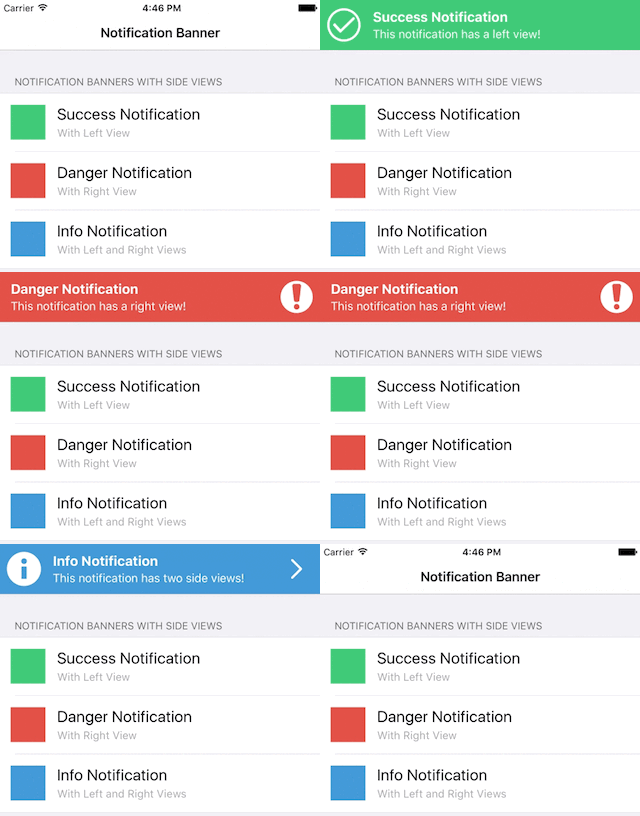
A notification banner can have a left accessory view, a right accessory view, or both:
// Success Style Notification with Left View
let leftView = UIImageView(image: #imageLiteral(resourceName: "success"))
let banner = NotificationBanner(title: title, subtitle: subtitle, leftView: leftView, style: .success)
banner.show()

 // Danger Style Notification with Right View
let rightView = UIImageView(image: #imageLiteral(resourceName: "danger"))
let banner = NotificationBanner(title: title, subtitle: subtitle, rightView: rightView, style: .danger)
banner.show()

// Info Style Notification with Left and Right Views
let leftView = UIImageView(image: #imageLiteral(resourceName: "info"))
let rightView = UIImageView(image: #imageLiteral(resourceName: "right_chevron"))
let banner = NotificationBanner(title: title, subtitle: subtitle, leftView: leftView, rightView: rightView, style: .info)
banner.show()
Each side view will be automically reisized to fit perfectly
Banners with a Custom View
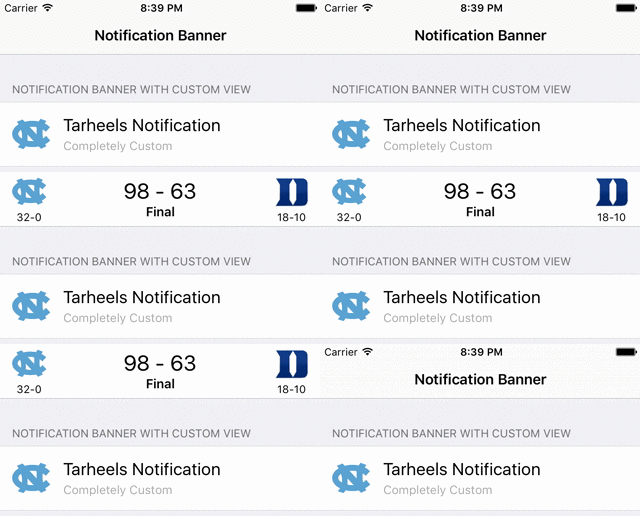
A notification banner can also be initalized with a custom view:
let banner = NotificationBanner(customView: NorthCarolinaBannerView())
banner.show()
Handling User Interaction
By default, when a banner is tapped or swiped up by a user, it will be dismissed. If you want to detect when the user taps or swipes up on a banner, simply:
banner.onTap = {
	// Do something regarding the banner
}
banner.onSwipeUp = {
	// Do something regarding the banner
}
Banner Events
You can choose to opt into a notification banner's events by registering as its delegate:
banner.delegate = self
Then just make sure to implement the following methods:
By default, when a banner is displayed, a haptic feedback will be generated on devices that support it. The types of haptic feedback are as follows:
public enum BannerHaptic {
	case light
   	case medium
	case heavy
  	case none
}
To change the type of haptic feedback to generate when a banner is shown, simply:
banner.haptic = .heavy
Banner Queue
By default, each notification banner is placed onto a singleton of an auto-managed NotificationBannerQueue. This allows an infinite amount of banners to be displayed without one hiding the other. If you have multiple controllers within your navigation stack that need to be managed by a seperate queue (like a tab bar controller), simply create an instance of a NotificationBannerQueue and pass it in to the show function:
banner.show(queue: customQueue)
By default, each notification banner is placed on the back of the queue. If you would rather place the banner in the front and show it immediately no matter how many banners are in the queue, simply state it in the show() method:
banner.show(queuePosition: .front)
Adding a banner to the front of the queue will temporarily suspend the currently displayed banner (if there is one) and will resume it after the banner in front of it dismisses.
To get the number of banners currently on the queue, simply:
let numberOfBanners = NotificationBannerQueue.default.numberOfBanners
This is all automatically managed!
Banner Queue and display banners simultaneously (stacked)
You can also create the queue to display several banners at once with controlling of maximum number of banners to be displayed simultaneously. You can "show" more banners than allowed by queue settings - banners what exceed this value will be displayed some time later, after some banners already displayed on screen will be closed. In example below we create queue with maximum simultaneous banners allowed - 3:
let bannerQueueToDisplaySeveralBanners = NotificationBannerQueue(maxBannersOnScreenSimultaneously: 3)
Create five different banners:
let banner1 = FloatingNotificationBanner(
	title: "Success Notification - 1",
	subtitle: "First Notification from 5 in current queue with 3 banners allowed simultaneously",
	style: .success
)
banner1.delegate = self

let banner2 = FloatingNotificationBanner(
	title: "Danger Notification - 2",
	subtitle: "Second Notification from 5 in current queue with 3 banners allowed simultaneously",
	style: .danger
)
banner2.delegate = self

let banner3 = FloatingNotificationBanner(
	title: "Info Notification - 3",
	subtitle: "Third Notification from 5 in current queue with 3 banners allowed simultaneously",
	style: .info
)
banner3.delegate = self

let banner4 = FloatingNotificationBanner(
	title: "Success Notification - 4",
	subtitle: "Fourth Notification from 5 in current queue with 3 banners allowed simultaneously",
	style: .success
)
banner4.delegate = self

let banner5 = FloatingNotificationBanner(
	title: "Info Notification - 5",
	subtitle: "Fifth Notification from 5 in current queue with 3 banners allowed simultaneously",
	style: .info
)
banner5.delegate = self
It will display first three banners at once, and after some time (or by user tap) it will be hidden and 4 and 5 banner will be displayed when. All it with fancy animation.
Feature Requests
I'd love to know anything that you think NotificationBanner is missing. Open an issue and I'll add the feature request label to it and I'll do everything I can to accomodate that request if it is in the library's best interest. 😄
Does Daltron/NotificationBanner have a project website?
No homepage URL was recorded for Daltron/NotificationBanner in TopGit's last sync. The README tab above frequently contains screenshots and demo links, or check the repository description on GitHub.
How does Daltron/NotificationBanner compare to other Mobile projects?
Daltron/NotificationBanner is tracked by TopGit in the Mobile category, with 4.9k GitHub stars and written in Swift. Browse the Mobile topic page on TopGit to compare it against similar projects by stars and activity.
How many stars does Daltron/NotificationBanner have?
Daltron/NotificationBanner has 4.9k GitHub stars — refresh the page for the live number, or check github.com/Daltron/NotificationBanner. TopGit mirrors GitHub's count but does not claim minute-by-minute accuracy.
Is Daltron/NotificationBanner open source?
Yes — Daltron/NotificationBanner ships under the MIT license, which makes its source code freely readable (and, depending on license terms, forkable and reusable). Source: github.com/Daltron/NotificationBanner.
What else is in the Mobile space?
Daltron/NotificationBanner is tracked by TopGit under the Mobile category, alongside 5 GitHub-tagged topics. Trending and Topics pages list peer repositories of comparable stars and language.
What is Daltron/NotificationBanner?
Daltron/NotificationBanner (Daltron/NotificationBanner) is a Swift project on GitHub. From the project's own README: The easiest way to display highly customizable in app notification banners in iOS
Where do I read more about Daltron/NotificationBanner?
This TopGit page is a snapshot — the READ ME tab shows the project's own README content (links stripped, images preserved). The GitHub repository at github.com/Daltron/NotificationBanner is the definitive source.
Read full README in the tab above.
Is NotificationBanner worth your time?
ChatGPT, Claude and Perplexity can all read this page. Ask one of them what it makes of NotificationBanner.
 /NotificationBanner