An open-source entry in TopGit's GitHub warehouse: ampproject/amp.dev, 600 stars, HTML. The AMP Project Website.
Snapshot summary built from the project's own GitHub metadata — there's no written TopGit review yet. The page will update automatically when a full review is published.
WHY NO REVIEW YET
TopGit writes full reviews for the most-starred, most-requested repositories. This page is a snapshot until then — see the READ ME tab for the original README in full.
Bug reports and feature requests: something missing or not working on amp.dev? Please file an issue here.
Documentation & Guides: see this guide for more information on how to contribute documentation to amp.dev.
Code samples & demos: see this guide for more information on how to contribute sample code to amp.dev.
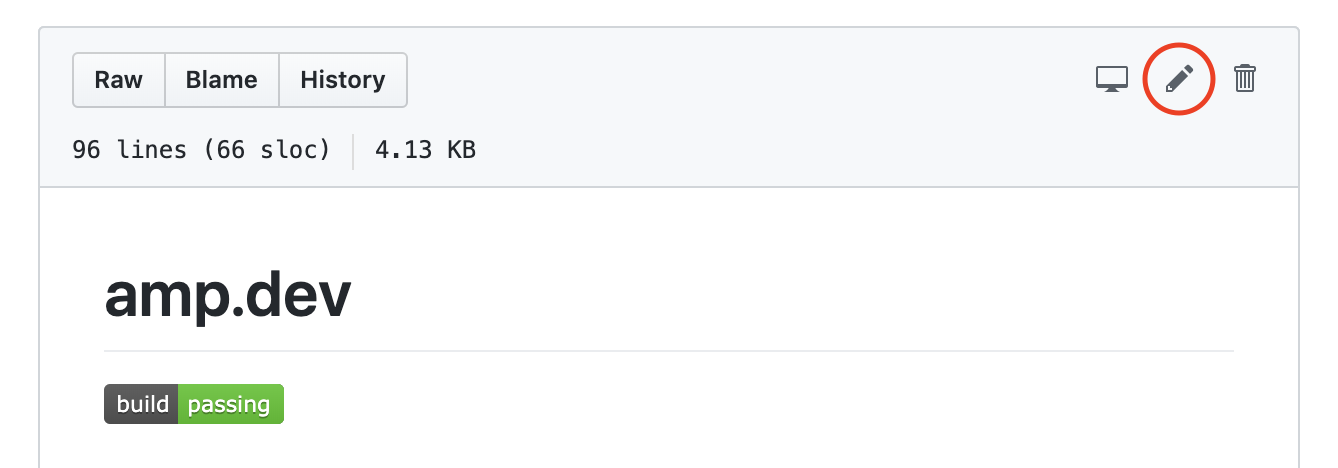
Note: fixing spelling mistakes and other small changes are often easiest by directly editing the file on Github.
Setup
Note: Setting up amp.dev requires a working Python 3 environment on your machine which might not be easy to get going. You can skip this by using the Docker-based setup.
Requirements
Note: For those intending to conduct development on this repository beyond fixing typos, Linux and macOS are the only currently supported operating systems. Windows is not supported at this time.
Install the LTS version of Node.js. An easy way to do so is by using nvm.
$ nvm install --lts
If it has not already been done, install Python 3 and ensure pip is properly set up by adding the pip user base binary directory to $PATH.
macOS
Install Homebrew.
Run the following command to ensure everything is up to date. Xcode version 10.3 or the most recent stable version is required.
$ brew doctor
Run the following command to install Python. Version 3.7 is required at latest.
$ brew install python libyaml
Run the following command to add the pip user base binary directory to $PATH.
$ echo "export PATH=\"$(python -m site --user-base)/bin\":\$PATH" >> ~/.bash_profile
Run the following command for the changes to take effect.
$ source ~/.bash_profile
Linux (Debian-based)
Note: If using Linux, refer to the section of pip's official documentation titled Ensure you can run pip from the command line for pip installation troubleshooting.
Run the following command to add the pip user base binary directory to $PATH.
$ echo "export PATH=\"$(python -m site --user-base)/bin\":\$PATH" >> ~/.bashrc
Run the following command for the changes to take effect.
$ source ~/.bashrc
Run the following command to use a faster YAML parser.
$ sudo apt install -y python-yaml libyaml-dev
Install Grow, the static site generator used to build amp.dev. Do so by using pip instead of its installer. Using pip will enable importing from the grow package in Python later on.
Note: Be sure to use the pip command associated with Python 3 as Grow 1 depends on Python 3.
If it's your first time working on amp.dev, it is recommended to bootstrap your local environment. To do so, make sure you have set up a valid GitHub access token in an environment variable named AMP_DOC_TOKEN like so:
$ export AMP_DOC_TOKEN="c59f6..."
This command enables the import from GitHub to run flawlessly. The actual import occurs by running the following command, which will also build the Playground and Boilerplate Generator once.
$ npm run bootstrap
Tip: Due to bad network conditions or GitHub's API rate-limiting there might be errors during import. Try running the above command with the -- --queue-imports flag to prevent them.
You can then start developing in your local environment with the command below. The task will take care of building and copying all files, watching them for changes, and rebuilding them when needed. Beware that changes to the Express backend require the Gulp task to be restarted.
$ npm run develop
This command prints a lot to the shell and will most likely end on Server ready. Press ctrl-c to quit.. Seeing this line means everything went fine so far unless otherwise stated in the logs; the site should be available at http://localhost:8080/. The service running on port 8081 is only Grow rendering the pages.
You can contribute your changes back to the main repository by creating a pull request.
Setup with Docker
We provide a Dockerfile for development based on one of the official Python-images. When using this you can skip setting up Python and a local installation of Grow on your machine. Though make sure you completed all other installation steps, like cloning the repository, installing all Node.js dependencies and exporting a valid GitHub token as outlined in Fork & clone the repository and Develop. When those steps are completed instead of running the project with npm run develop you can build a Docker image with the followiung command, run from within the Docker container:
$ npx gulp developImageBuild
After the image has been successfully built start a container with the following command:
$ npx gulp developContainer
This command also mounts the pages directory, meaning all changes you are doing to any of the markdown files in pages/content are reflected to the container and can be reviewed without rebuilding the image.
Maintenance
Documents
Made changes to a lot of Grow documents at once and not quite sure if all references are still valid? You can run npm run lint:grow to pick up broken ones.
Run a test build
To run a local test build that does all the minifying and vends the static pages instead of
proxying them through to Grow you can run:
$ npm run build:local
$ npm run start:local
Tip: For more rapid local testing, it may be preferable to only build a subset of specified locales. Run the following command with --locales being a comma seperated list of locale abbreviations you want to build, e.g. en,fr or even just en.
npm run build:local -- --locales <list of locales>
Build
Caution: starting a build will automatically clean all locations of possible remainings from previous builds. Make sure you don't have anything there that you want to keep - additionally check your working copy for eventual unintended local changes.
npm run build:local -- --locales <list of locales>
To perform a build run the following command with --env being one of the following valid environments: development, local, staging or production:
$ npx gulp build --env <environment>
Deployment
The amp.dev site uses GitHub Actions for automated deployments to both staging and production environments.
Deployment Environments
Staging: staging-amp-dev.netlify.app
Production: amp.dev
How to Deploy
Deployments are triggered through GitHub Actions workflows:
Staging Deployment:
Triggered automatically on pushes to the main branch
Automatically builds and deploys to the staging environment
View workflow status with the "Staging" badge at the top of this README
Production Deployment:
Manual deployment only - no automatic triggers
Must be manually triggered through GitHub Actions
View workflow status with the "Production" badge at the top of this README
Manual Deployment
To manually trigger a deployment (required for production):
Navigate to the deploy workflow in the GitHub actions tab.
Click "Run workflow" and choose the branch you want to deploy
Confirm the deployment
Note: Ensure your changes have been properly tested in the staging environment before deploying to production.
Copyright 2019 The AMP HTML Authors. All Rights Reserved.
Licensed under the Apache License, Version 2.0 (the "License");
you may not use this file except in compliance with the License.
You may obtain a copy of the License at
http://www.apache.org/licenses/LICENSE-2.0
Unless required by applicable law or agreed to in writing, software
distributed under the License is distributed on an "AS-IS" BASIS,
WITHOUT WARRANTIES OR CONDITIONS OF ANY KIND, either express or implied.
See the License for the specific language governing permissions and
limitations under the License.
The most recent commit recorded on ampproject/amp.dev was 6 days ago, based on the GitHub push timestamp. The repository has 680 forks — one of the better signals of community interest.
How many stars does ampproject/amp.dev have?
ampproject/amp.dev has 600 GitHub stars — refresh the page for the live number, or check github.com/ampproject/amp.dev. TopGit mirrors GitHub's count but does not claim minute-by-minute accuracy.
Is ampproject/amp.dev open source?
TopGit's metadata for ampproject/amp.dev does not record a license. Most public repositories on GitHub ARE open source, but the exact terms vary — verify by opening the LICENSE file directly.
What is ampproject/amp.dev?
ampproject/amp.dev (ampproject/amp.dev) is a HTML project on GitHub. From the project's own README: The AMP Project Website.
What language is ampproject/amp.dev written in?
ampproject/amp.dev is written primarily in HTML. GitHub's language field is based on the largest share of bytes in the default branch.
Where do I read more about ampproject/amp.dev?
This TopGit page is a snapshot — the READ ME tab shows the project's own README content (links stripped, images preserved). The GitHub repository at github.com/ampproject/amp.dev is the definitive source.
Read full README in the tab above.
Is amp.dev worth your time?
ChatGPT, Claude and Perplexity can all read this page. Ask one of them what it makes of amp.dev.
 /amp.dev