As an open-source project, Experience-Monks/jam3-lesson-webgl-shader-intro has picked up 308 stars on GitHub. A brief introduction to fragment shaders.
Snapshot summary built from the project's own GitHub metadata — there's no written TopGit review yet. The page will update automatically when a full review is published.
WHY NO REVIEW YET
TopGit writes full reviews for the most-starred, most-requested repositories. This page is a snapshot until then — see the READ ME tab for the original README in full.
Shaders are a key concept in WebGL and graphics programming, so this lesson will be one of the first in our jam3-lesson-webgl series. Even if you only end up working with higher level abstractions (like ThreeJS and materials), understanding shaders will give you a better appreciation of the entire graphics pipeline.
Once you master shaders, you have a world of new effects, transitions, and rendering possibilities at your fingertips.
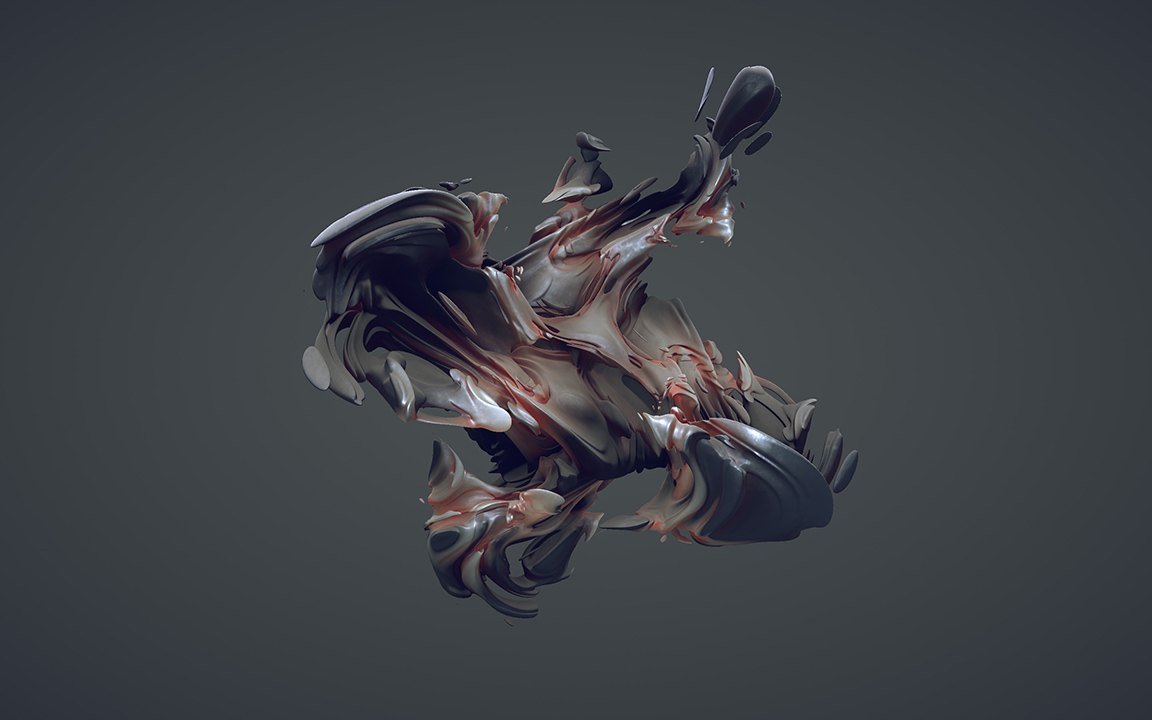
A complex fragment shader rendering an abstract 3D mesh. (source)
This lesson will cover the very basics of GLSL, and introduce a couple of simple image effects.
What are shaders?
Shaders are small programs written in the OpenGL Shading Language (GLSL), a language similar to C/C++. They are compiled specifically to run on the GPU, and take advantage of parallelization to quickly compute things like pixel color and vertex positions.
There are two types of shader programs used in WebGL: vertex and fragment shaders. Together, they are used to draw content on the screen with WebGL.
Vertex Shaders are typically used to place primitives (i.e. triangles, lines) in 2D or 3D space
Fragment Shaders are typically used to output the pixel colors of these primitives
In a way, the vertex shaders figure out the shape, and the fragment shaders are painting in the color-by-number of each shape.
This lesson will focus on Fragment Shaders, since we can begin using them immediately to practice the language and concepts.
What does a fragment shader do?
Fragment shaders, also known as pixel shaders, output a single color for each rendered fragment. In most cases, a fragment is just a single pixel on the screen.
The pixel color is stored with separate components for RGBA (Red, Green, Blue, Alpha). Each component is in the range 0.0 to 1.0, so:
(0.0, 0.0, 0.0, 1.0) represents opaque black
(1.0, 1.0, 1.0, 1.0) represents opaque white
(1.0, 0.0, 0.0, 0.5) represents pure red with 50% alpha
The fragment shader is run once per pixel. In other words, if your canvas is 1920x1080 pixels and your triangle fills the whole canvas, the fragment shader will need to run 2,073,600 times per frame! GPUs can handle this because they draw many pixels in parallel (i.e. at the same time). Because of this, the program can only operate on a single pixel at a time, and can't access the values of neighbouring pixels.
ShaderToy
We're going to write our shaders using an online tool called Shadertoy. This will get us running without any boilerplate or set-up. Let's begin!
Step 1. Turning The Screen Blue
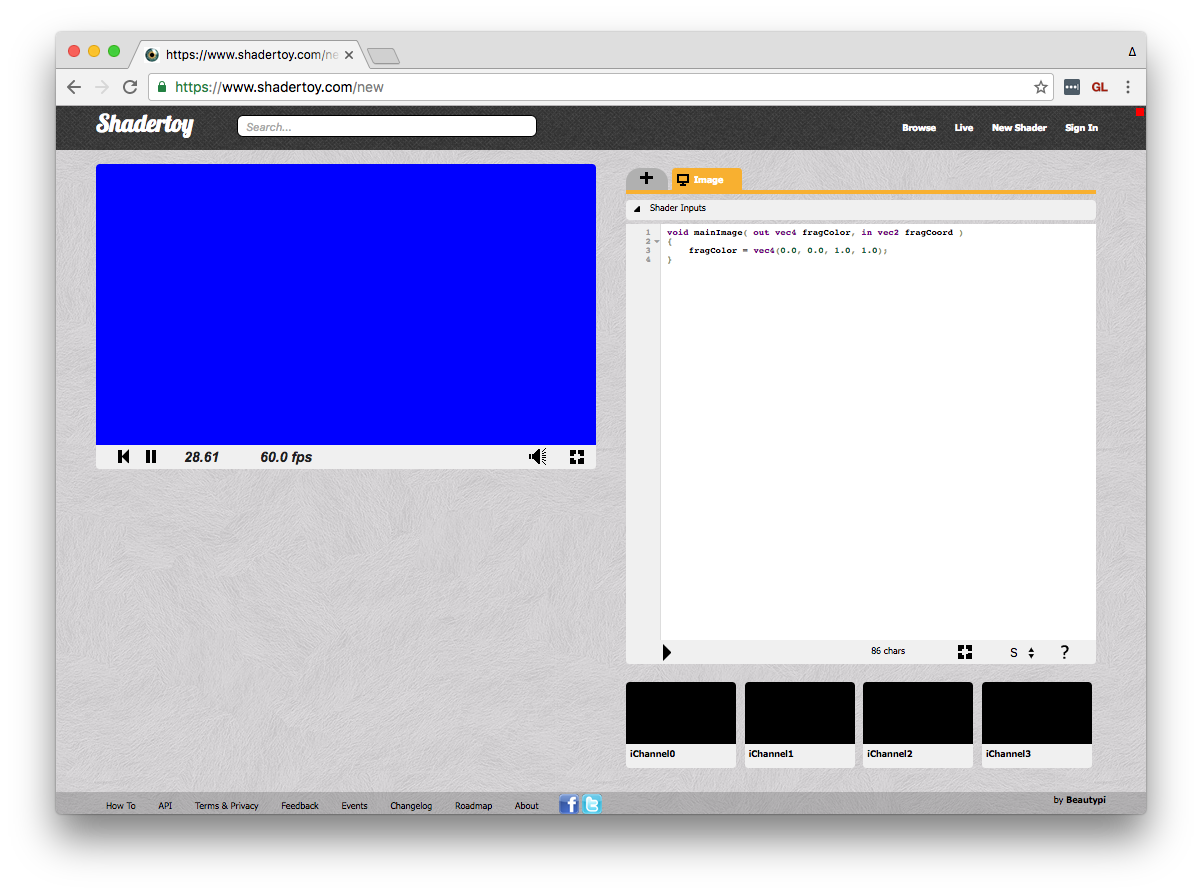
Let's open up Shadertoy.com in Chrome or FireFox and click New Shader on the top right.
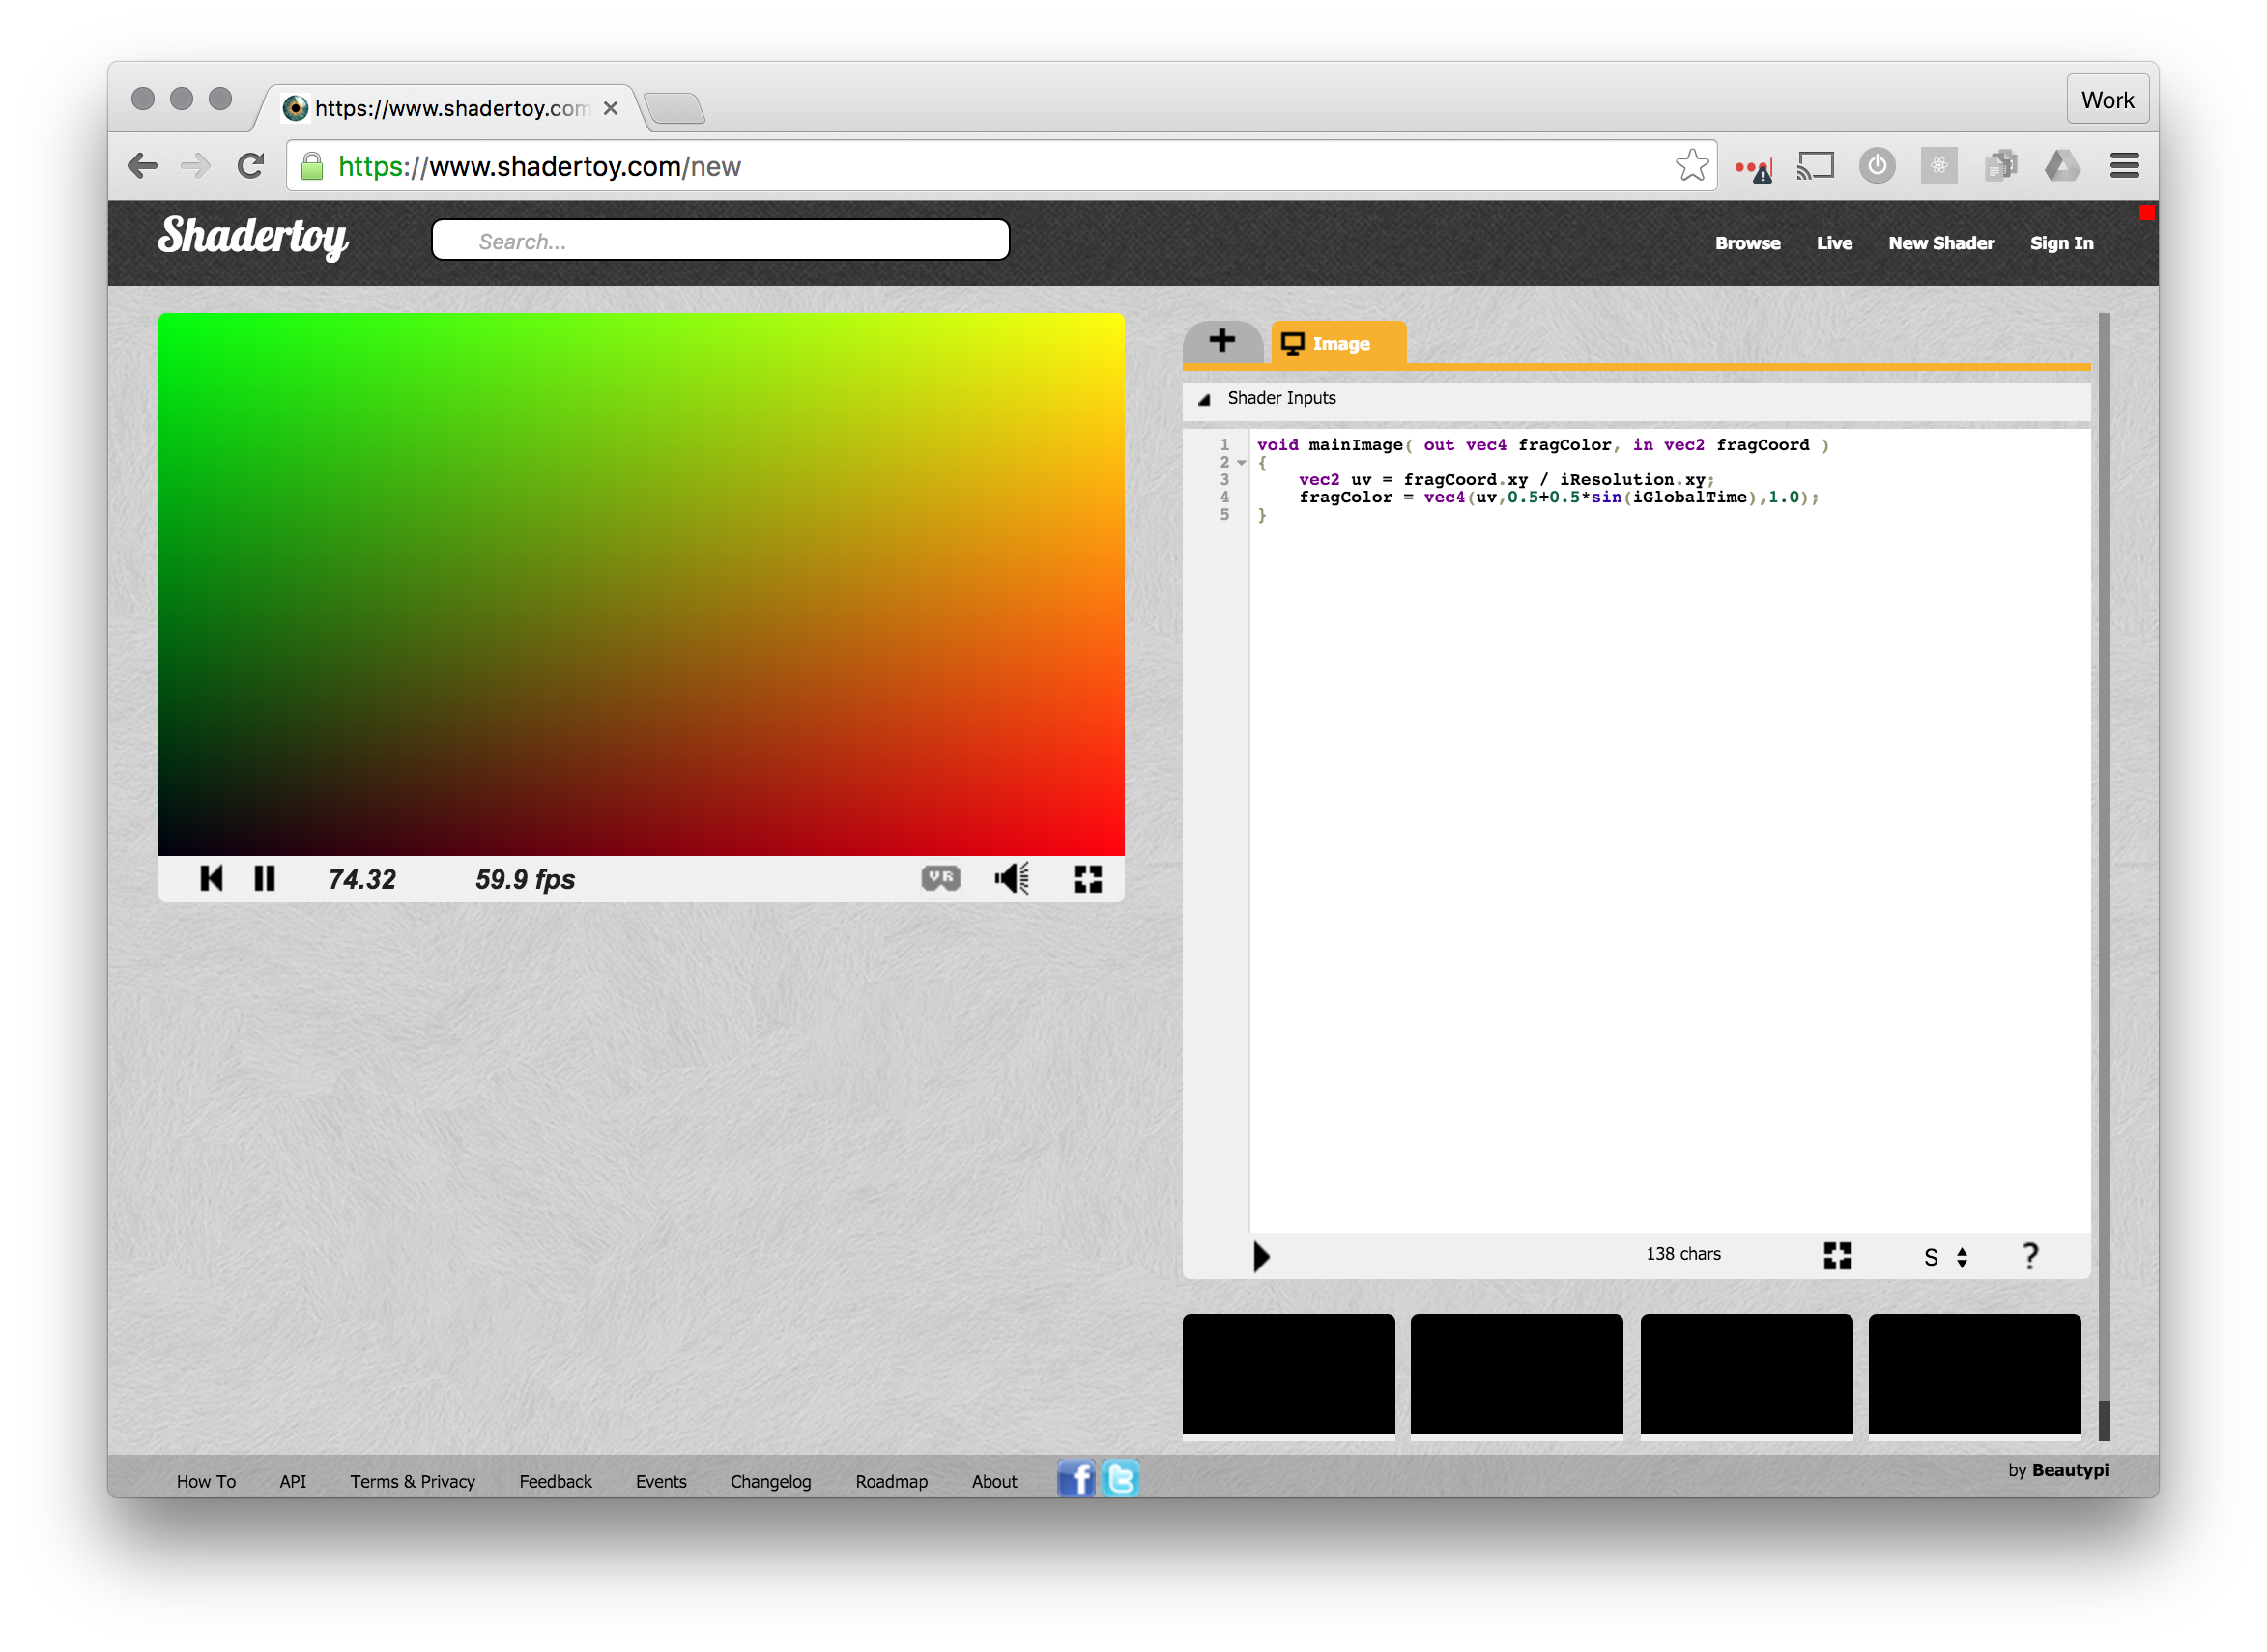
The left panel shows the WebGL canvas and the output of our shader. On the right, we have a code editor for our fragment shader, showing some GLSL code.
By modifying the value of fragColor — the output pixel color — we can produce a wide variety of images and effects. This is a 4-component vector, a vec4, holding the RGBA components we mentioned earlier.
Let's change this code to something simpler, to render a blue canvas. Remember that colors are RGBA vectors, so we can use 1.0 for the blue channel and 1.0 for the alpha channel.
void mainImage( out vec4 fragColor, in vec2 fragCoord )
{
  fragColor = vec4(0.0, 0.0, 1.0, 1.0);
}
After you change the code, press the Play button ▶ at the bottom of the code editor (or press Cmd/Ctrl + Enter).
Woah, a blue rectangle! :sparkles:
Data Types & Syntax
Before we go further, let's take a second to look at the syntax of GLSL.
In GLSL, a vector is much like an array of numbers, holding a fixed number of elements (2, 3, or 4). Here is a brief list of some data types available in GLSL:
float - a simple float value, e.g. 0.75
vec2 - a vector with 2 floats, e.g. (x, y)
vec3 - a vector with 3 floats, e.g. (x, y, z) or (r, g, b)
vec4 - a vector with 4 floats, e.g. (r, g, b, a)
int - an integer, e.g. 4
sampler2D - a special type which we will get to when dealing with texture sampling
Notice that WebGL's GLSL compilers are a little picky. For example, the following might give us an error, because we are trying to give an int type where the compiler expects a float:
float x = 5; // ERROR
vec2 v = vec2(10, 5); // ERROR
Instead, you should add a decimal place for float values, like so:
float x = 5.0;
vec2 v = vec2(10.0, 5.0);
To create a new vector, you use the constructor like so:
vec2 pixelPosition = vec2(125.0, 5.0);
vec3 position3d = vec3(5.0, 1.0, 2.0);
vec4 blue = vec4(0.0, 0.0, 1.0, 1.0);

// sets all components to 1.0
vec4 white = vec4(1.0);

// create a new vec4 from a vec3
vec4 color = vec4(blue, 1.0);
And we can access them in a number of ways:
// copies only the first three components, notice we need to use vec3
vec3 other = myVec.xyz;

// copies all four components
vec4 aColor = myVec.rgba;

// copy only first three components
vec3 aColorRGB = myVec.rgb;

// "swizzles" the (x, y) components
myVec.xy = myVec.yx;

// the first component
float x = myVec.x;

// we could even treat vectors as an array
float e0 = myVec[0];
It doesn't matter whether you use .rgba or .xyzw to access a vector, so long as it's consistent (you cannot do .rgzw, for example). You can also use .stpq (typically used in texture coordinates), though it is less common.
Also useful to know is the const keyword, similar to ES2015, which allows us to declare constants. For example, our earlier shader could be written as:
const vec3 blue = vec3(0.0, 0.0, 1.0);

void mainImage( out vec4 fragColor, in vec2 fragCoord )
{
  fragColor = vec4(blue, 1.0);
}
Shadertoy gives us some nice features out of the box for working with inputs such as images, videos, cube maps and even audio. These inputs use the variable names iChannel0, iChannel1, etc.
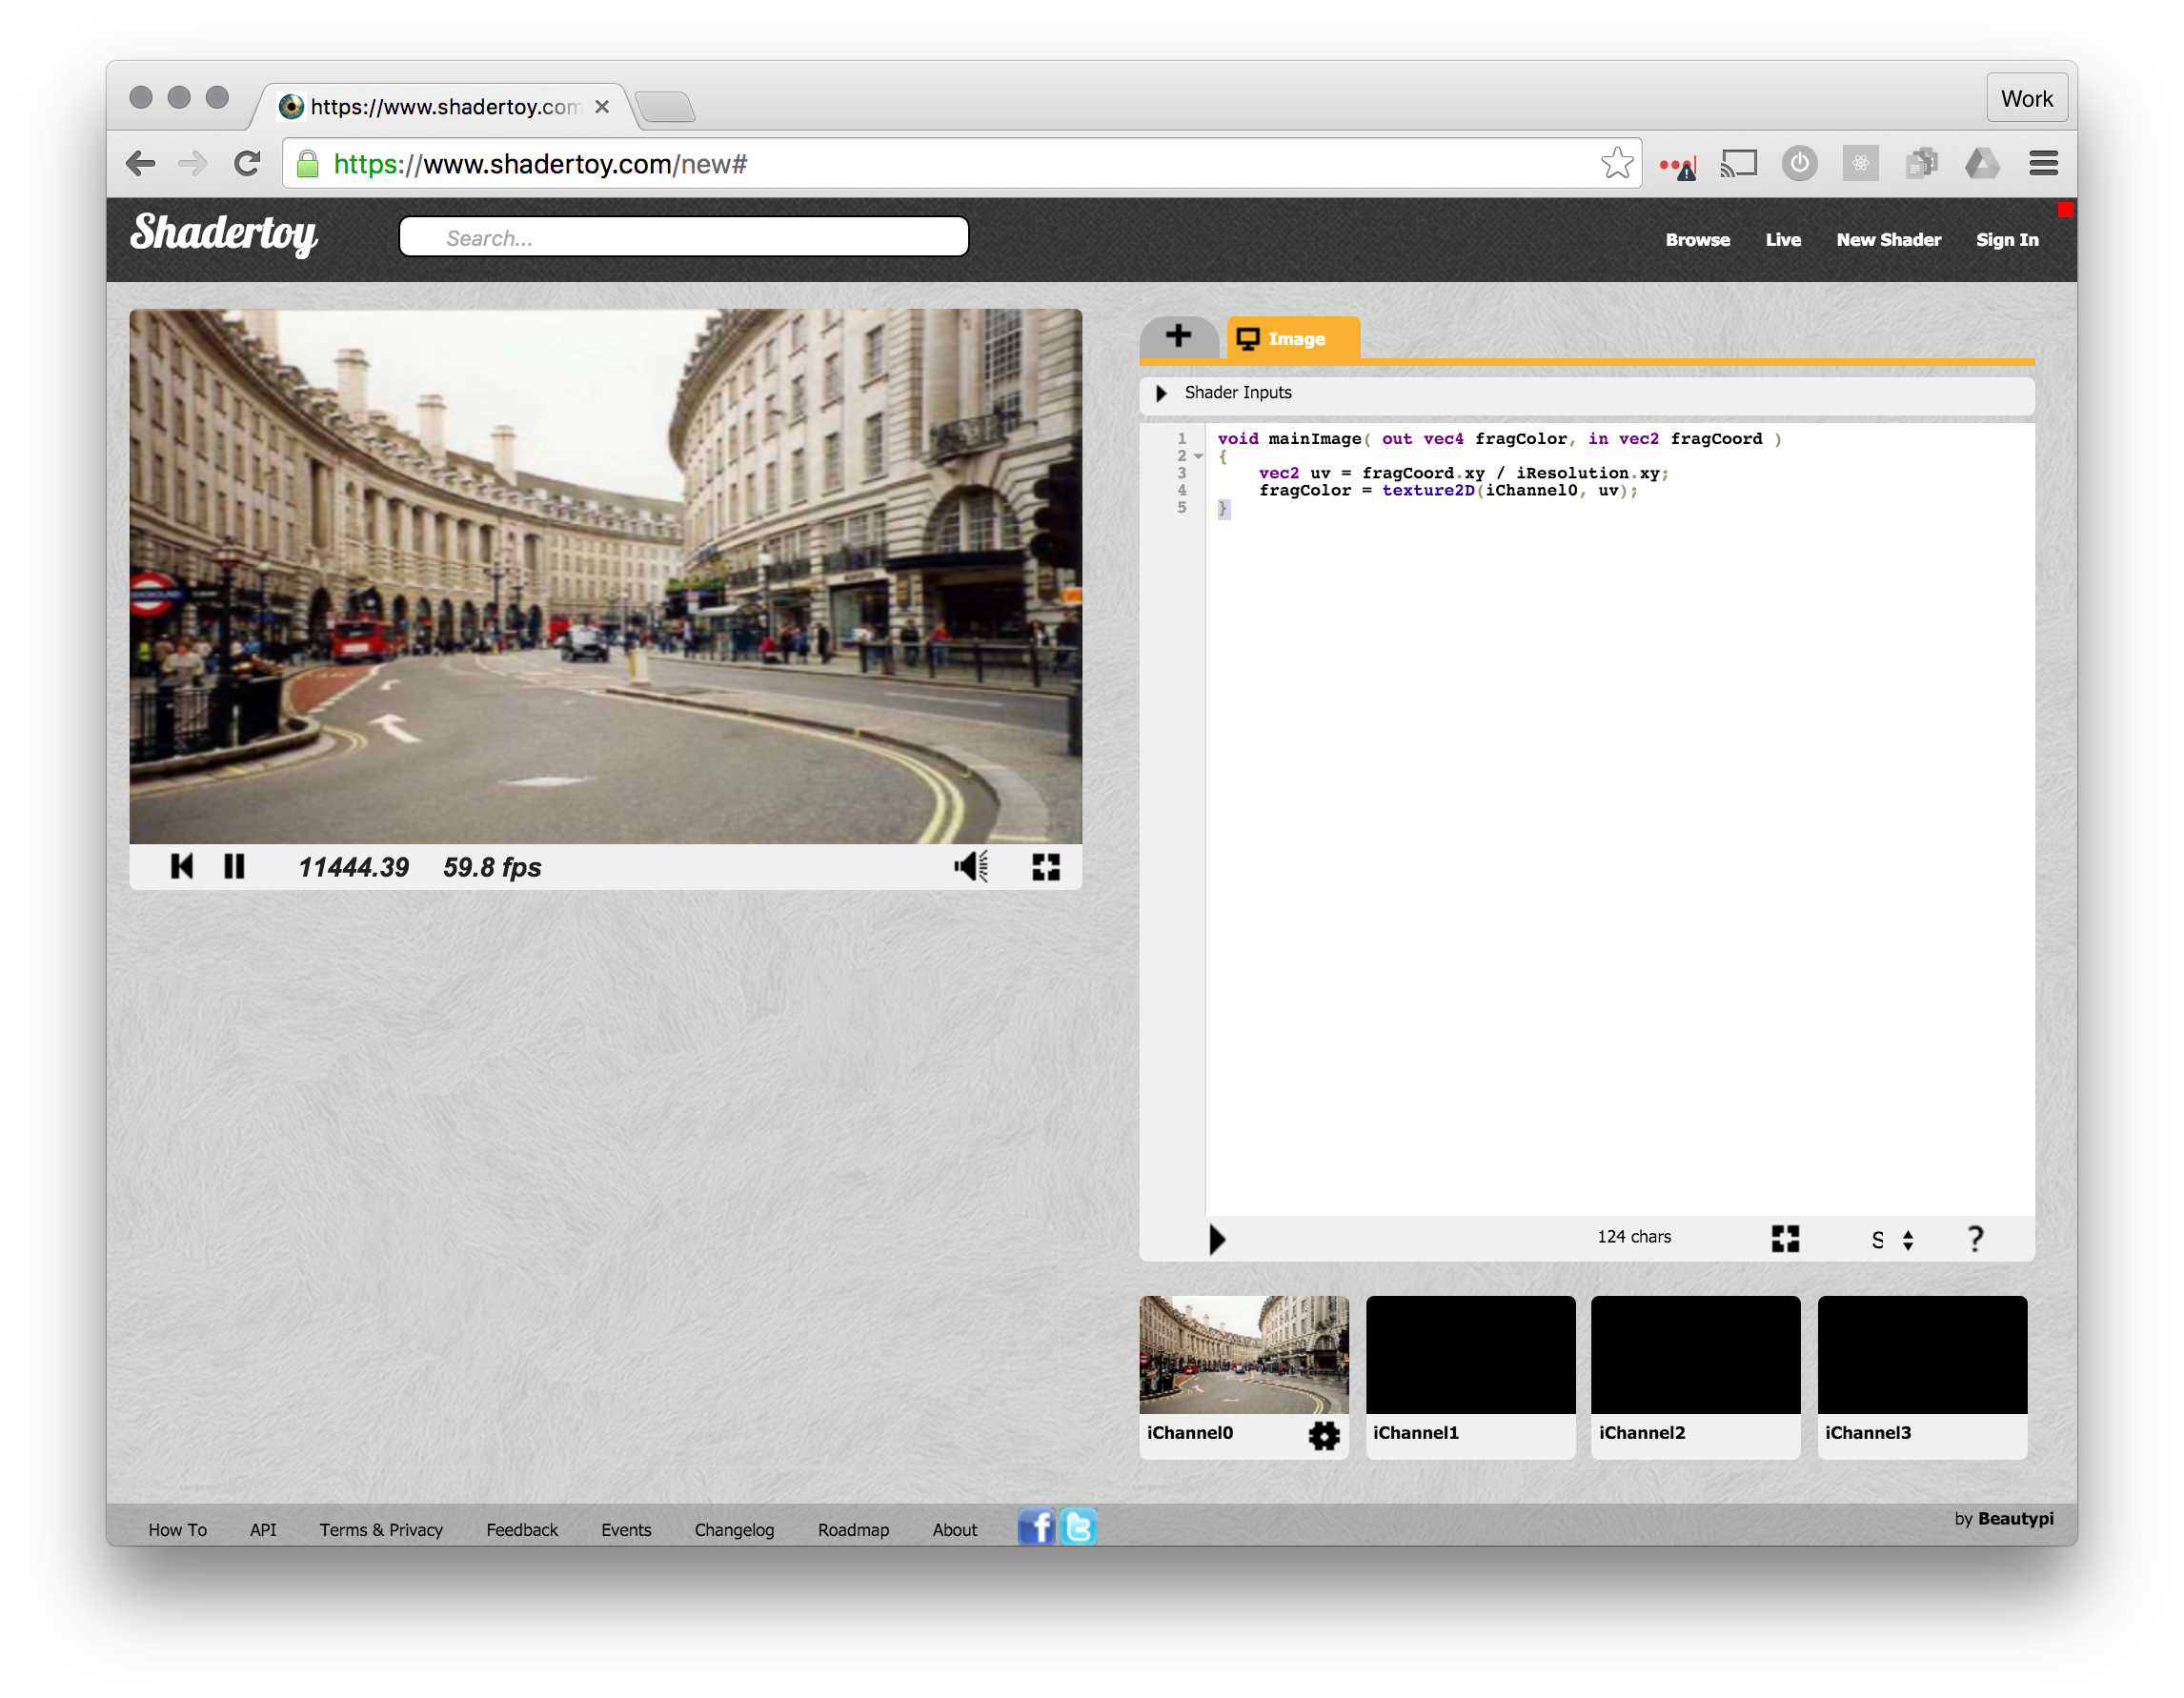
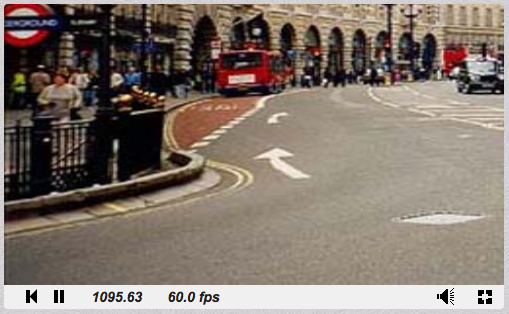
Let's add some texture — first, click on the black iChannel0 and choose an image, ideally the European street. Once you click it, you can close the input panel and paste the following code:
The built-in texture2D method will sample our texture in iChannel0 at the specified texture coordinate, uv, and returns a vec4 color. We will talk a bit more about texture coordinates later, but for now let's see if we can change the image colors a bit!
More Blues
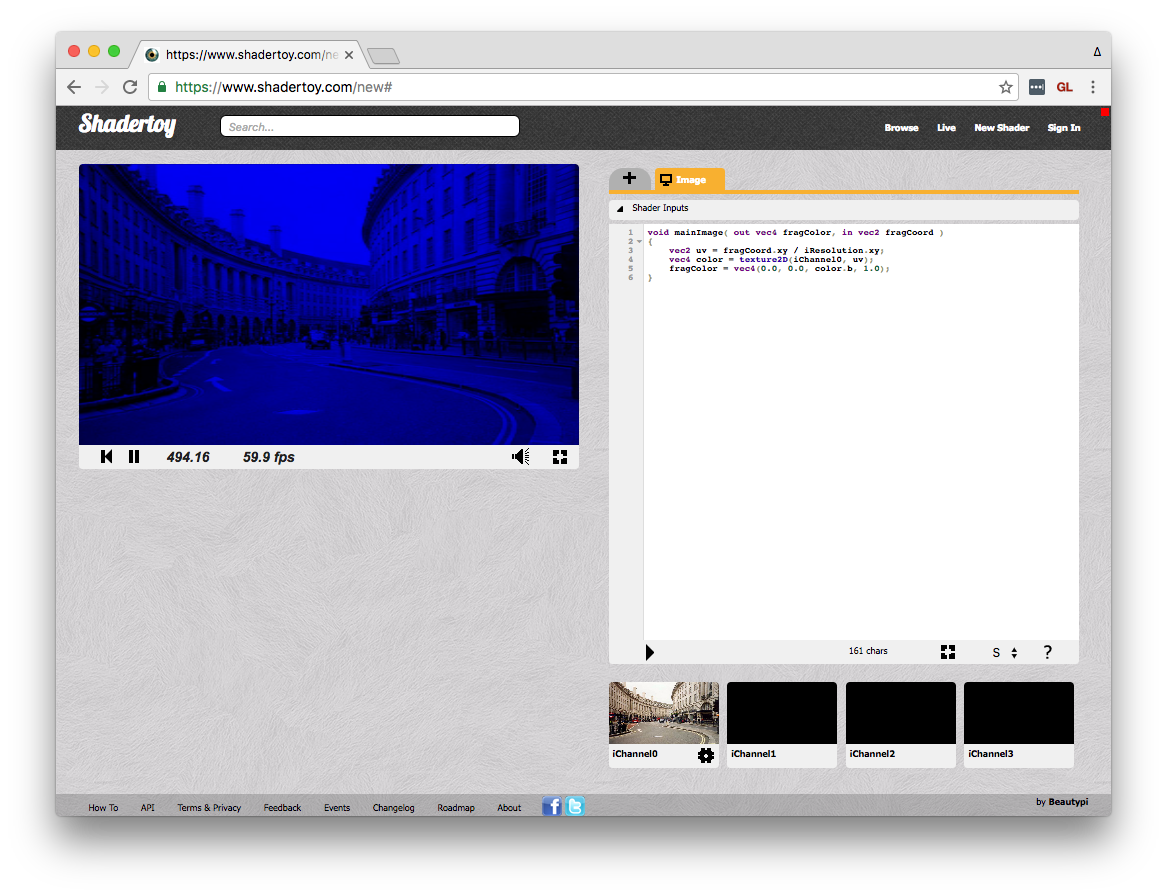
No that we have an image let's manipulate it by only displaying the blue channel from our 3 RGB channels. We will create a temporary vec4, and only pass the blue channel to the final fragColor.
void mainImage( out vec4 fragColor, in vec2 fragCoord )
{
  vec2 uv = fragCoord.xy / iResolution.xy;
  vec4 color = texture2D(iChannel0, uv);
  fragColor = vec4(0.0, 0.0, color.b, 1.0);
}
This gives a nice blue tint to our image:
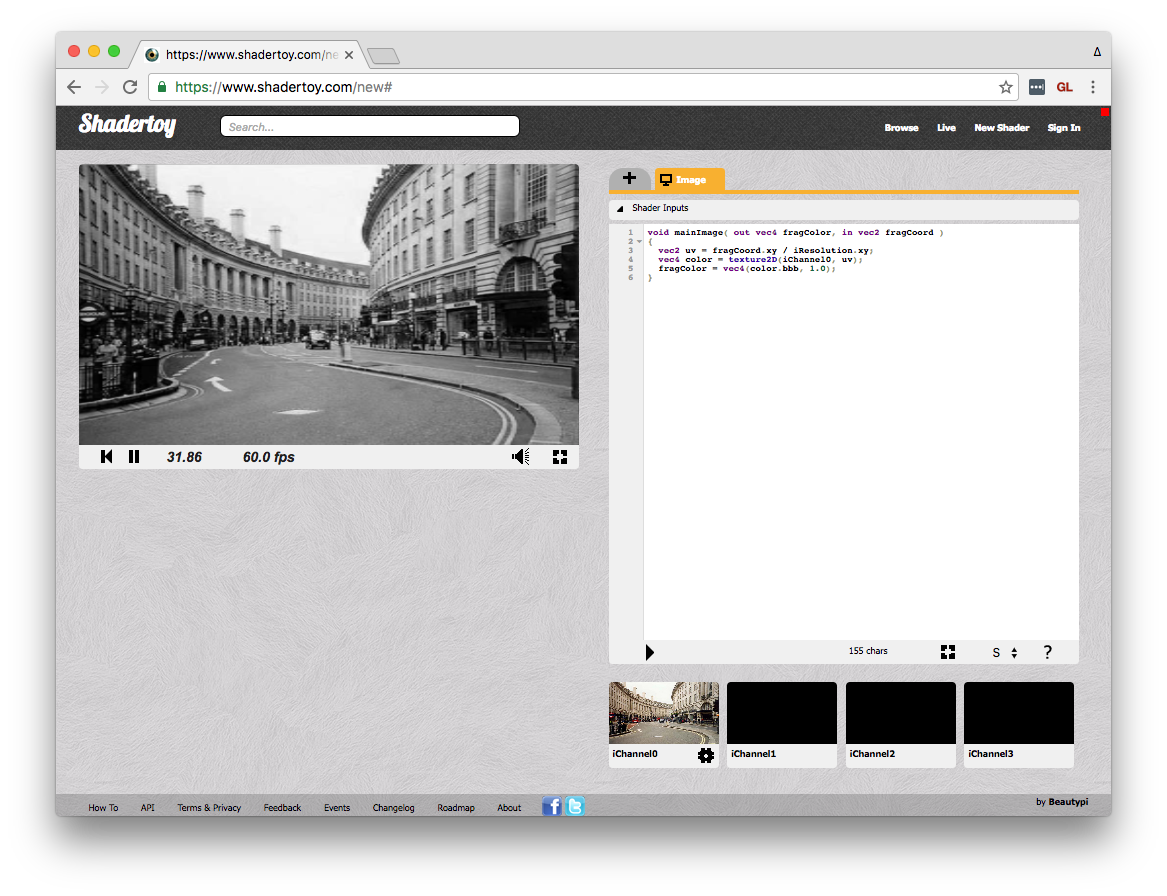
With a similar approach, we can turn the image black & white. Here we use color.bbb, which expands to vec3(color.b, color.b, color.b).
void mainImage( out vec4 fragColor, in vec2 fragCoord )
{
  vec2 uv = fragCoord.xy / iResolution.xy;
  vec4 color = texture2D(iChannel0, uv);
  fragColor = vec4(color.bbb, 1.0);
}
:bulb: Note: This is a naïve approach to grayscale an image — there are some other approaches that compensate for the way the human eye perceives the three color channels.
UV Space
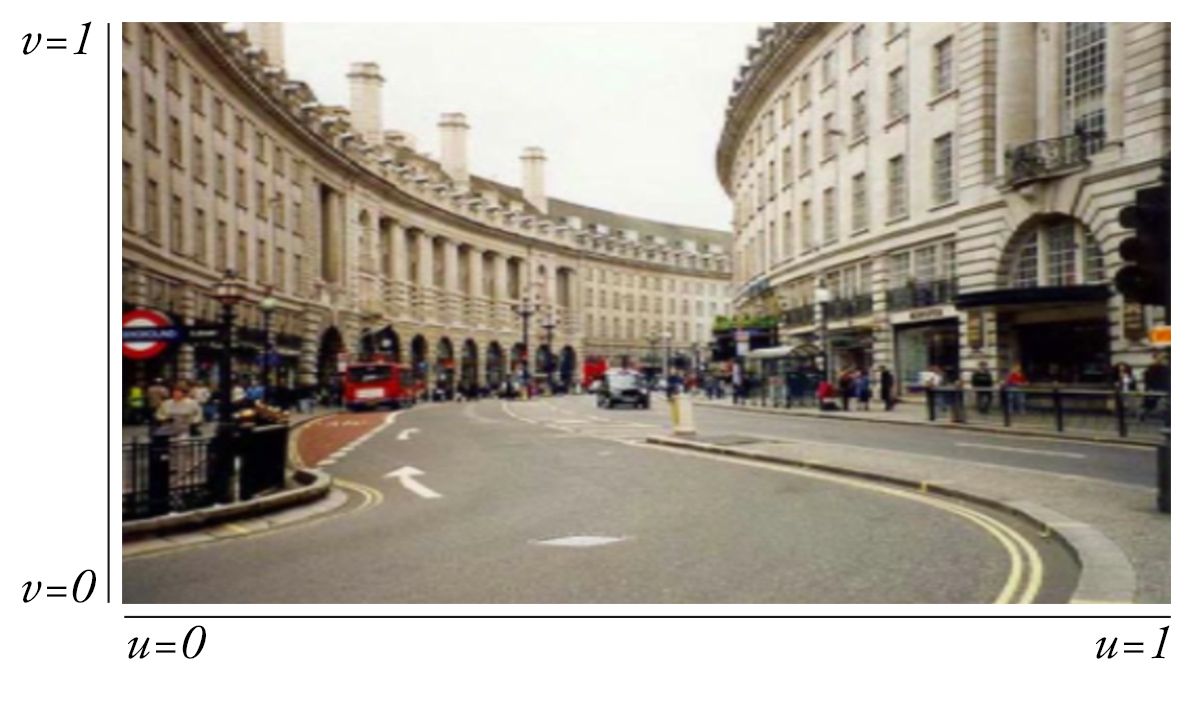
So what is the uv for, you might ask? This vec2 represents the texture coordinates for that pixel, which tells the shader where in the texture the pixels should be fetched.
In WebGL, texture coordinates typically start at (0.0, 0.0) in the lower left, and go to (1.0, 1.0) in the upper right.
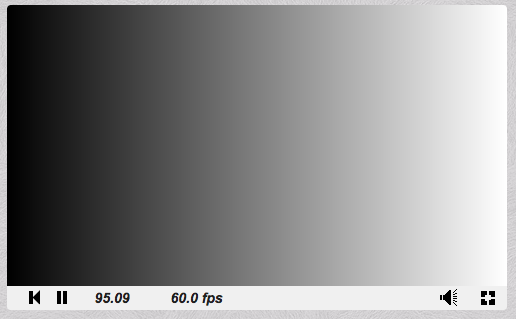
We can confirm this by rendering the uv.x and uv.y coordinates independently to the screen. For example, uv.x will show a gradient from black (i.e. 0.0) to white (i.e. 1.0).
void mainImage( out vec4 fragColor, in vec2 fragCoord )
{
  vec2 uv = fragCoord.xy / iResolution.xy;
  vec4 color = texture2D(iChannel0, uv);
  fragColor = vec4(vec3(uv.x), 1.0);
}
Result:
By manipulating this vector, we can change the way the texture is sampled, leading to a variety of interesting effects.
Flip & Scale
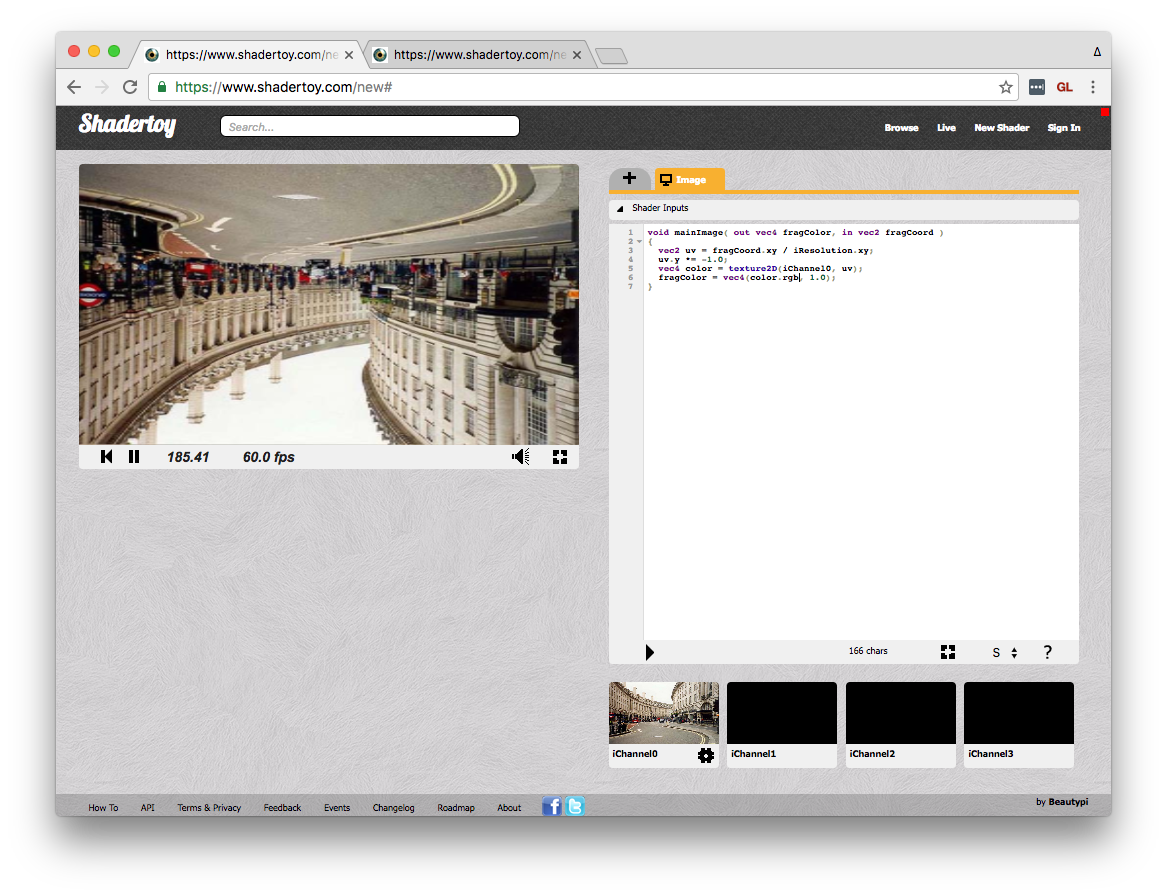
By multiplying the uv.x and/or uv.y by -1, we can flip the image horizontally and/or vertically.
void mainImage( out vec4 fragColor, in vec2 fragCoord )
{
  vec2 uv = fragCoord.xy / iResolution.xy;
  uv.y *= -1.0;
  vec4 color = texture2D(iChannel0, uv);
  fragColor = vec4(color.rgb, 1.0);
}
Result:
You can multiply the UV coordinates by a number greater than 1.0 to "zoom out" or less than 1.0 to "zoom in." In reality, we are just modifying how the program will sample the texture.
:bulb: If you multiply a vector by a single number, it multiplies all components of the vector by that number.
Pinch Distortion
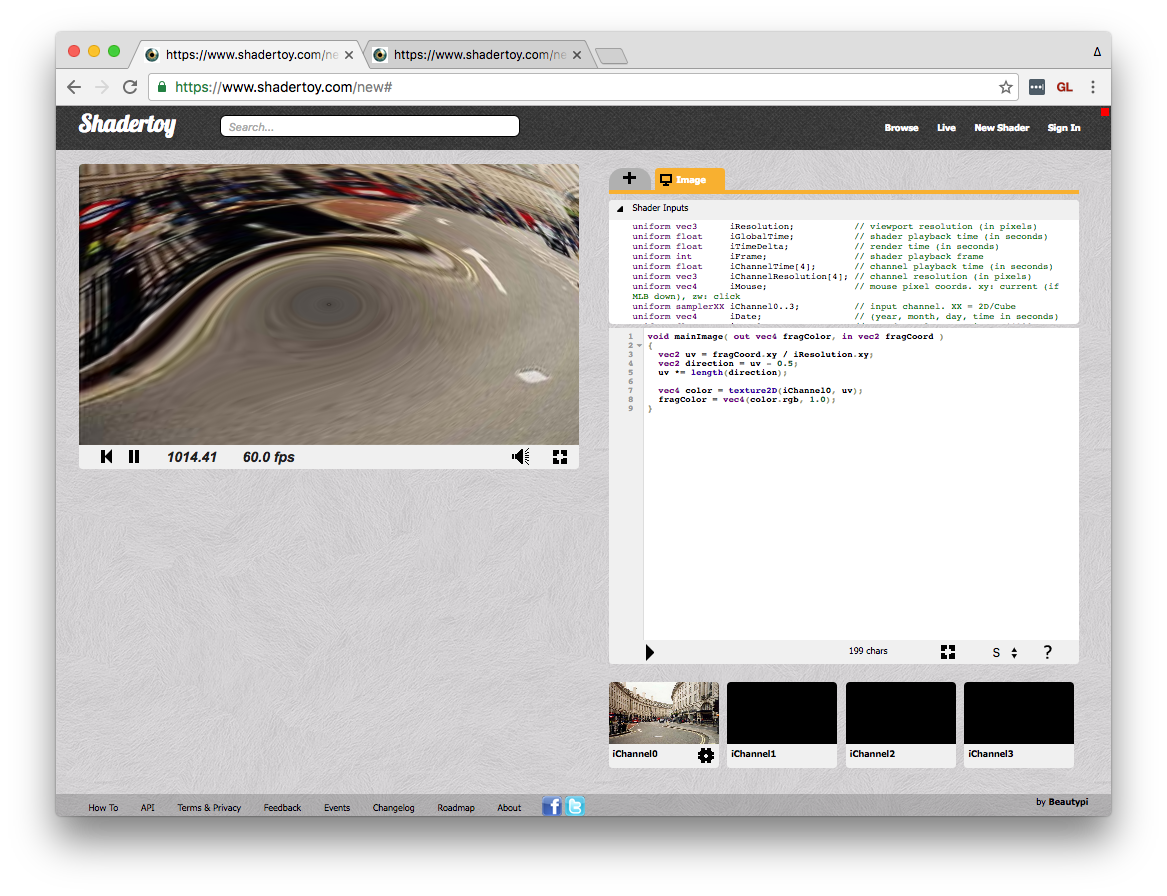
Lastly, let's try something a bit more advanced. We know that (0.5, 0.5) is the center of the screen, and if we take the current coordinate and subtract that point, we will end up with a direction vector that gets larger for pixels further away from the center.
vec2 direction = uv - 0.5;
:bulb: The above is equivalent to:
vec2 direction = vec2(uv.xy - vec2(0.5, 0.5));
Now, we can get the *length* or *magnitude* of this vector to determine how far away the current pixel is from the center. We can use this to scale the `uv` coordinates:

```glsl
vec2 direction = uv - 0.5;
uv *= length(direction);
Result:
Aspect Correction
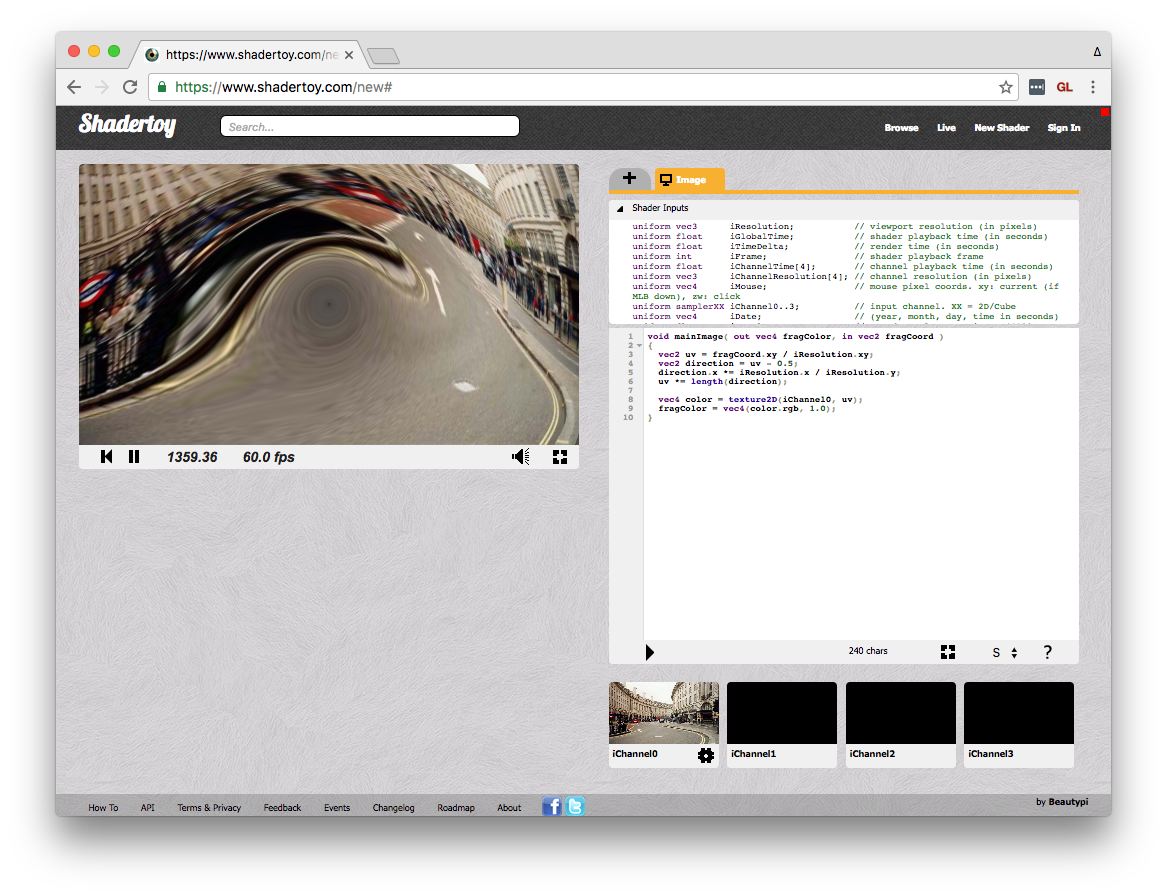
Finally, let's make the squash effect a circle, rather than an ellipse, by correcting for our rectangular aspect ratio.
To do this, we will modify the direction vector before computing its length, so that our distance from center is not affected by the rectangular aspect ratio. We can use iResolution to get the width and height of the canvas in pixels.
void mainImage( out vec4 fragColor, in vec2 fragCoord )
{
  vec2 uv = fragCoord.xy / iResolution.xy;
  vec2 direction = uv - 0.5;
  direction.x *= iResolution.x / iResolution.y;
  uv *= length(direction);

  vec4 color = texture2D(iChannel0, uv);
  fragColor = vec4(color.rgb, 1.0);
}
Result:
Next Steps
That's all for this lesson! Our next lesson introduces vertex and fragment shaders in the context of ThreeJS, applying them to a custom geometry.
Does Experience-Monks/jam3-lesson-webgl-shader-intro have a project website?
No homepage URL was recorded for Experience-Monks/jam3-lesson-webgl-shader-intro in TopGit's last sync. The README tab above frequently contains screenshots and demo links, or check the repository description on GitHub.
Does Experience-Monks/jam3-lesson-webgl-shader-intro have any tags?
TopGit's last sync did not record any GitHub topics for Experience-Monks/jam3-lesson-webgl-shader-intro. GitHub topics appear in the right sidebar of a repository page; that's the authoritative place to check.
How active is development on Experience-Monks/jam3-lesson-webgl-shader-intro?
The most recent commit recorded on Experience-Monks/jam3-lesson-webgl-shader-intro was 8.9 years ago, based on the GitHub push timestamp. The repository has 15 forks — one of the better signals of community interest.
Is Experience-Monks/jam3-lesson-webgl-shader-intro open source?
Yes — Experience-Monks/jam3-lesson-webgl-shader-intro ships under the MIT license, which makes its source code freely readable (and, depending on license terms, forkable and reusable). Source: github.com/Experience-Monks/jam3-lesson-webgl-shader-intro.
What license does Experience-Monks/jam3-lesson-webgl-shader-intro use?
Experience-Monks/jam3-lesson-webgl-shader-intro is released under the MIT license. Always verify the LICENSE file directly on GitHub for the authoritative terms — license strings can be edited out of sync with a project's actual stance.
Where do I read more about Experience-Monks/jam3-lesson-webgl-shader-intro?
This TopGit page is a snapshot — the READ ME tab shows the project's own README content (links stripped, images preserved). The GitHub repository at github.com/Experience-Monks/jam3-lesson-webgl-shader-intro is the definitive source.
Read full README in the tab above.
Want a second opinion on jam3-lesson-webgl-shader-intro?
Ask an AI that can read this page — one click and you get its take on jam3-lesson-webgl-shader-intro.
 /jam3-lesson-webgl-shader-intro