JupyterLab Extensions by Examples


- Goal
- Develop by Examples
- CodeMirror extension
- Commands
- Command Palette
- Completer
- Main Widget Content Header
- Context Menu
- Custom Log Console
- Datagrid
- Dual Compatibility
- Top Area Text Widget
- Shout Button
- Clap Button
- Collaborative Document
- Hello World
- Kernel Messaging
- Kernel Output
- Launcher
- Log Messages
- Main Menu
- Metadata Form
- MIME Renderer
- Notifications
- React Widget
- Server Hello World
- Settings
- Signals
- State
- Toolbar Item
- Widgets
- Prerequisites
- Develop and Use the Examples
- Test the Examples
- Install a Published Extension
- About JupyterLab
- Credits
- Community Guidelines and Code of Conduct
TL;DR
The goal of this repository is to show how to develop extensions for JupyterLab, presented as short tutorial series.
Quick start:
- Install, build, and run the
hello-world extension example in JupyterLab by copying the code below.
- This corresponds to the first three sections of the hello-world extension tutorial. Read these sections for additional details on what these commands are doing and how to use the JupyterLab extension template.
- Continue with the tutorial at the Modify the extension section, if desired.
# clone the repository
git clone https://github.com/jupyterlab/extension-examples.git jupyterlab-extension-examples

# go to the extension examples folder
cd jupyterlab-extension-examples

# create a new environment
conda env create

# activate the environment
conda activate jupyterlab-extension-examples

# go to the hello world example
cd hello-world

# Required to deal with Yarn 3 workspace rules
touch yarn.lock

# install the extension in editable mode
python -m pip install -e .

# install your development version of the extension with JupyterLab
jupyter labextension develop . --overwrite

# build the TypeScript source after making changes
jlpm run build

# start JupyterLab
jupyter lab
The examples currently target JupyterLab 4.0 or later.
If you would like to use the examples with JupyterLab 3.x, check out the 3.x branch.
If you would like to use the examples with JupyterLab 2.x, check out the 2.x branch.
If you would like to use the examples with JupyterLab 1.x, check out the 1.x branch.
Note that the 1.x, 2.x and 3.x branches are not updated anymore.
Develop by Examples
You may find it easier to learn how to create extensions by examples, instead of going through the documentation.
Start with the Hello World and then jump to the topic you are interested in.
- Cell toolbar
- CodeMirror extension
- Commands
- Command Palette
- Completer
- Main Widget Content Header
- Context Menu
- Custom Log Console
- Datagrid
- Dual Compatibility
- Top Area Text Widget
- Shout Button
- Clap Button
- Collaborative Document
- Hello World
- Kernel Messaging
- Kernel Output
- Launcher
- Log Messages
- Main Menu
- Metadata Form
- MIME Renderer
- Notifications
- React Widget
- Server Hello World
- Settings
- Signals
- State
- Toolbar item
- Widgets
You can expect from each example:
- An explanation of its functionality.
- An image or screencast showing its usage.
- The list of used JupyterLab API and Extension Points.
- Explanations of the internal working, illustrated with code snippets.
We have structured the examples based on the extension points. Browse the previews below or skip them and jump directly to the sections for developers.
You are welcome to open any issue or pull request.
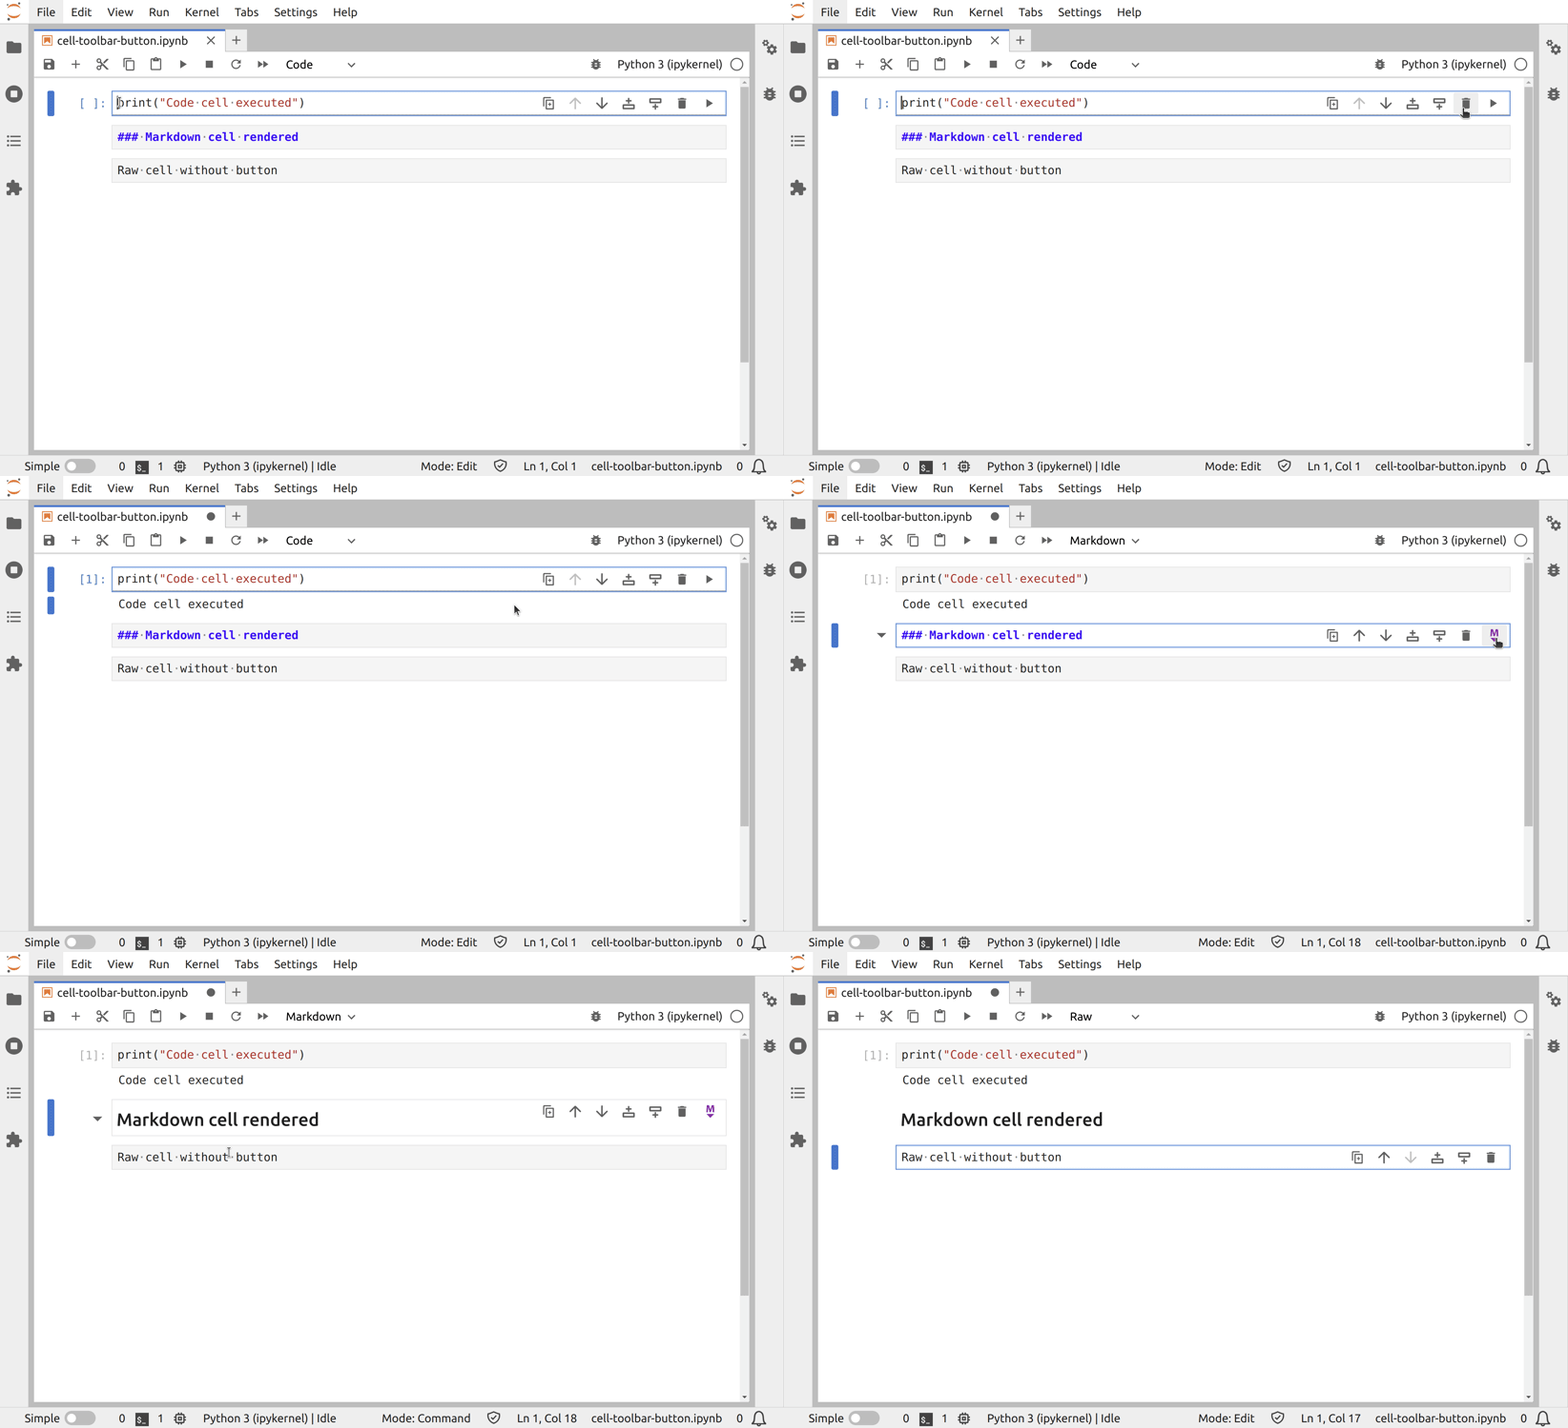
Cell toolbar
Try it out: 
Add a command button to the cell toolbar.
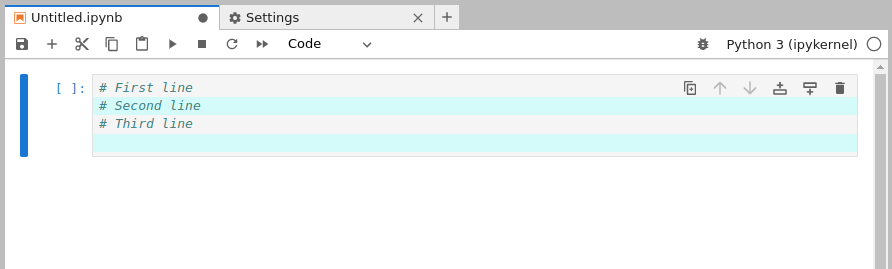
CodeMirror extension
Try it out:
Add a configurable CodeMirror extension.
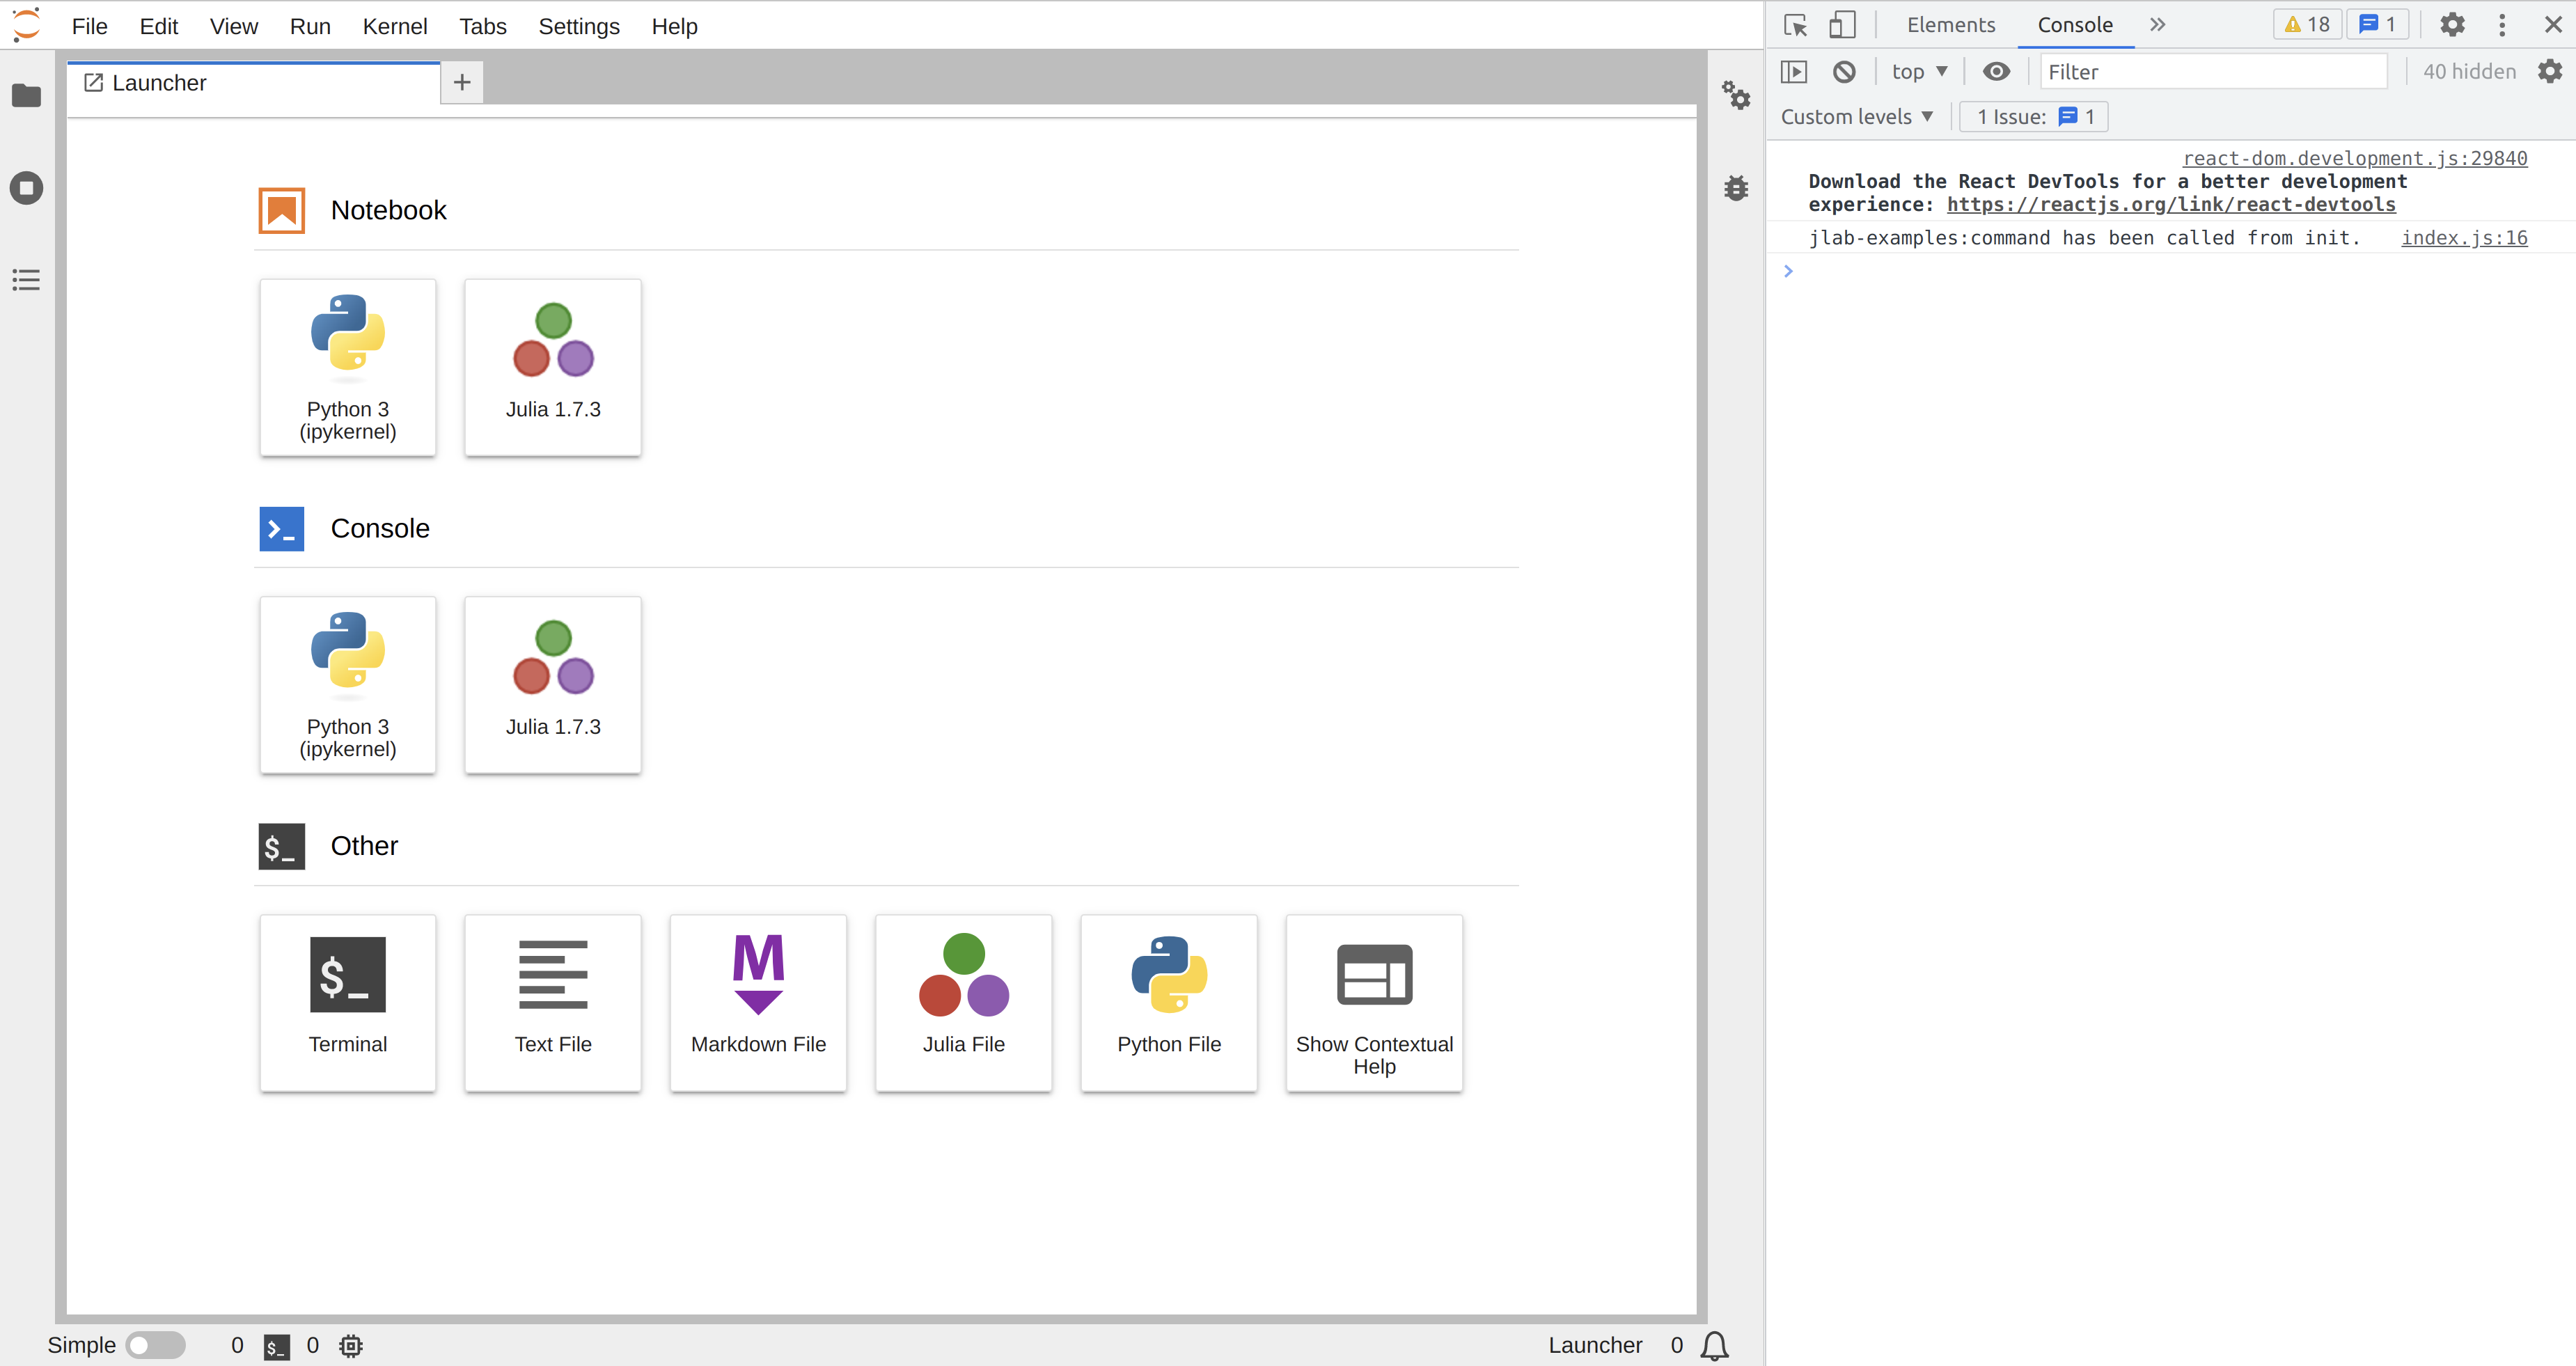
Commands
Try it out:
Extend the main app with a Command.
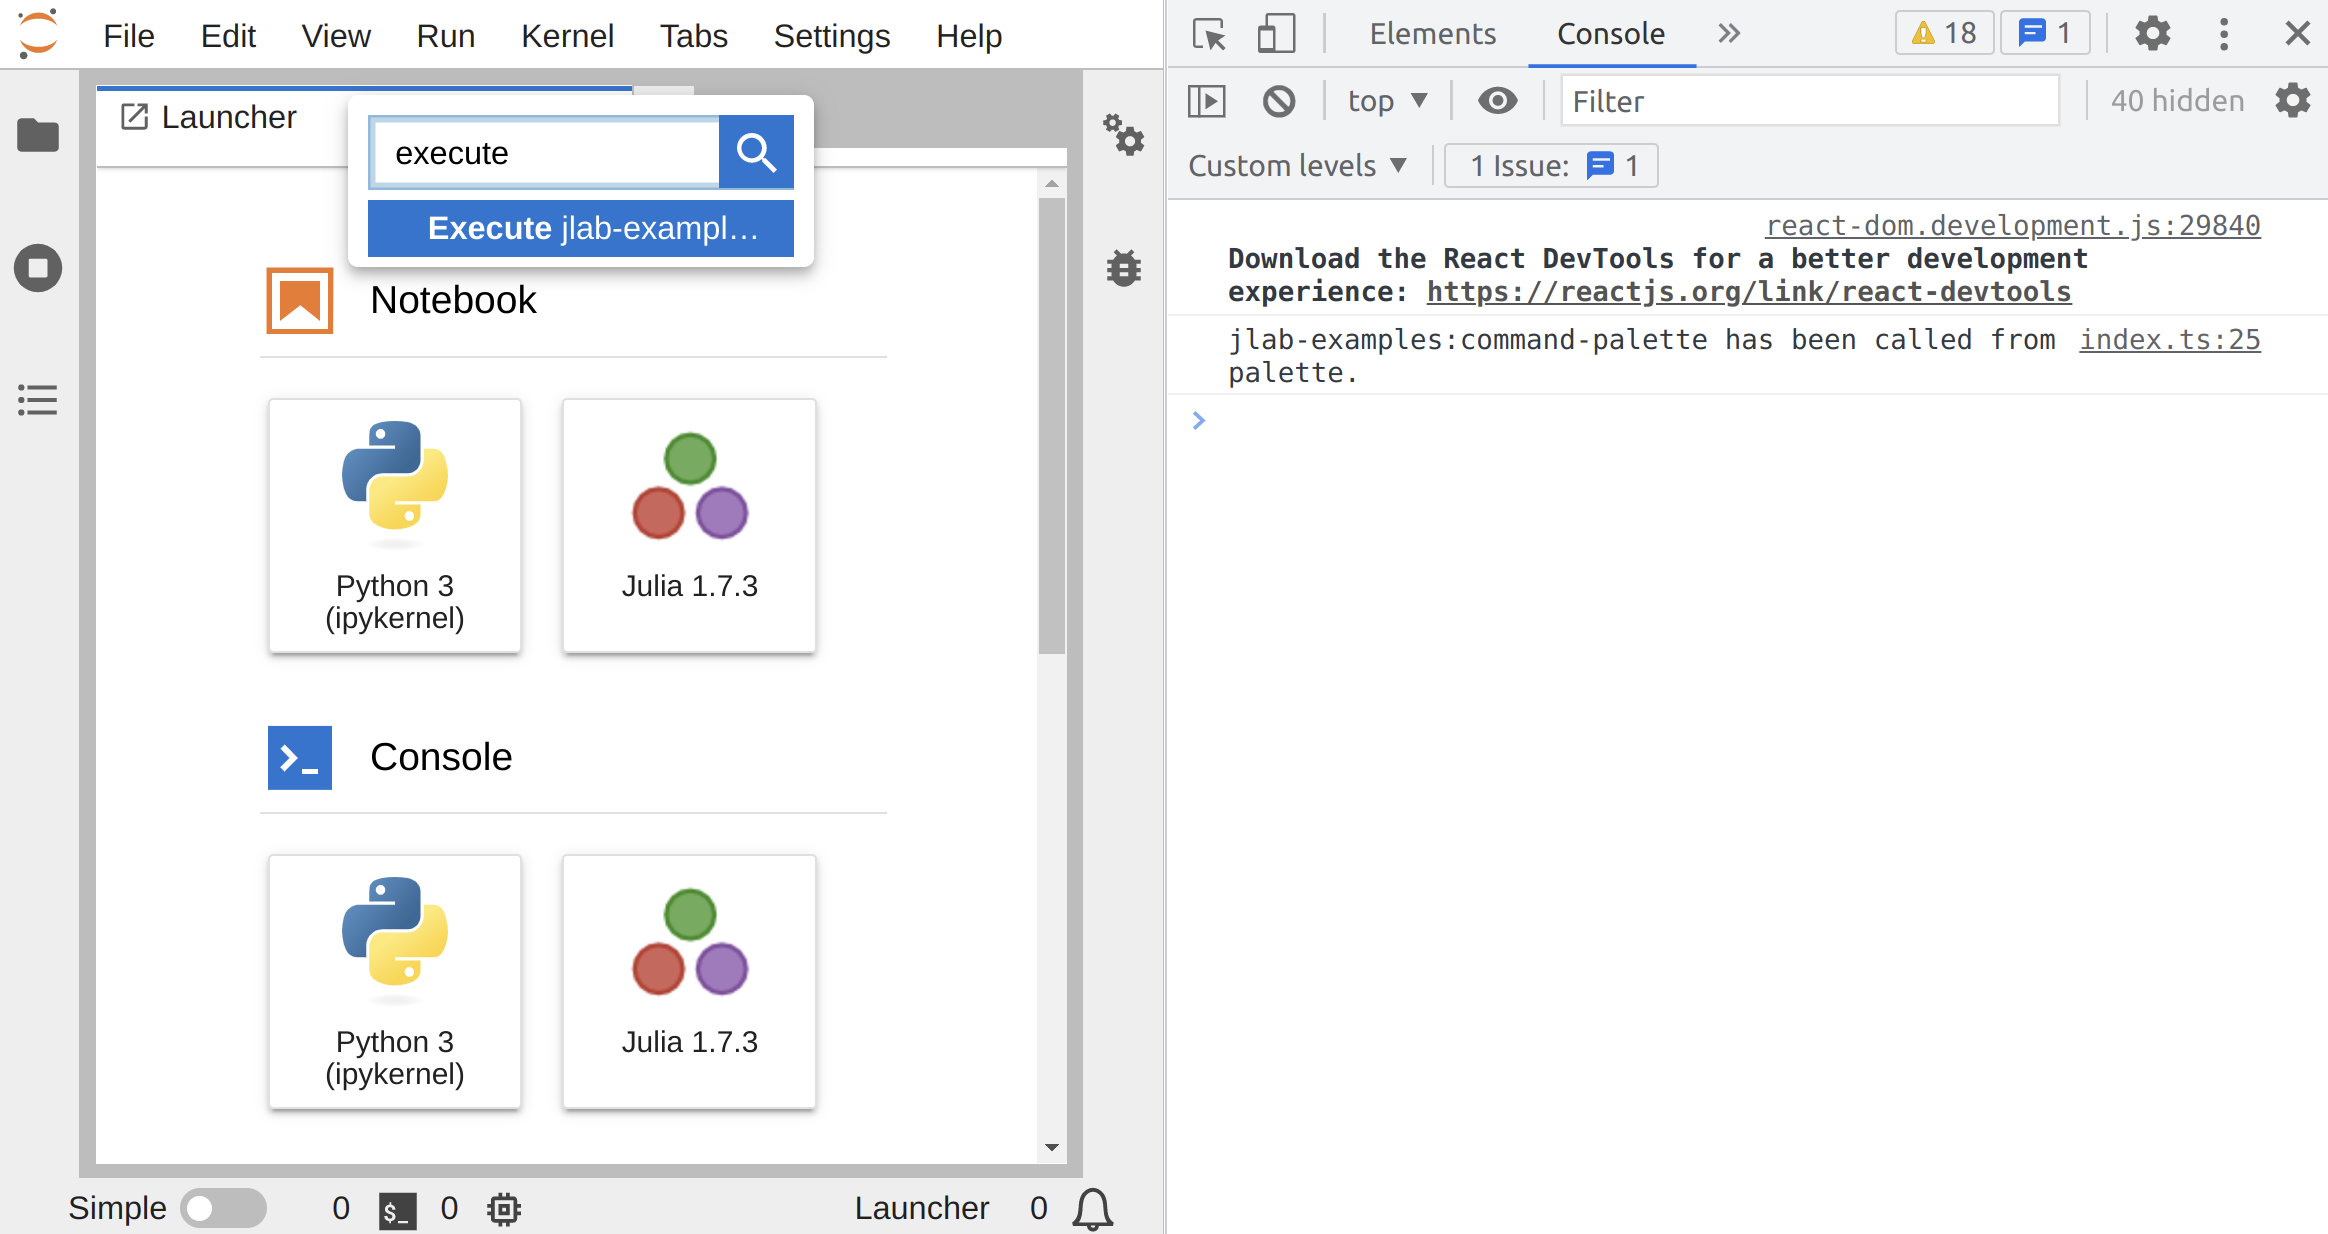
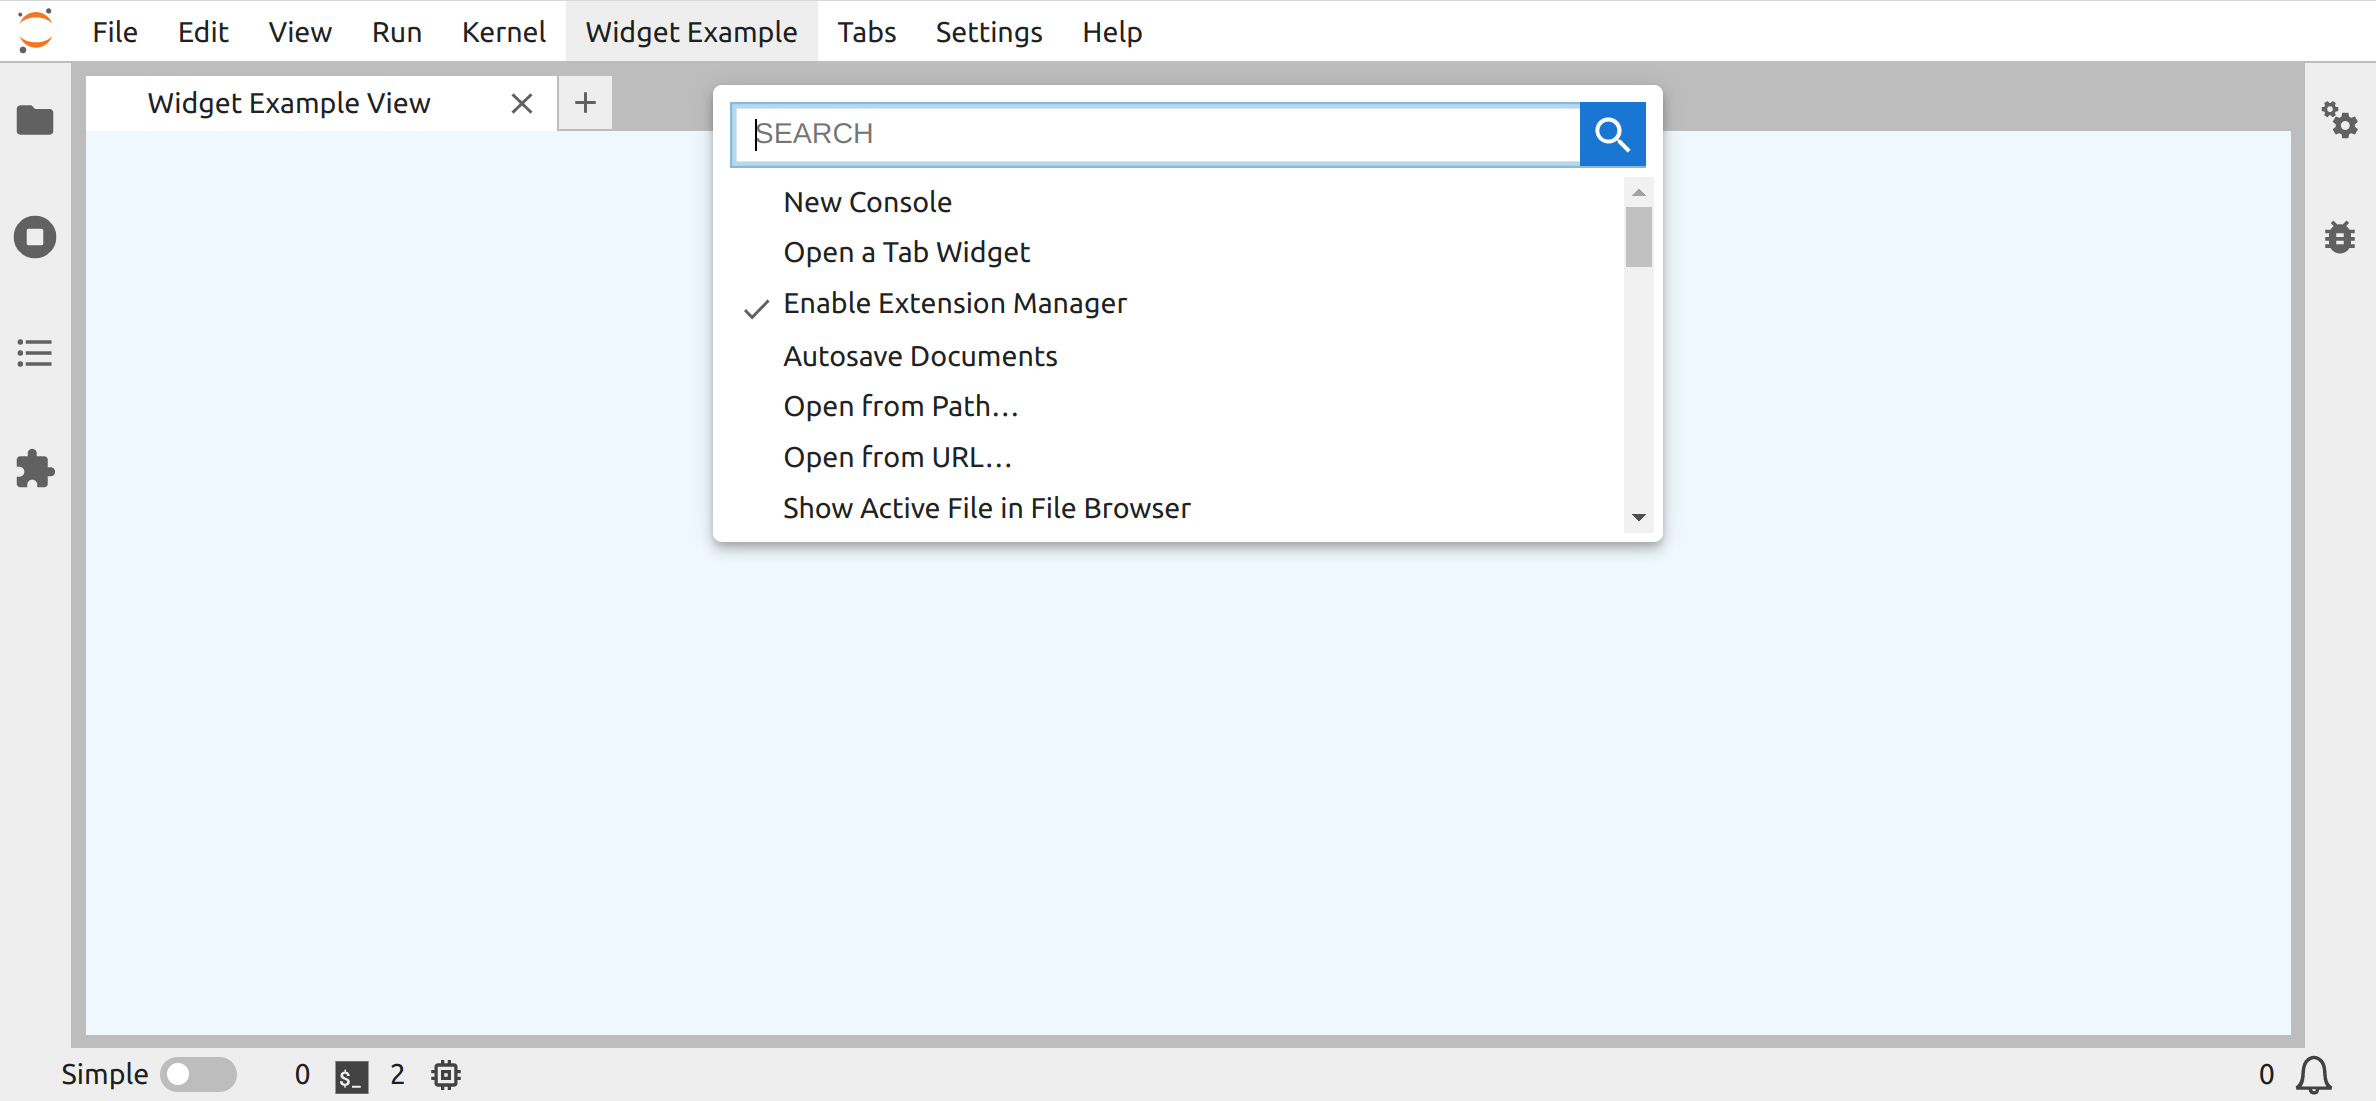
Command Palette
Try it out:
Register commands in the Command Palette.
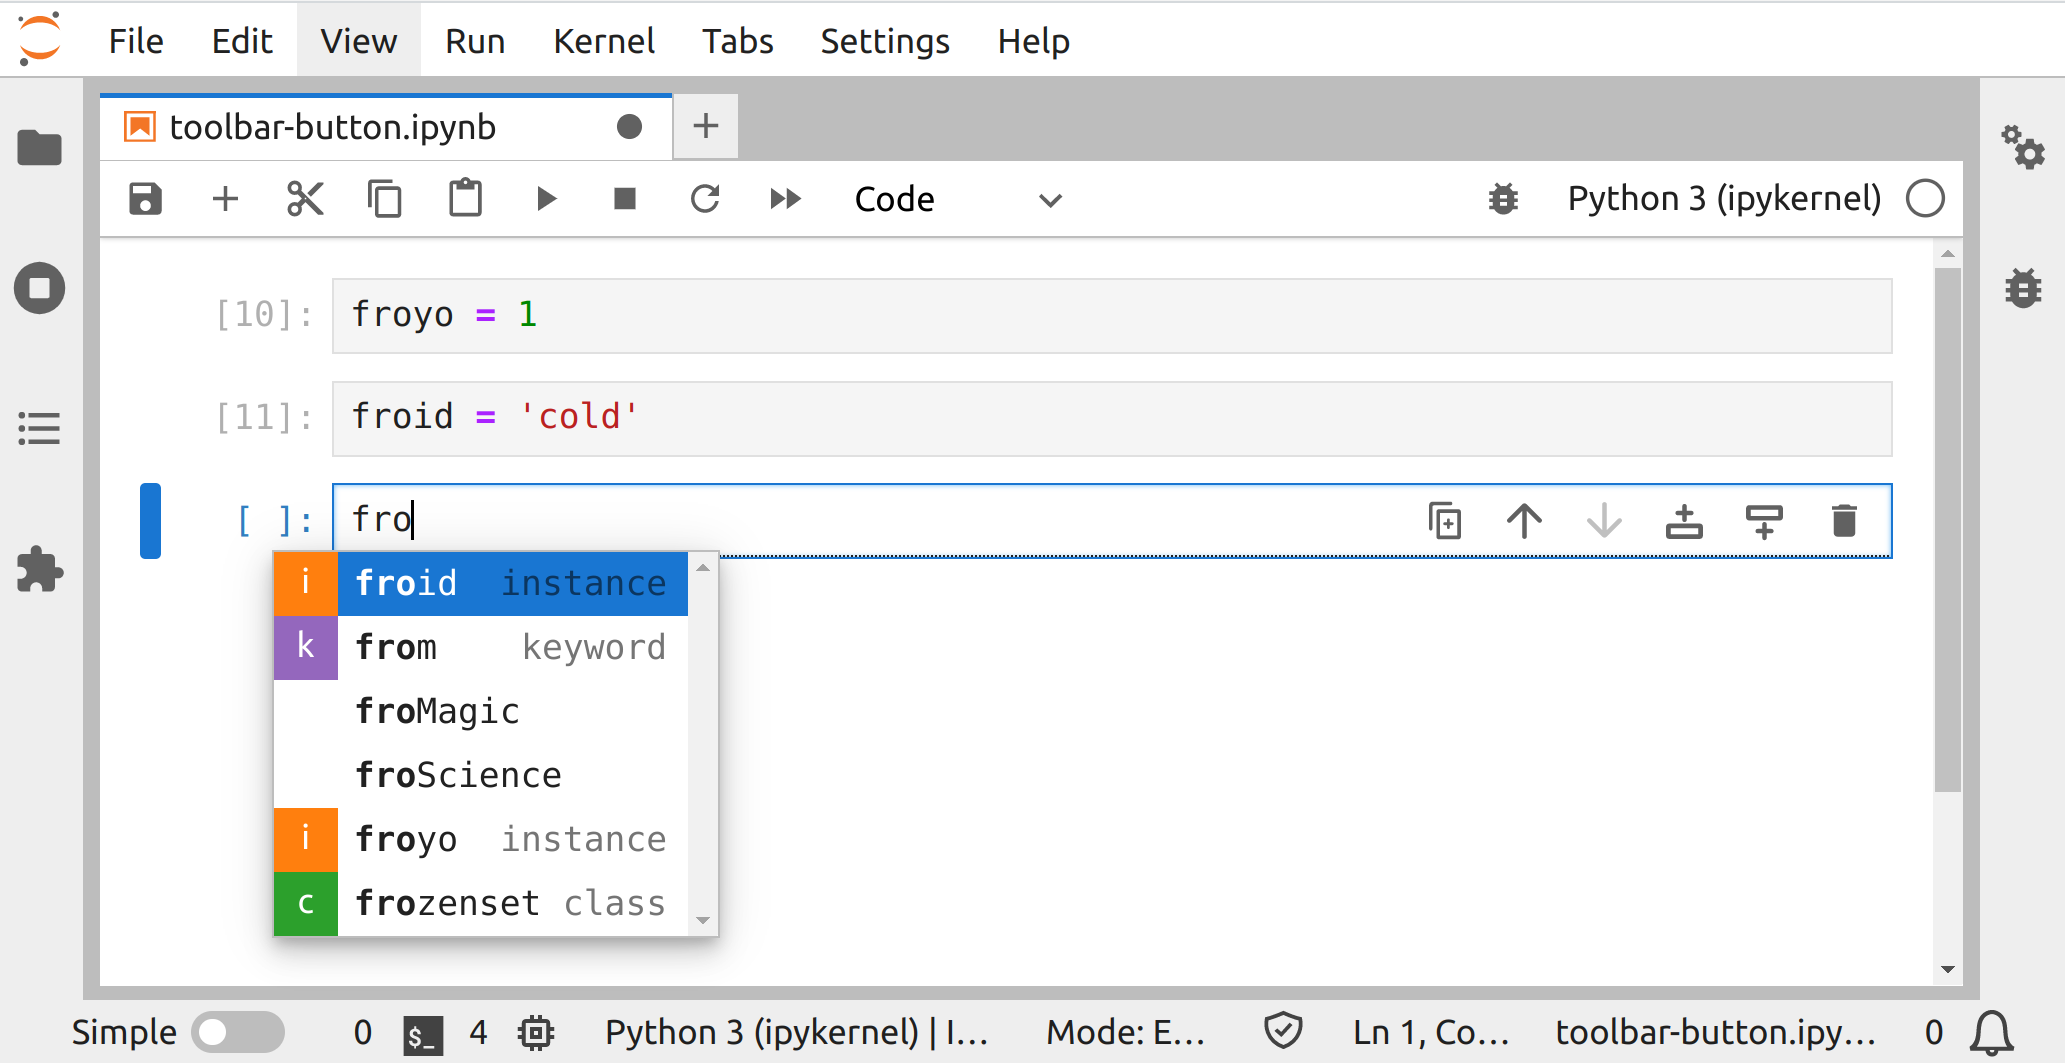
Completer
Try it out:
Customize tab autocomplete data sources.
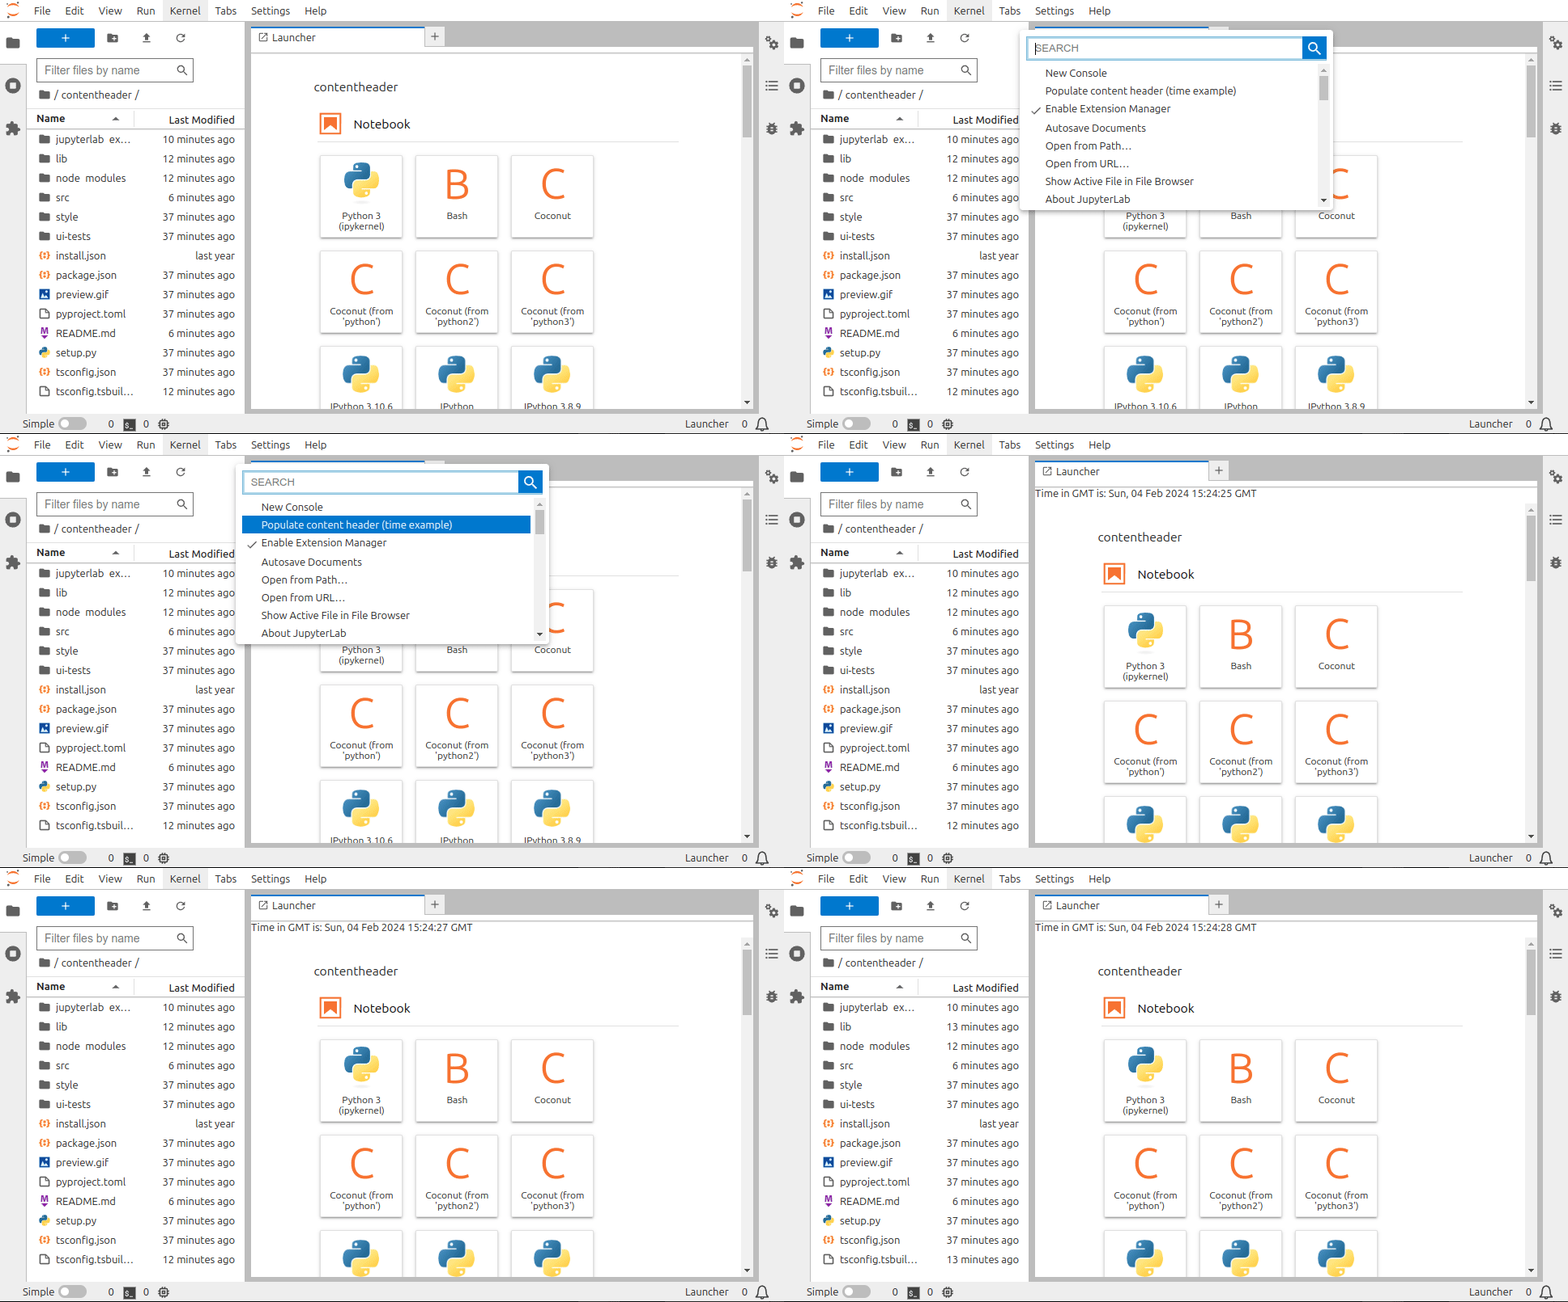
Main Widget Content Header
Try it out:
Put widgets at the top of a main JupyterLab area widget.
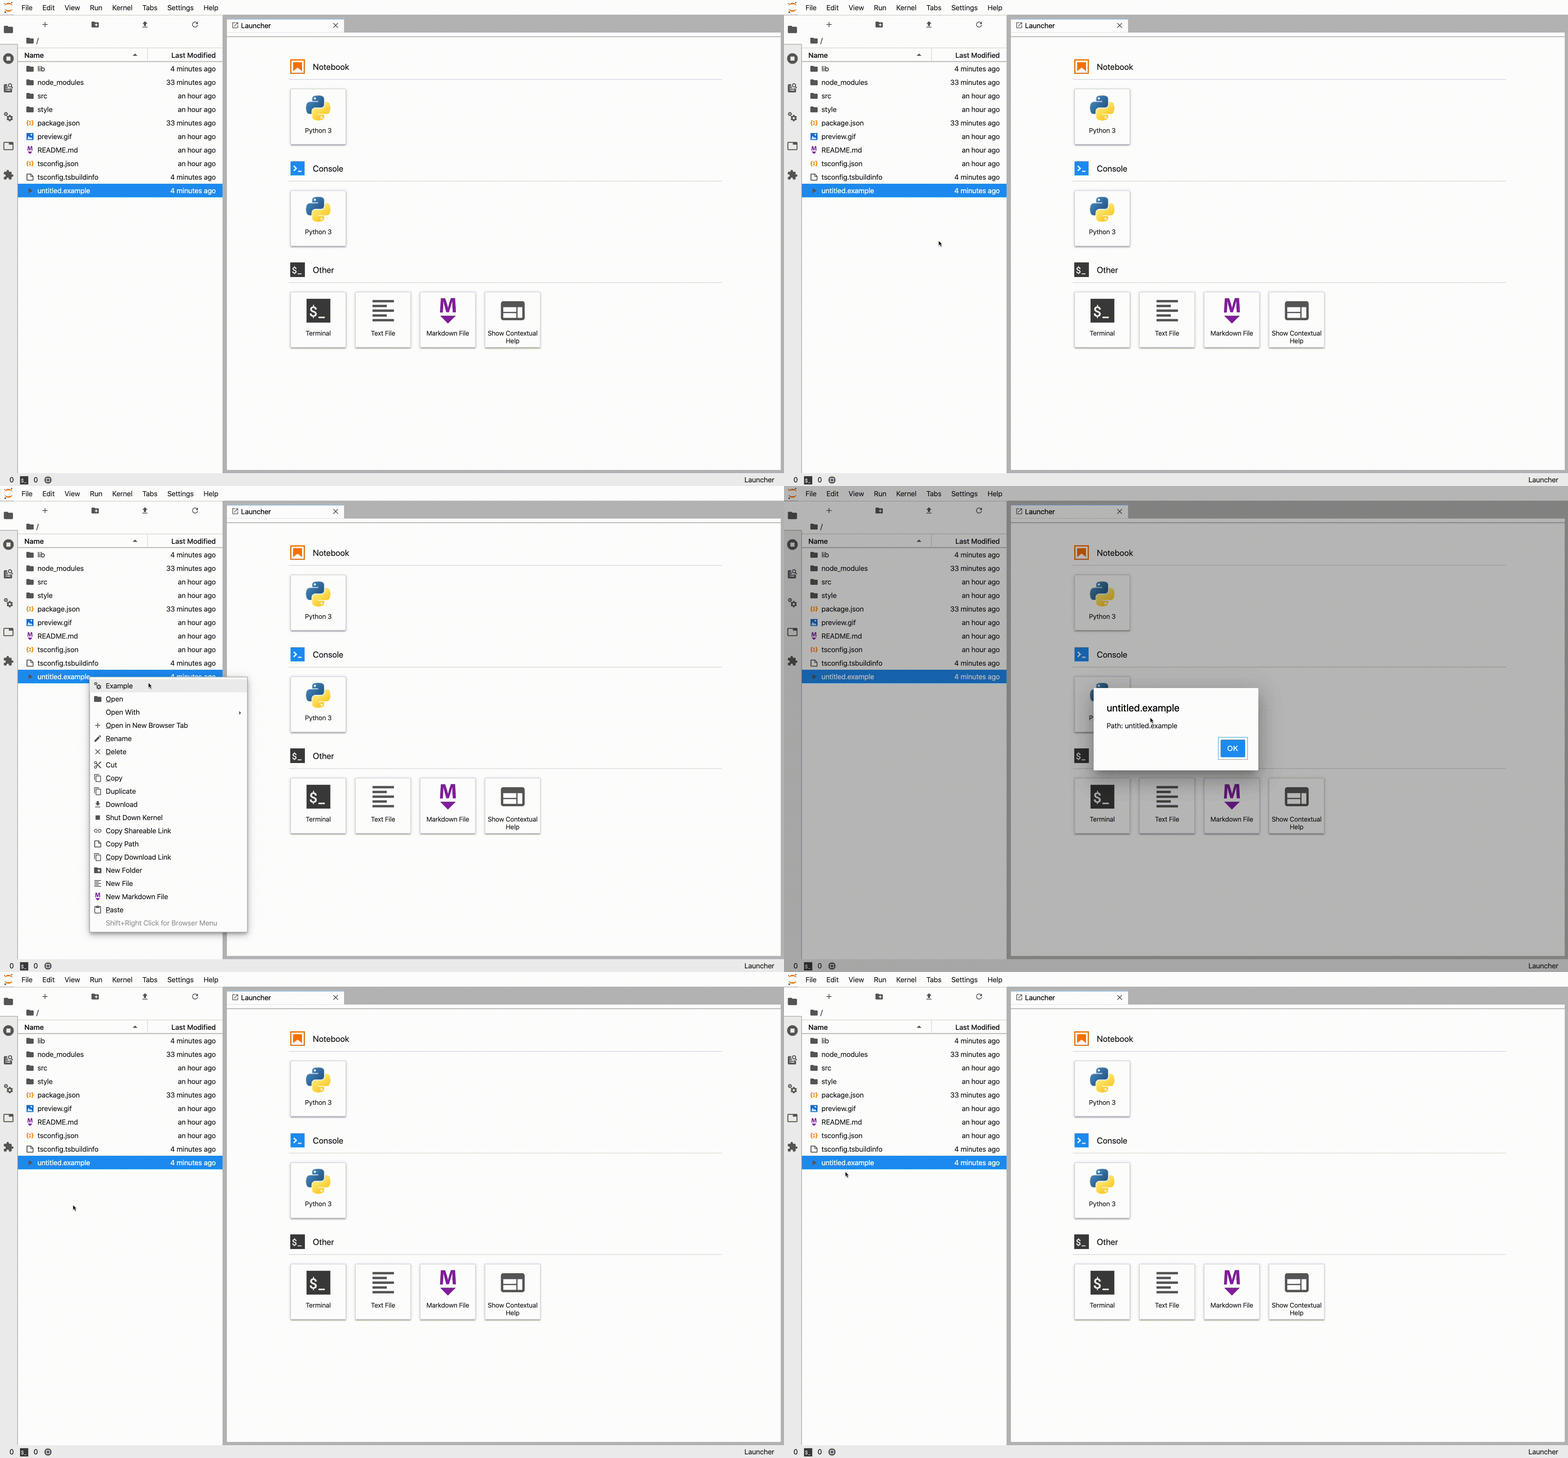
Context Menu
Try it out:
Add a new button to an existent context menu.
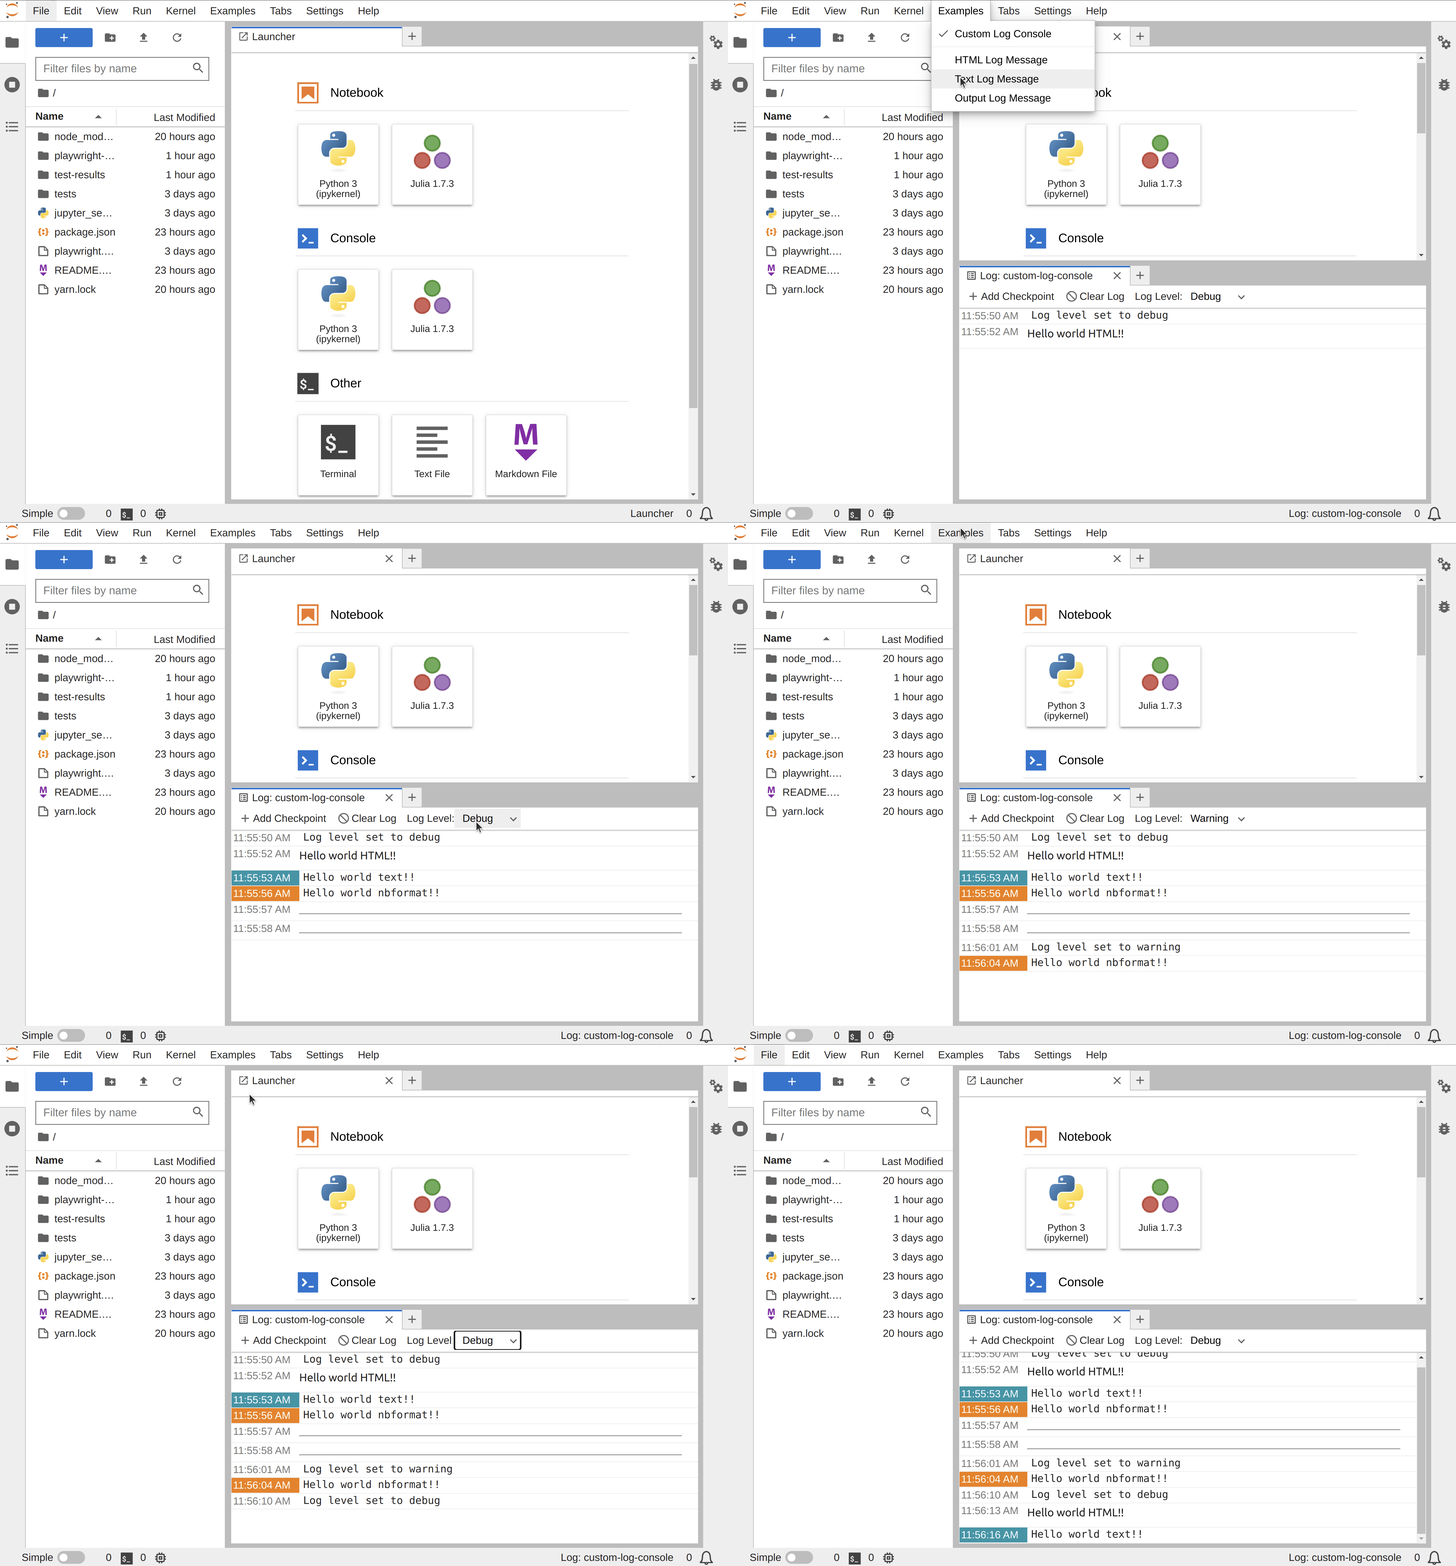
Custom Log Console
Try it out:
Create a new log console.
Datagrid
Try it out:
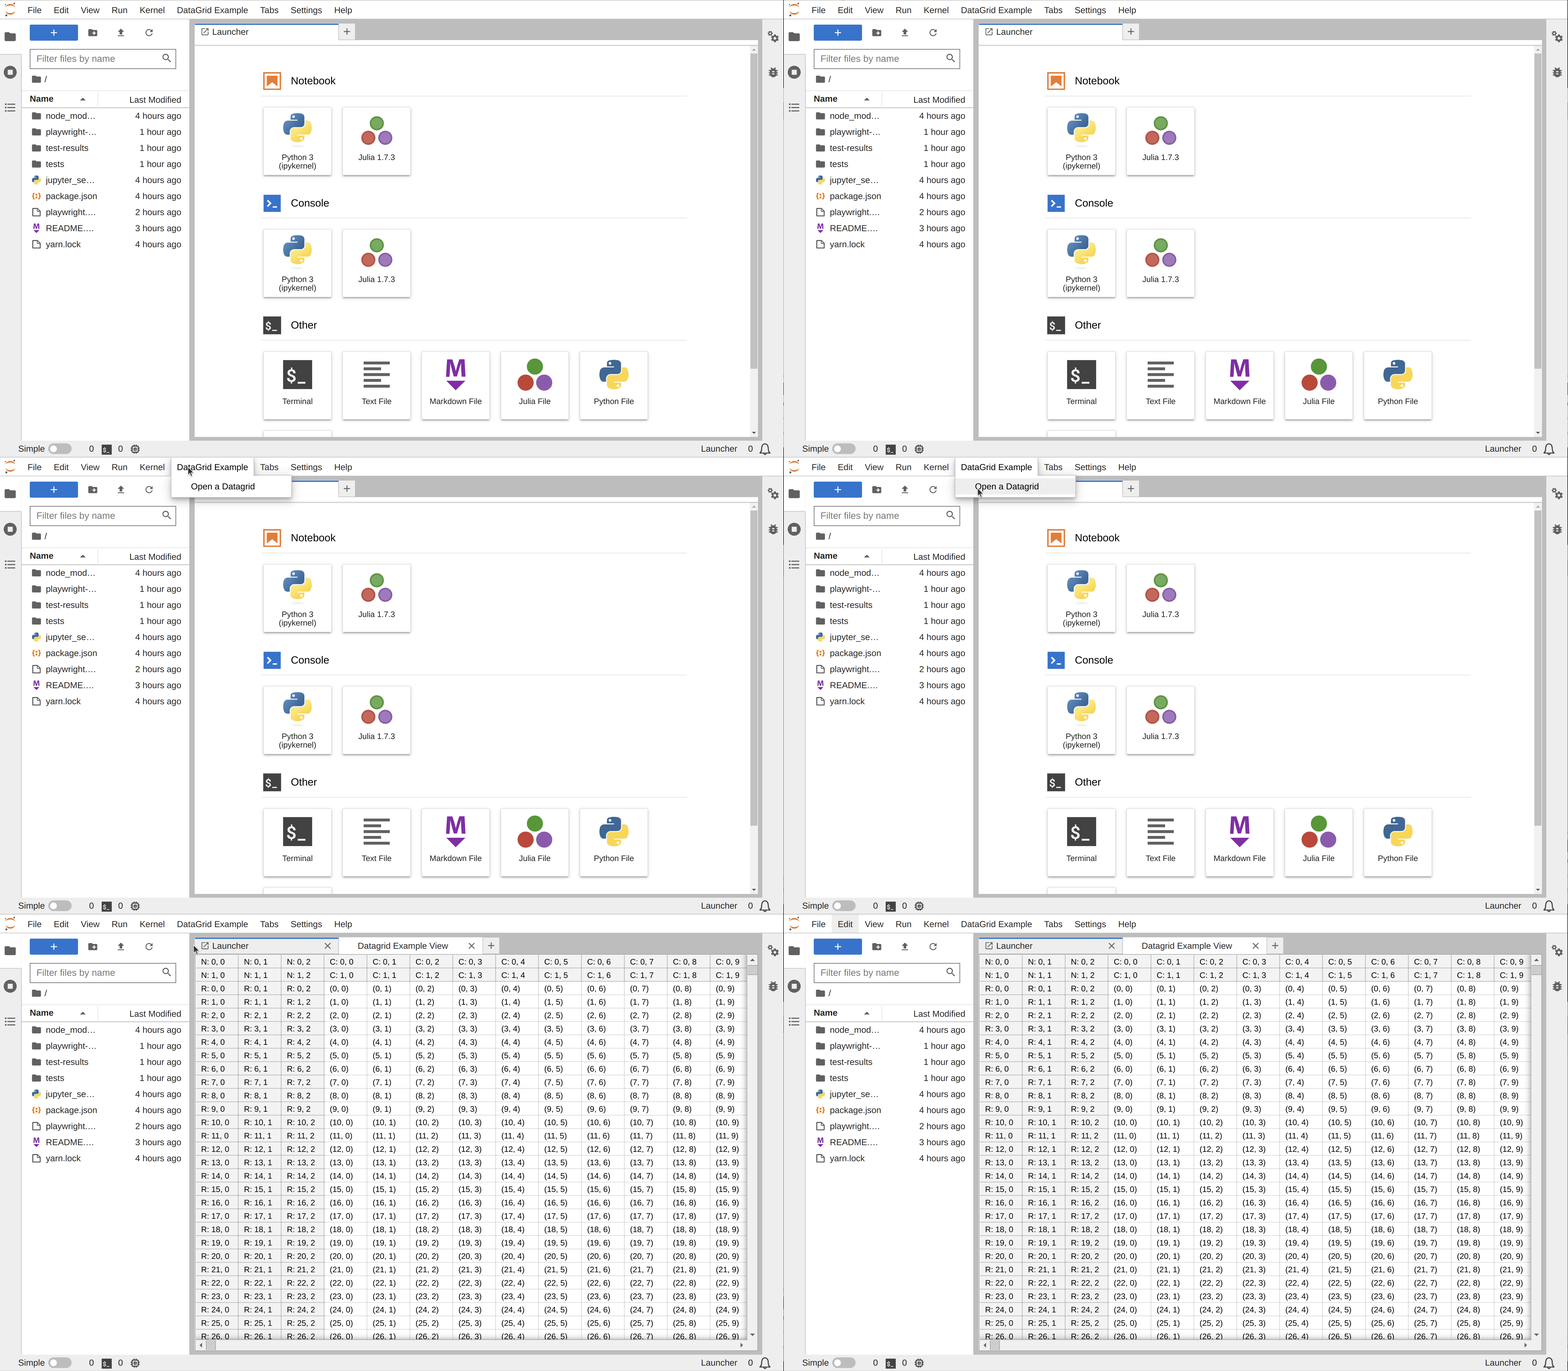
Display a Datagrid as a Lumino Widget.
Dual Compatibility
The dual compatibility examples demonstrates how to design an extension that can be
integrated similtaneously in JupyterLab and Jupyter Notebook v7+.
They are listed from the simplest to the most advanced case:
- Top Area Text Widget: Example working right away in both frontends.
- Shout Button: Example with a part only available in JupyterLab
- Clap Button: Example with elements added differently depending on
the frontends used.
Top Area Text Widget
Try it out:
| Frontend | JupyterLite | Binder |
|---|
| Lab | | |
| Notebook v7 | | |
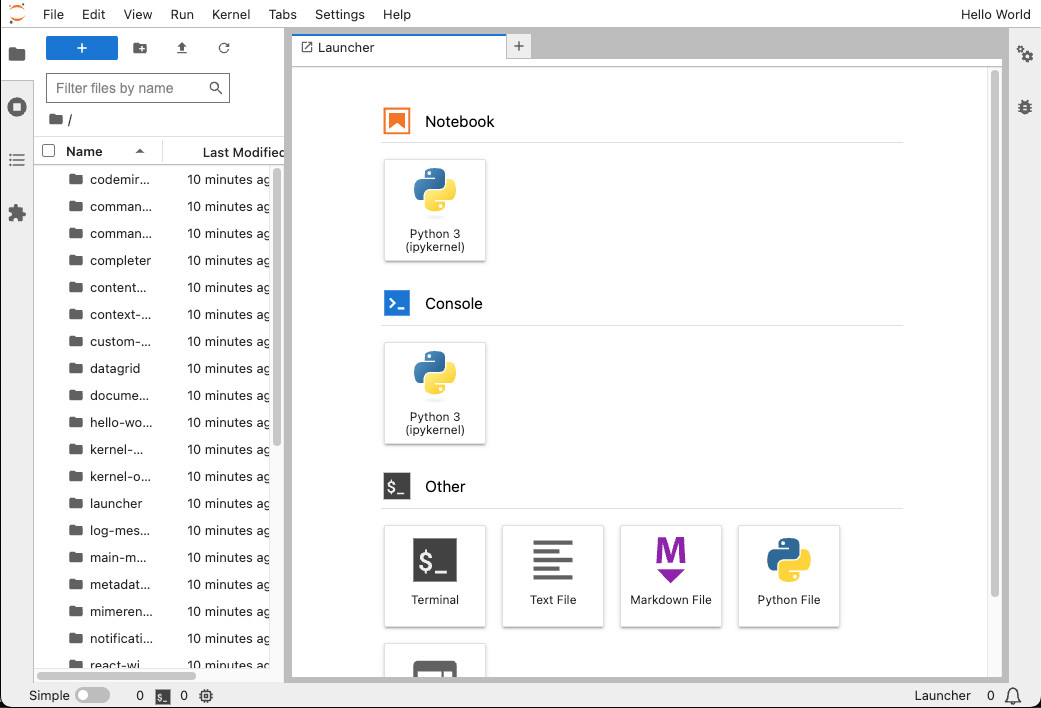
A very simple example that adds a basic text widget to the top area. See related video..
This example is part of the Extension Compatibility Guide.
Shout Button
Try it out:
| Frontend | JupyterLite | Binder |
|---|
| Lab | | |
| Notebook v7 | | |
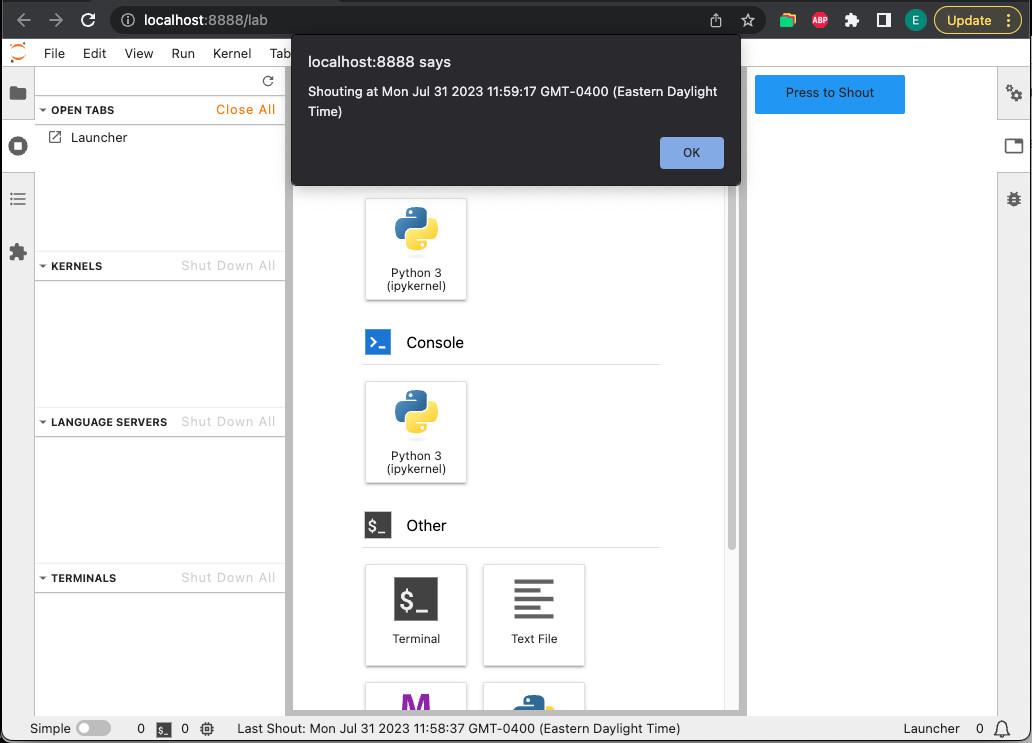
This example shows dual compatibility: Make an extension that is compatible
with both JupyterLab and Jupyter Notebook by using optional features. Adds
a shout button to the right sidebar, and if running in JupyterLab, also adds
a status bar widget. This example is part of the Extension Compatibility Guide.
Read more about this example on that page.
Clap Button
Try it out:
| Frontend | JupyterLite | Binder |
|---|
| Lab | | |
| Notebook v7 | | |
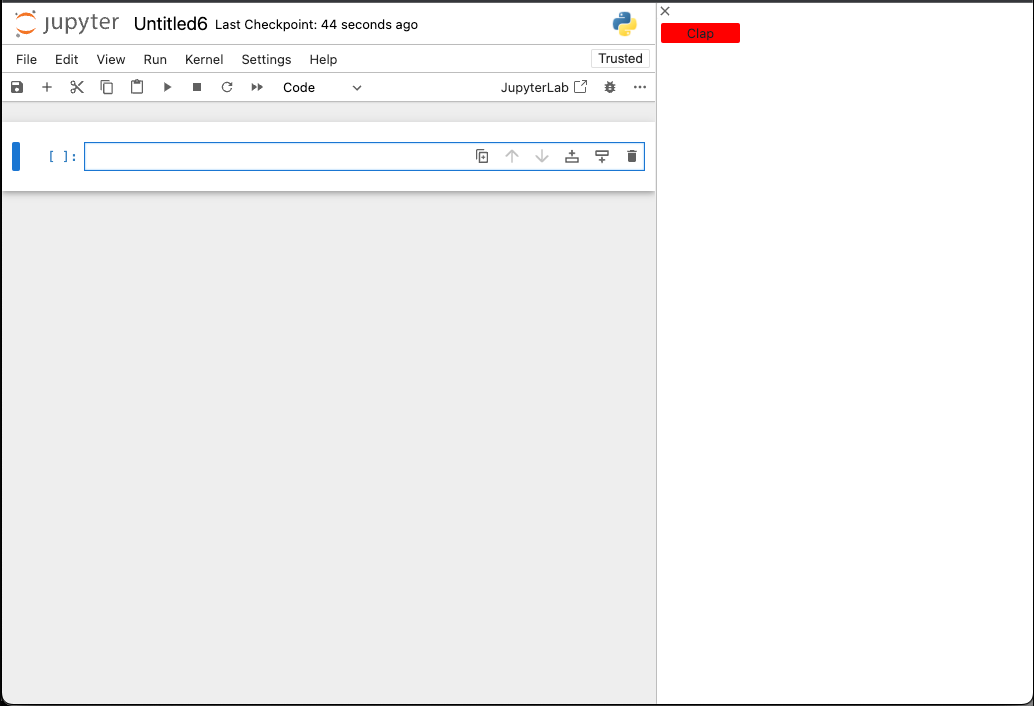
This example shows an alternate method for achieving dual compatibility: Make an
extension that is compatible with both JupyterLab and Jupyter Notebook by exporting
multiple plugins and using "required" features to select different behaviors. Adds a clap button to
the top area (in JupyterLab) or the right sidebar (Jupyter Notebook). This example is part
of the Extension Compatibility Guide.
Read more about this example on that page.
Collaborative Document
Try it out:
JupyterLite is not yet supported for this example.
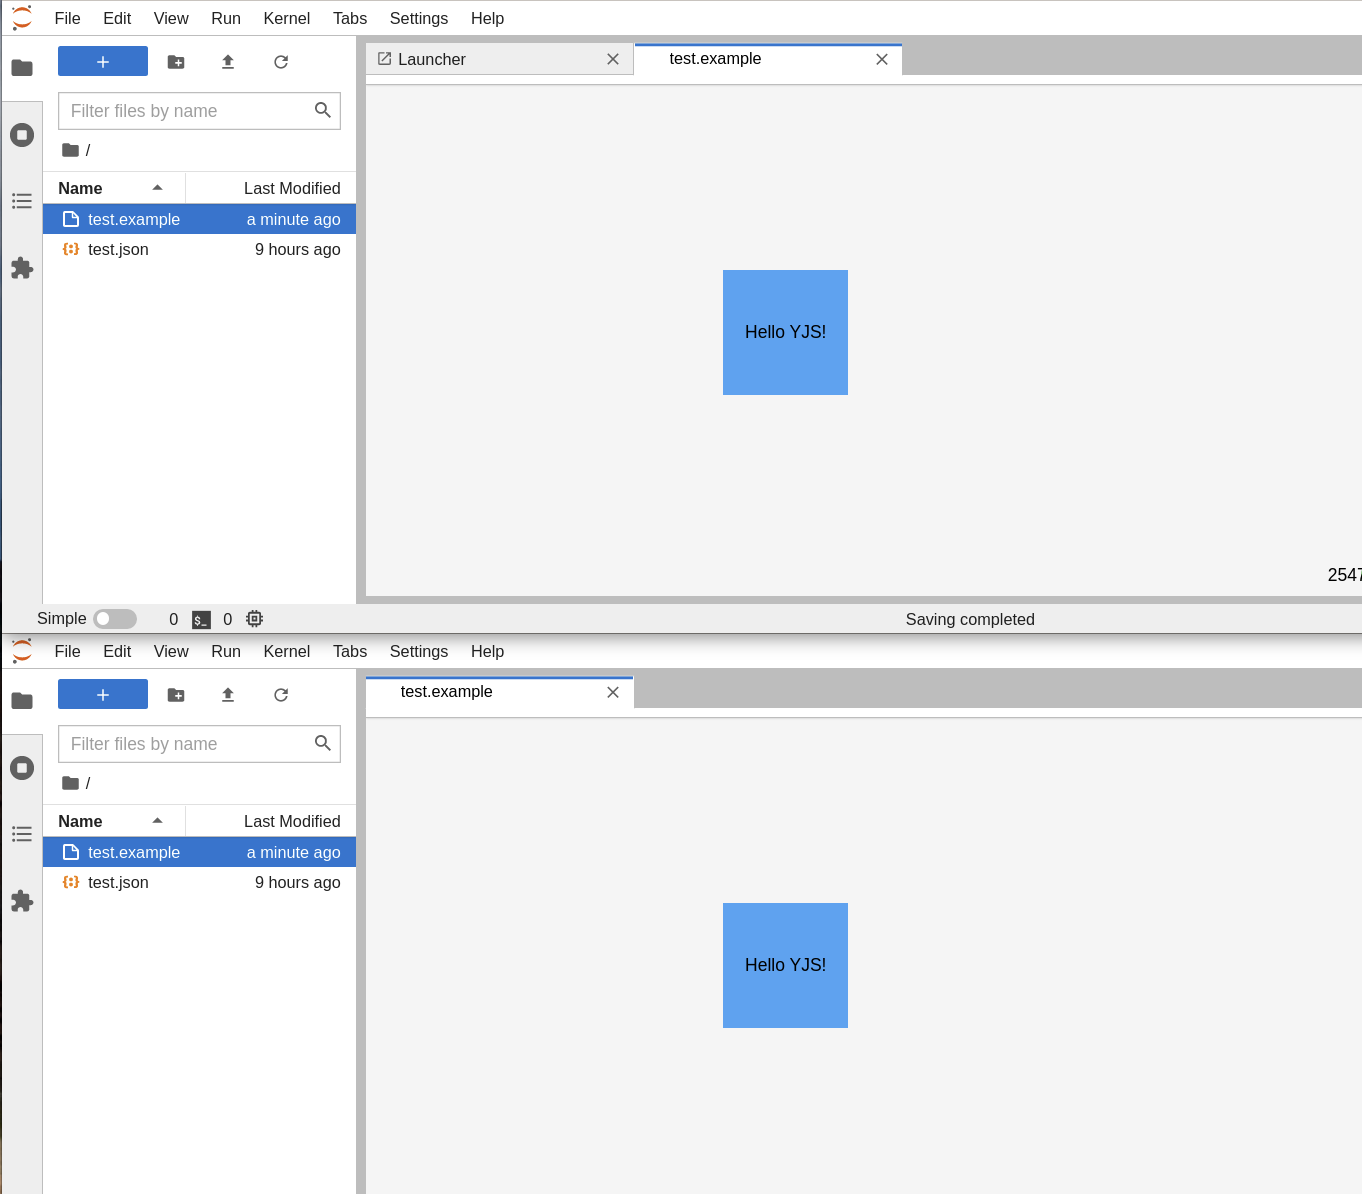
Create new documents and make them collaborative.
Hello World
Try it out:
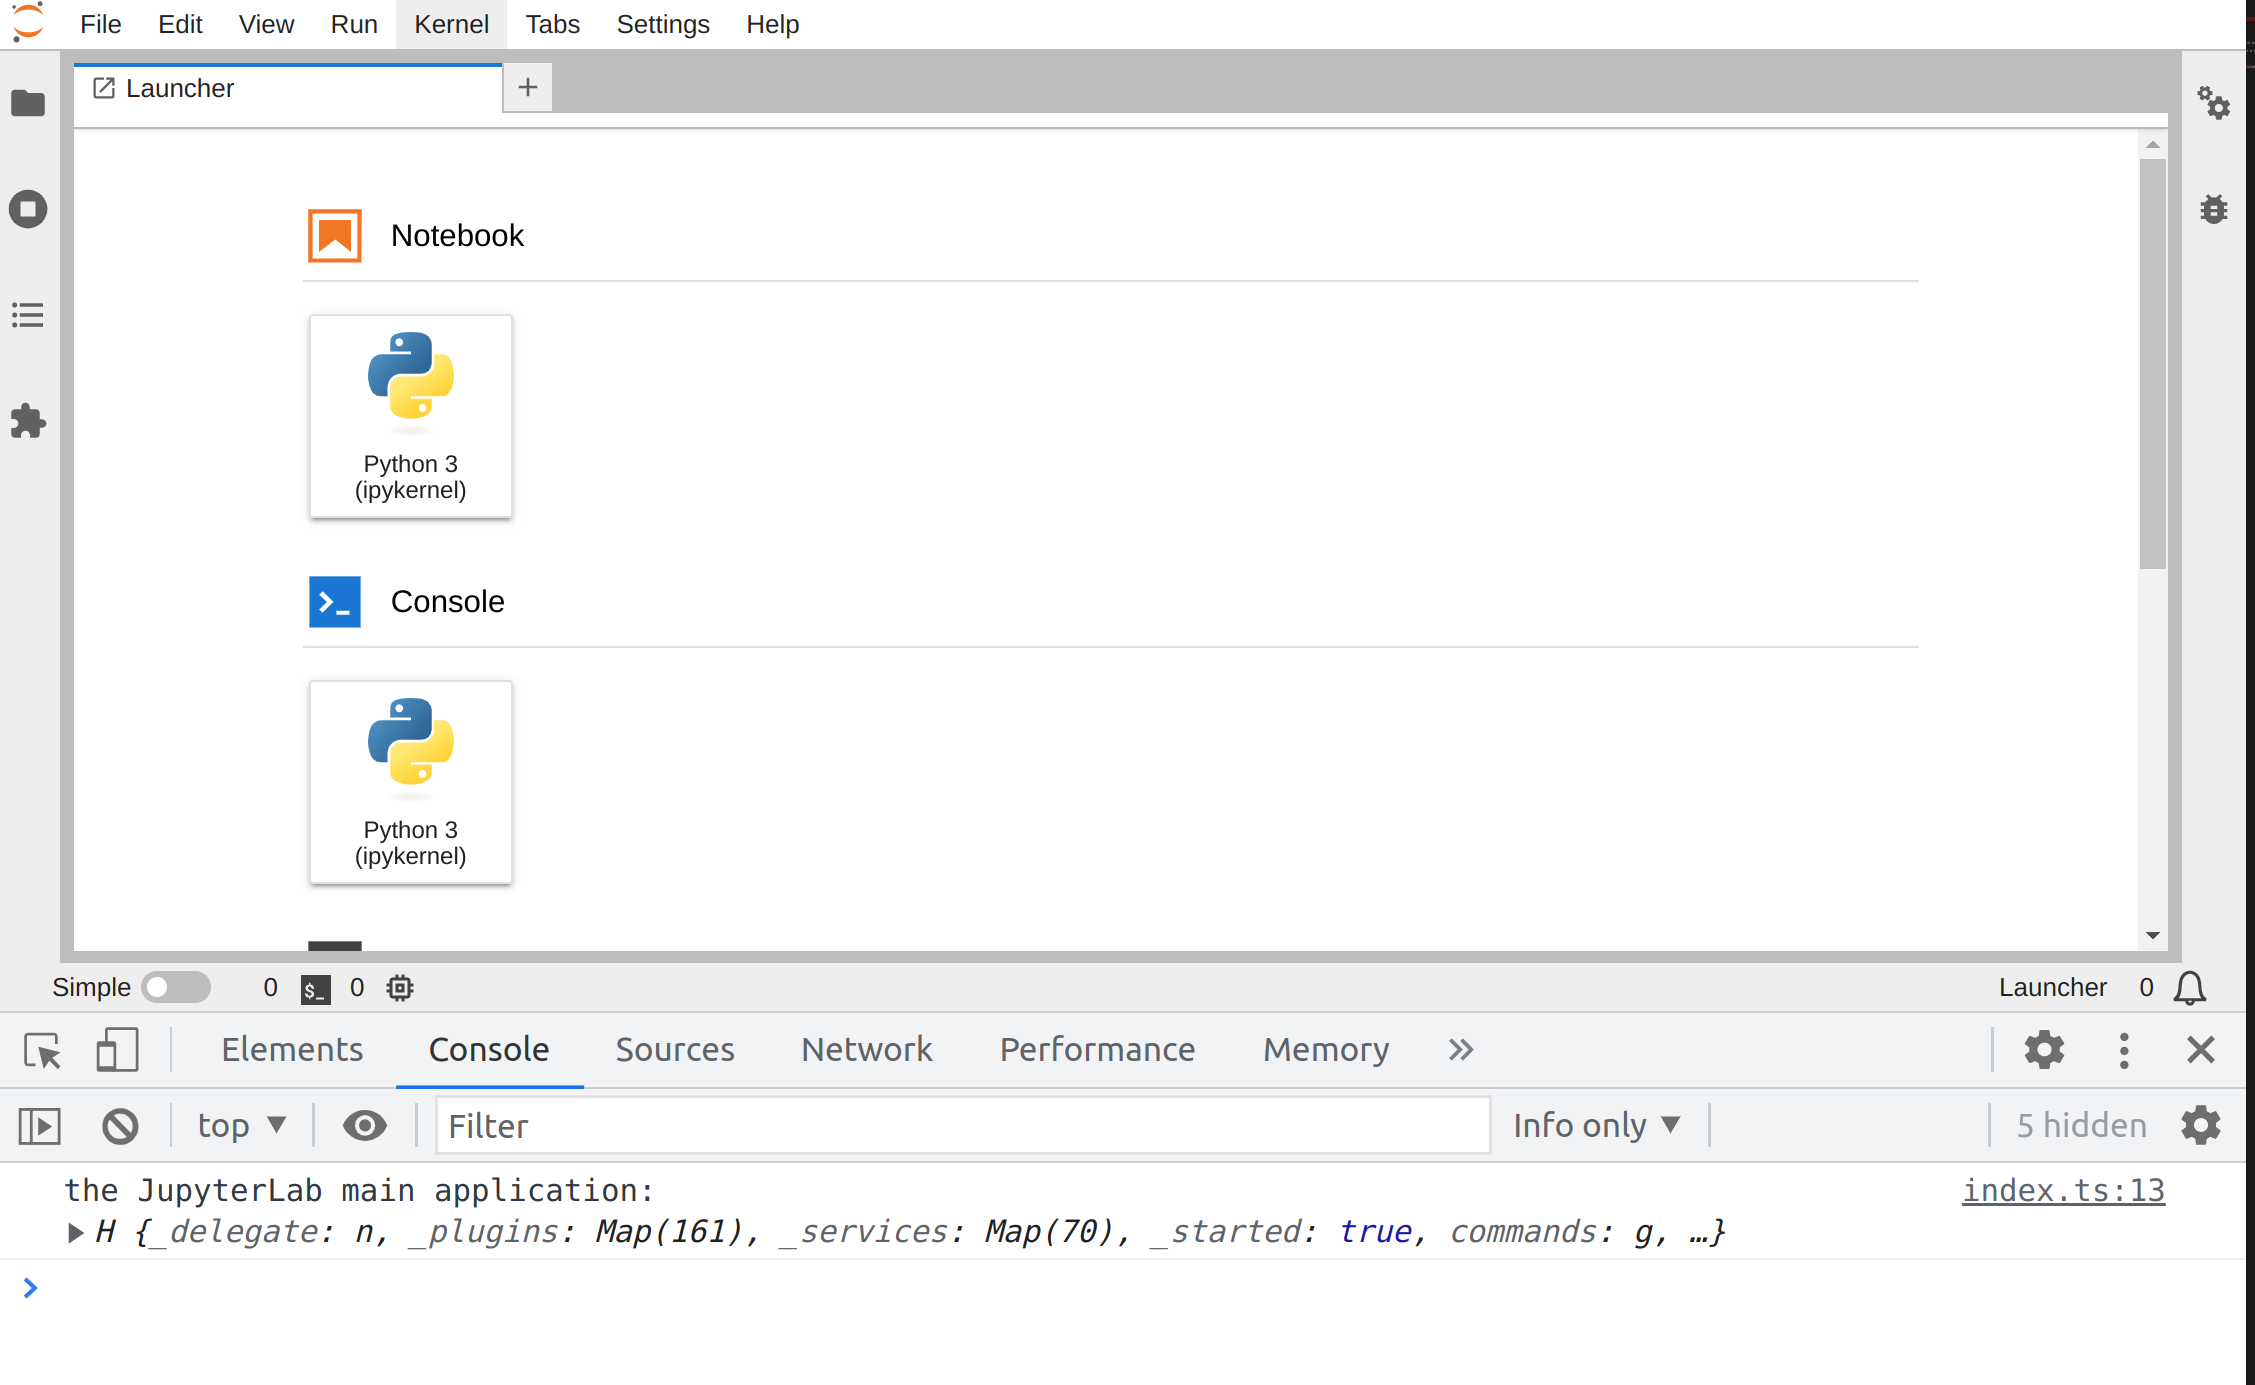
Set up the development environment and print to the console.
Kernel Messaging
Try it out:
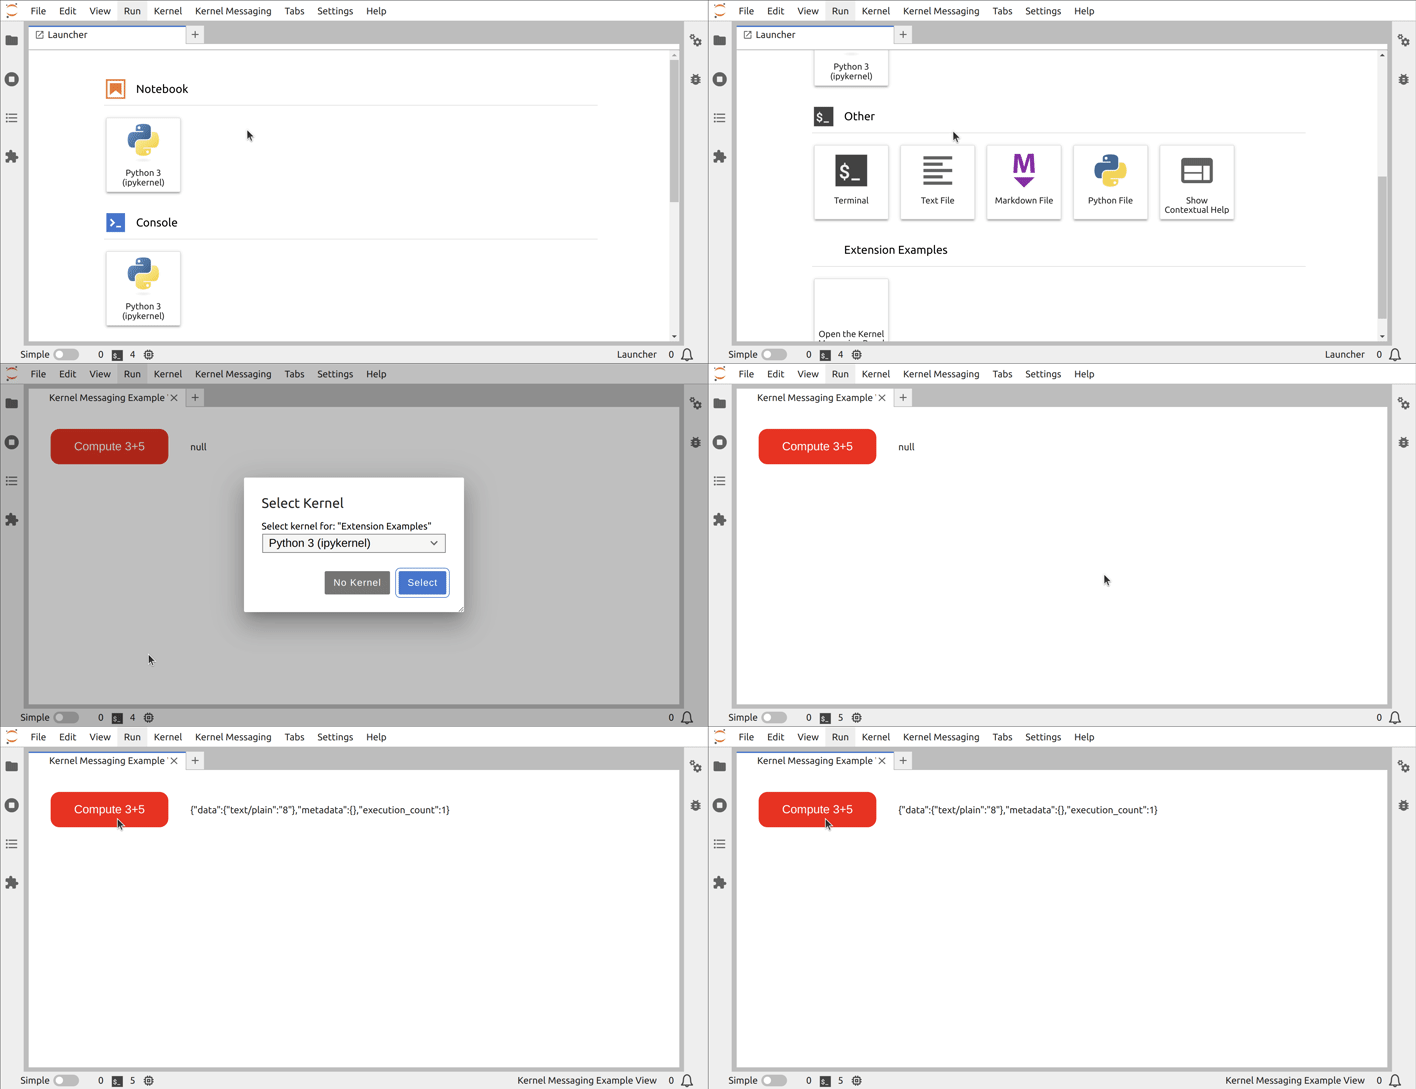
Interact with a kernel from an extension.
Kernel Output
Try it out:
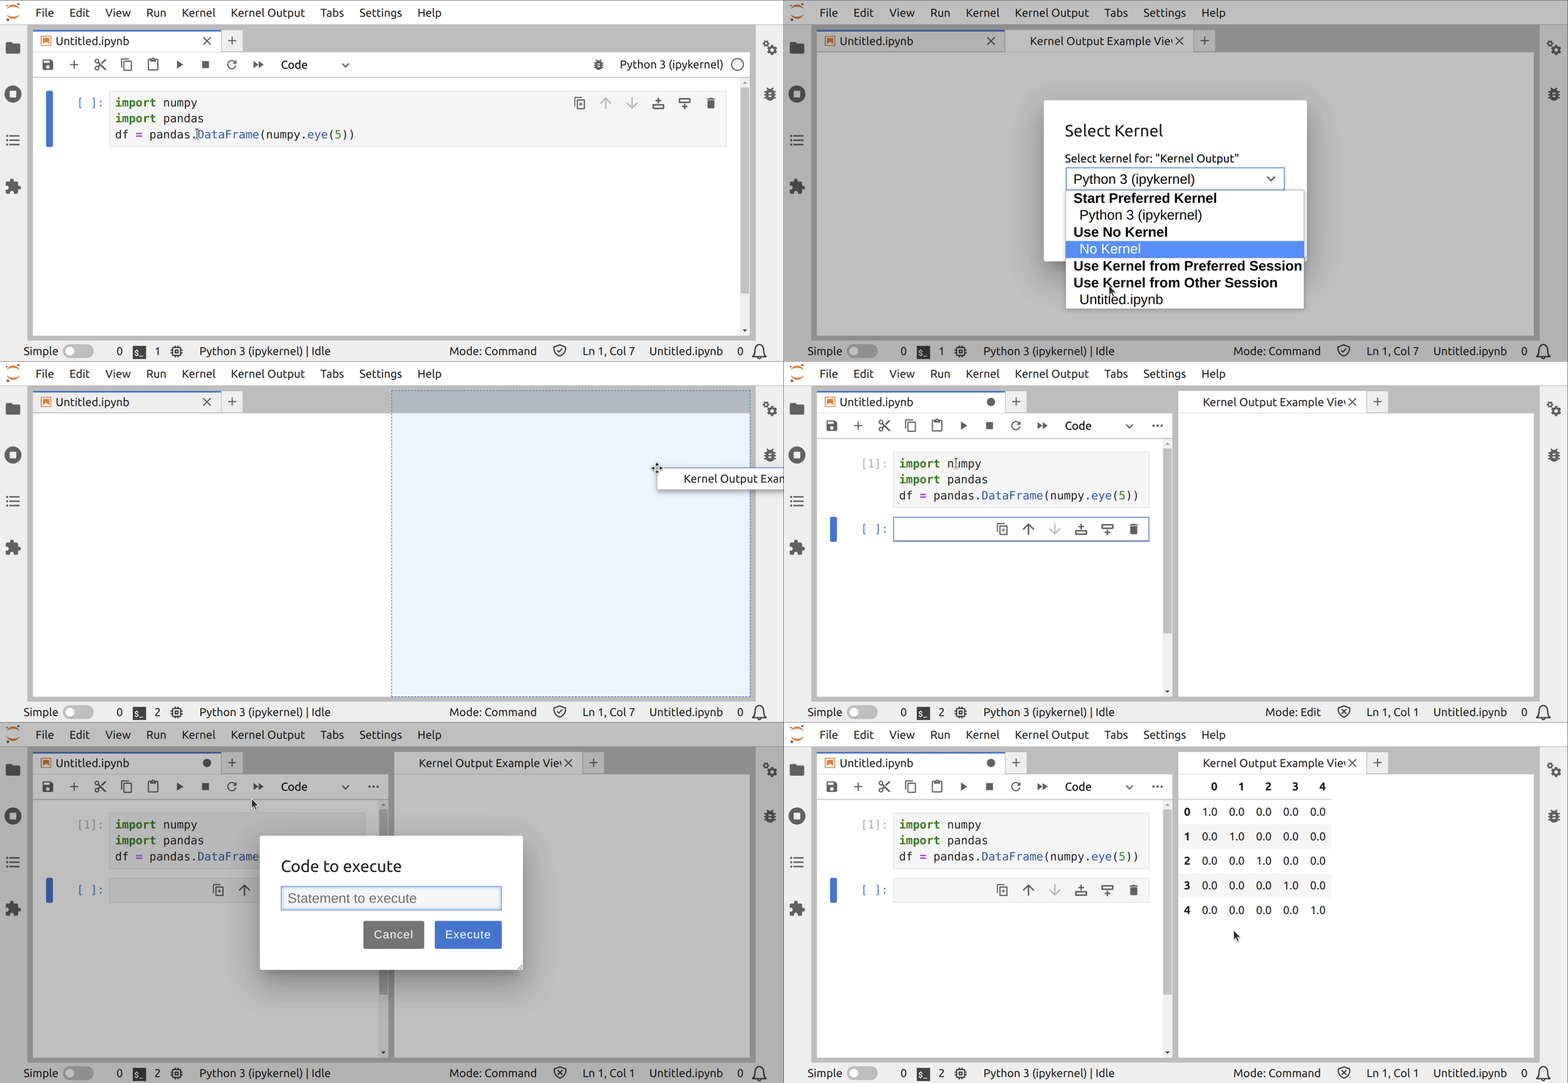
Render kernel messages in an OutputArea.
Launcher
Try it out:
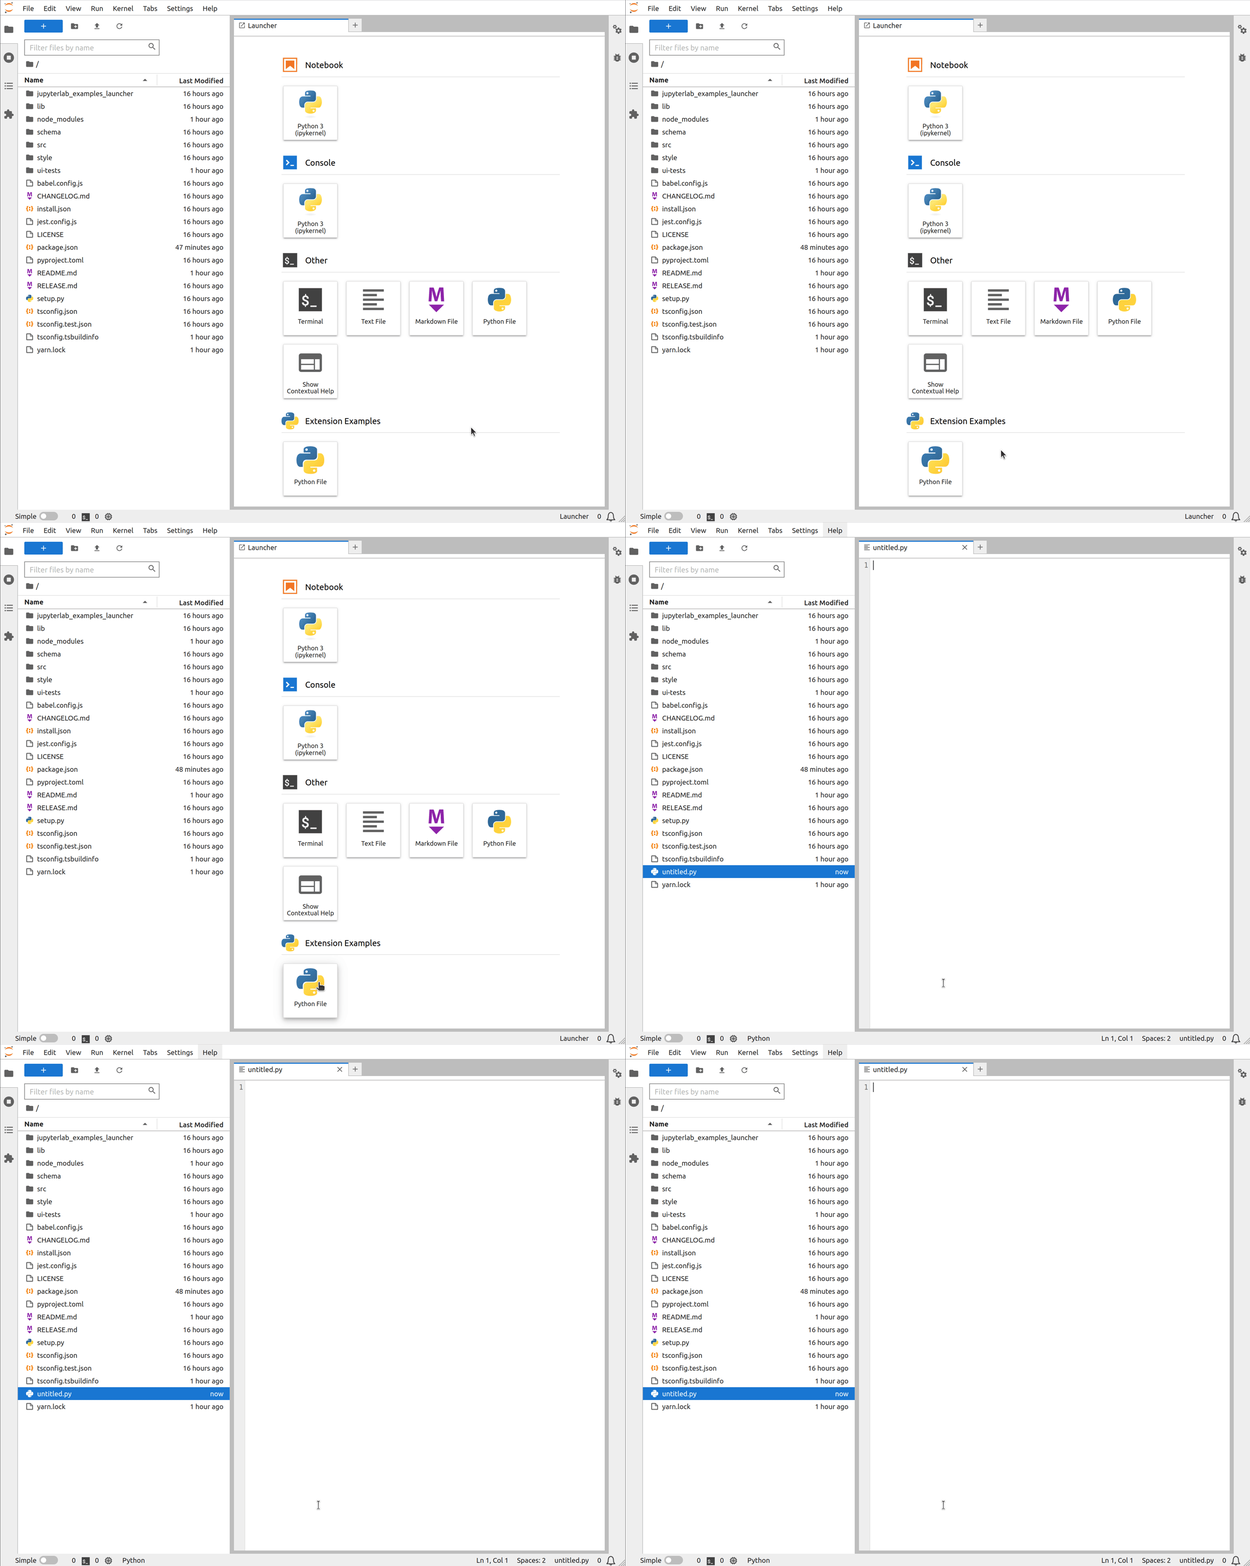
Start your extension from the Launcher.
Log Messages
Try it out:
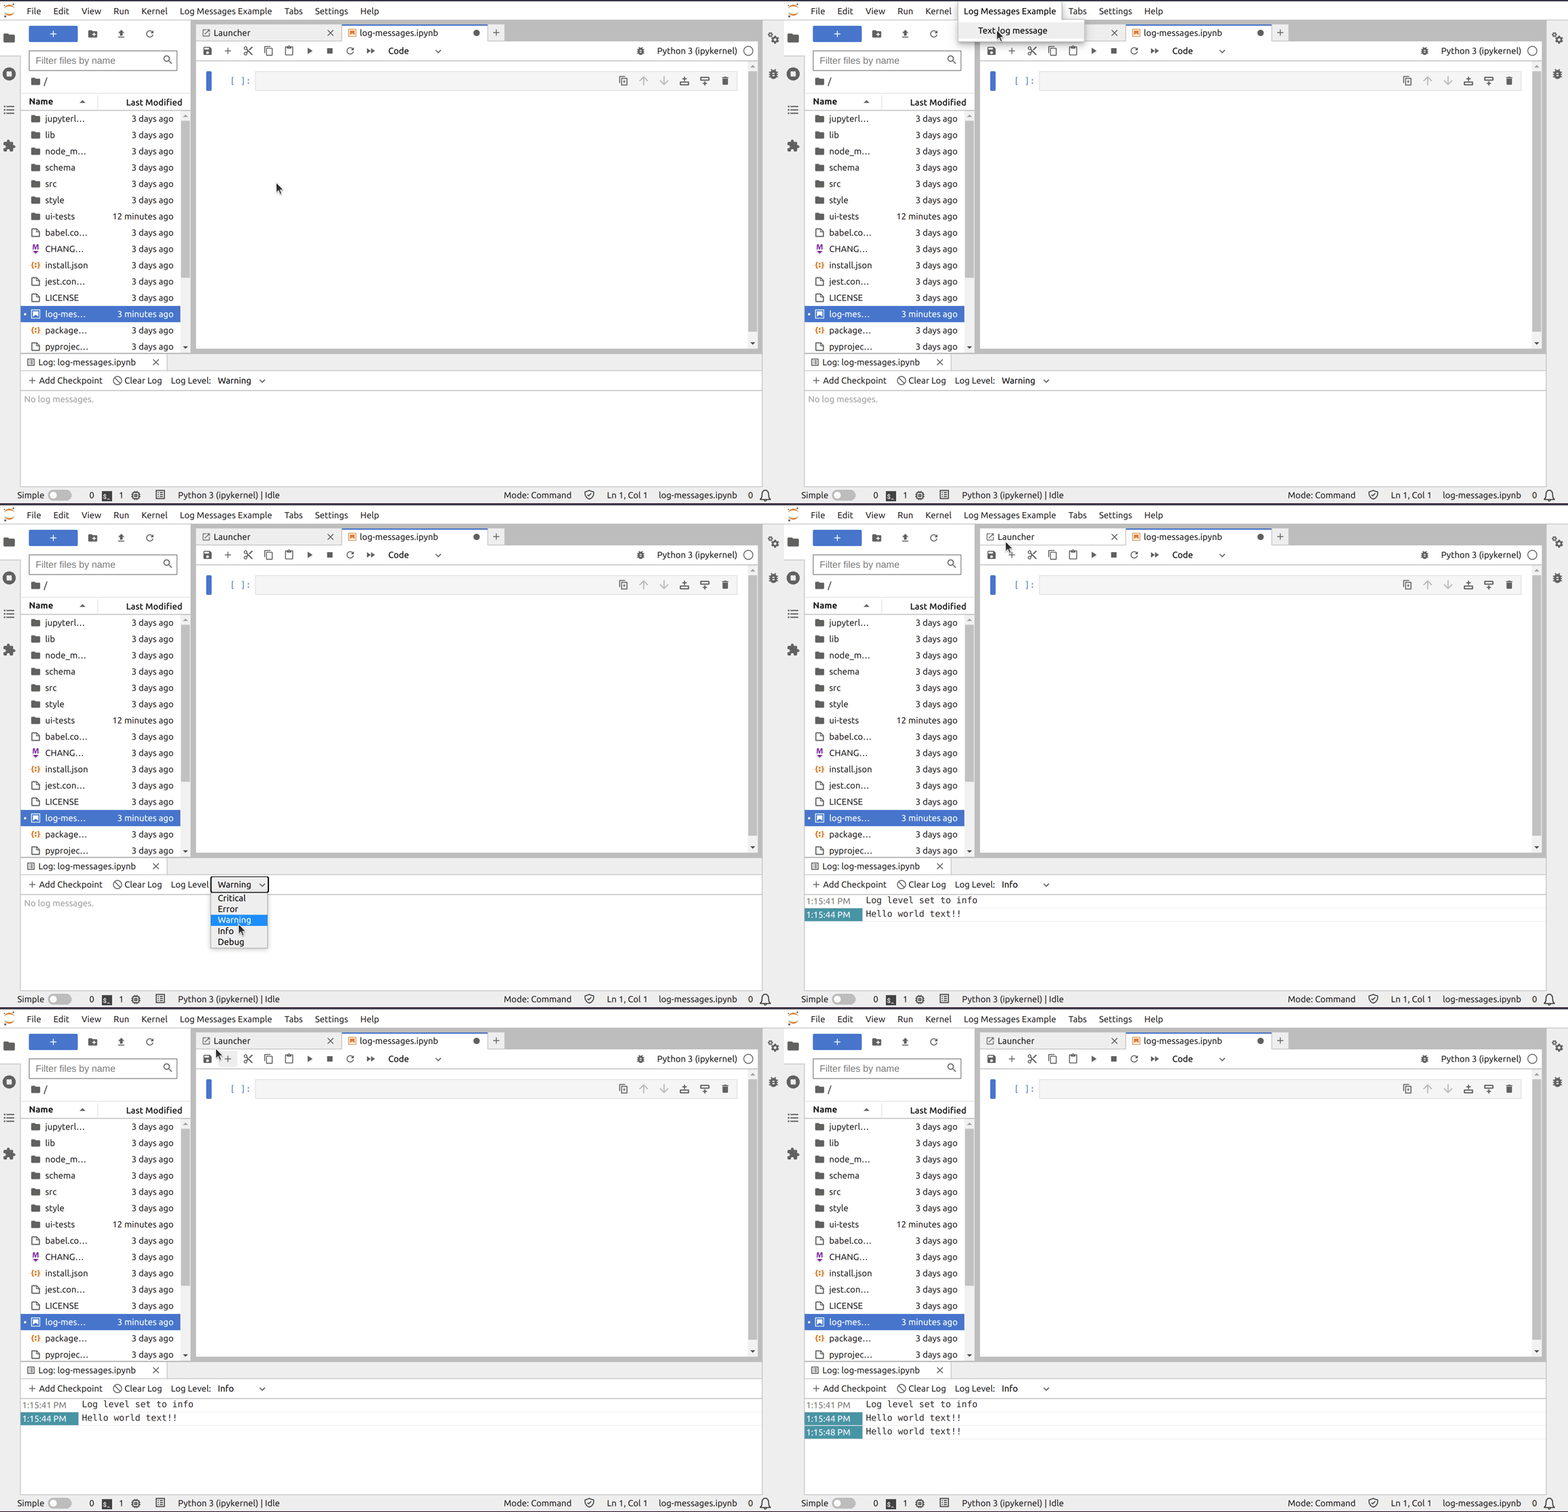
Send a log message to the log console.
Main Menu
Try it out:
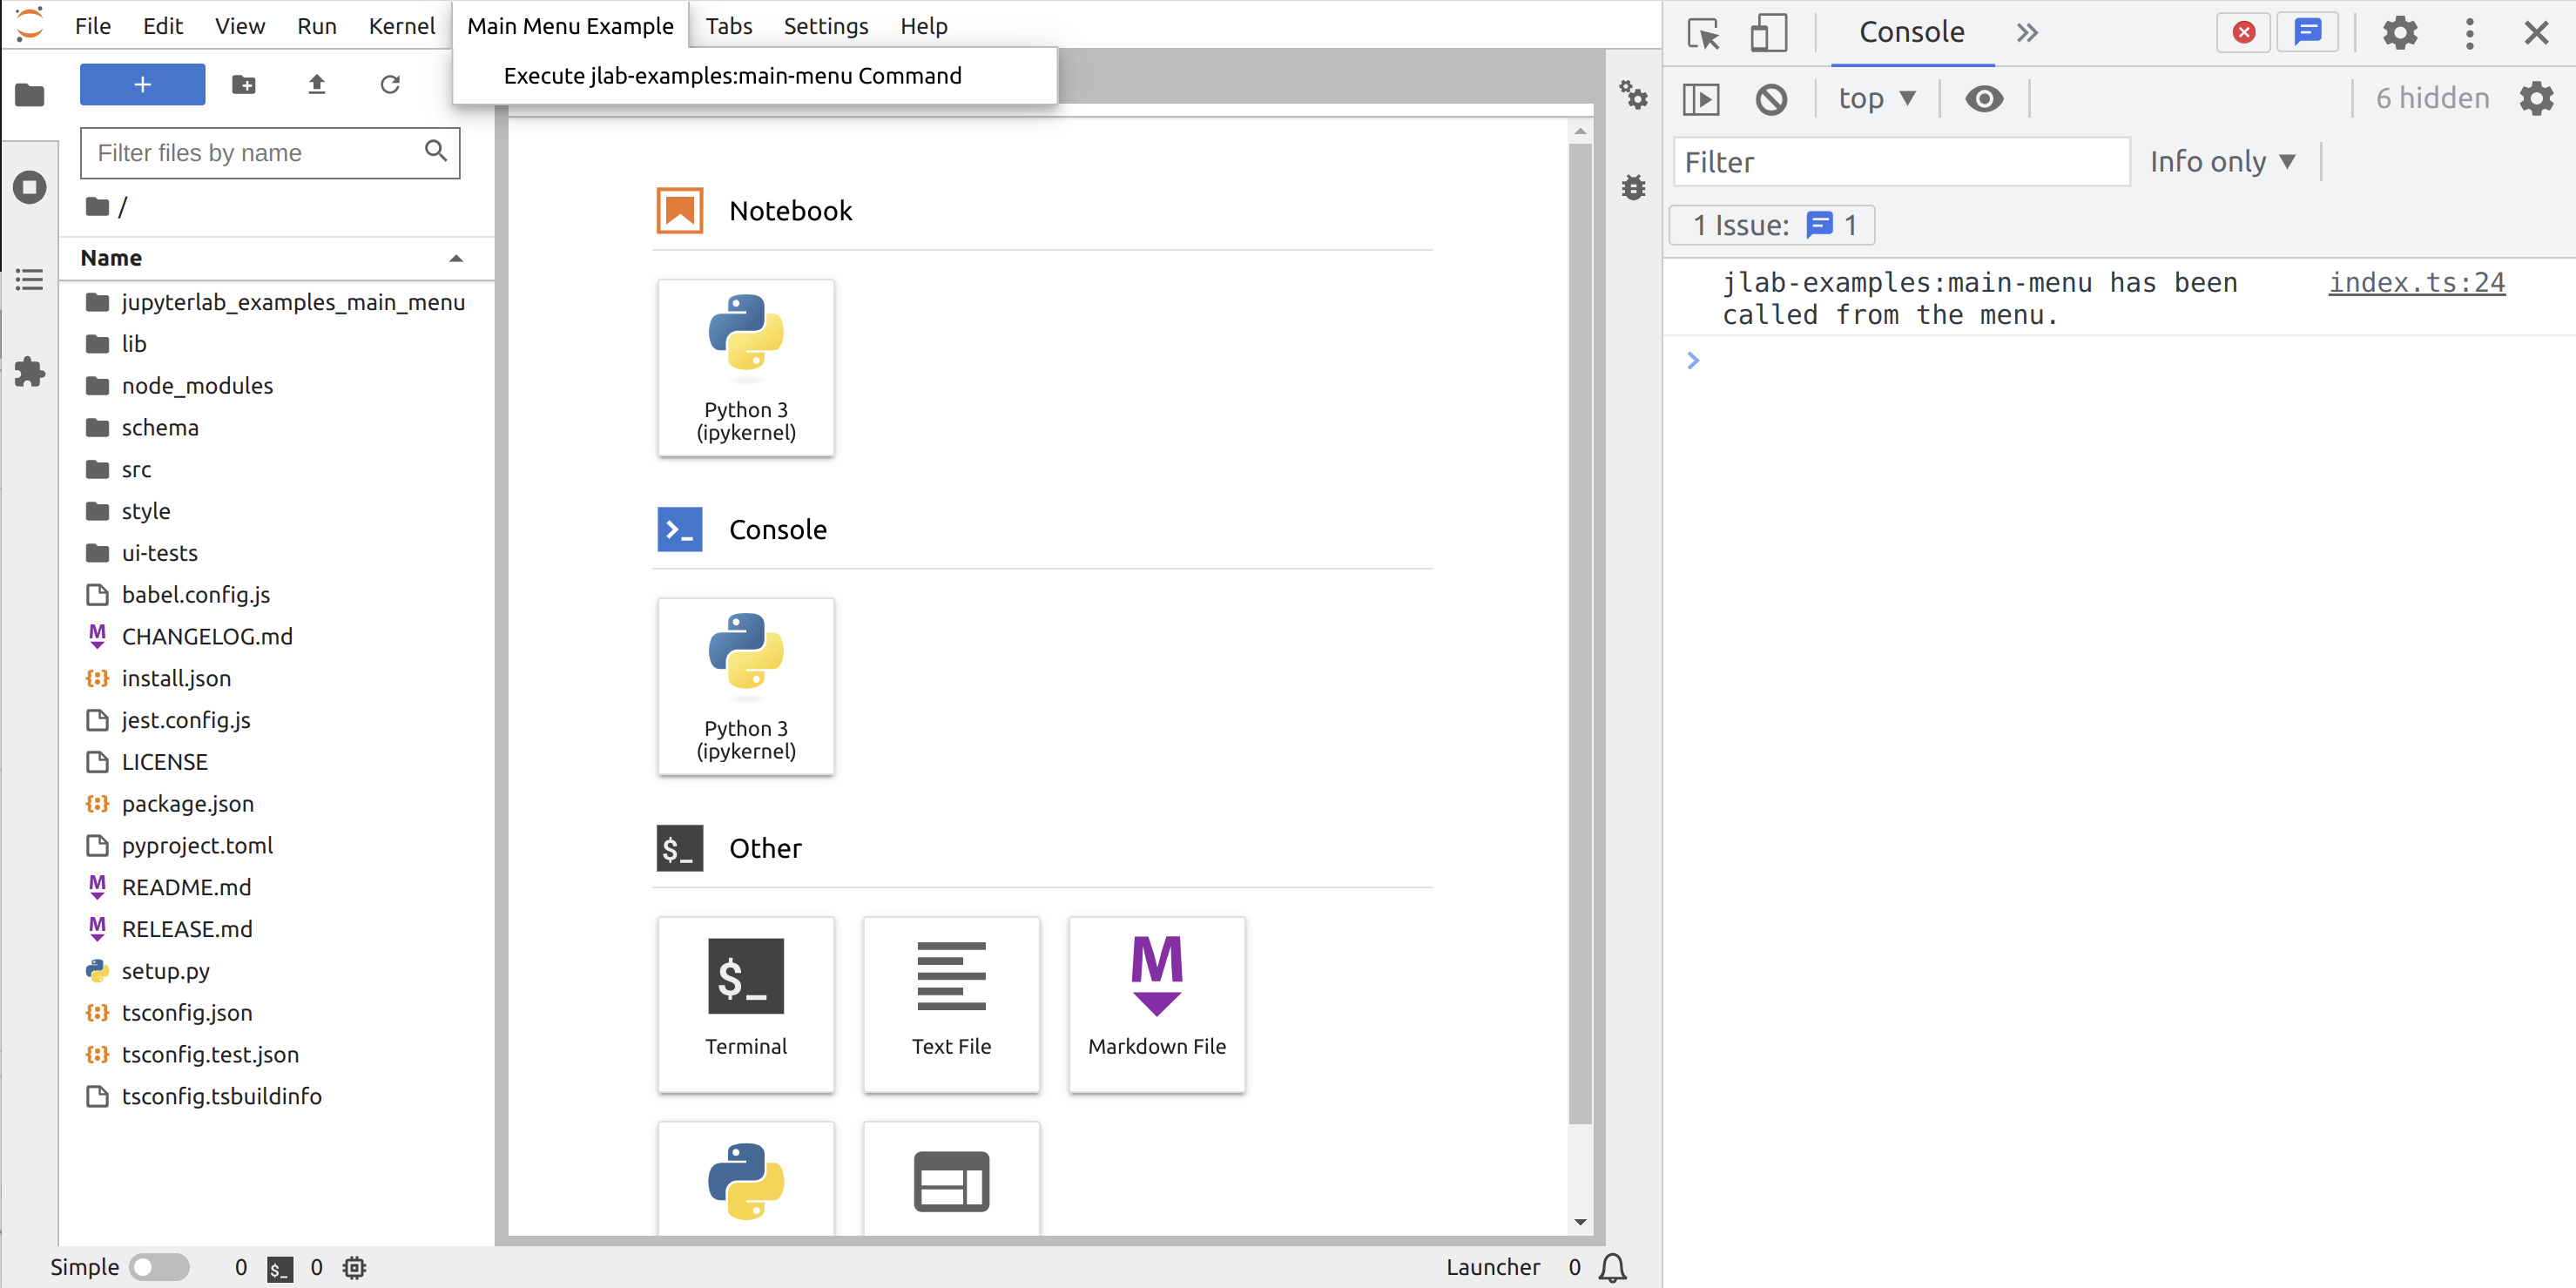
Add a Menu to the main app.
Metadata Form
Try it out:
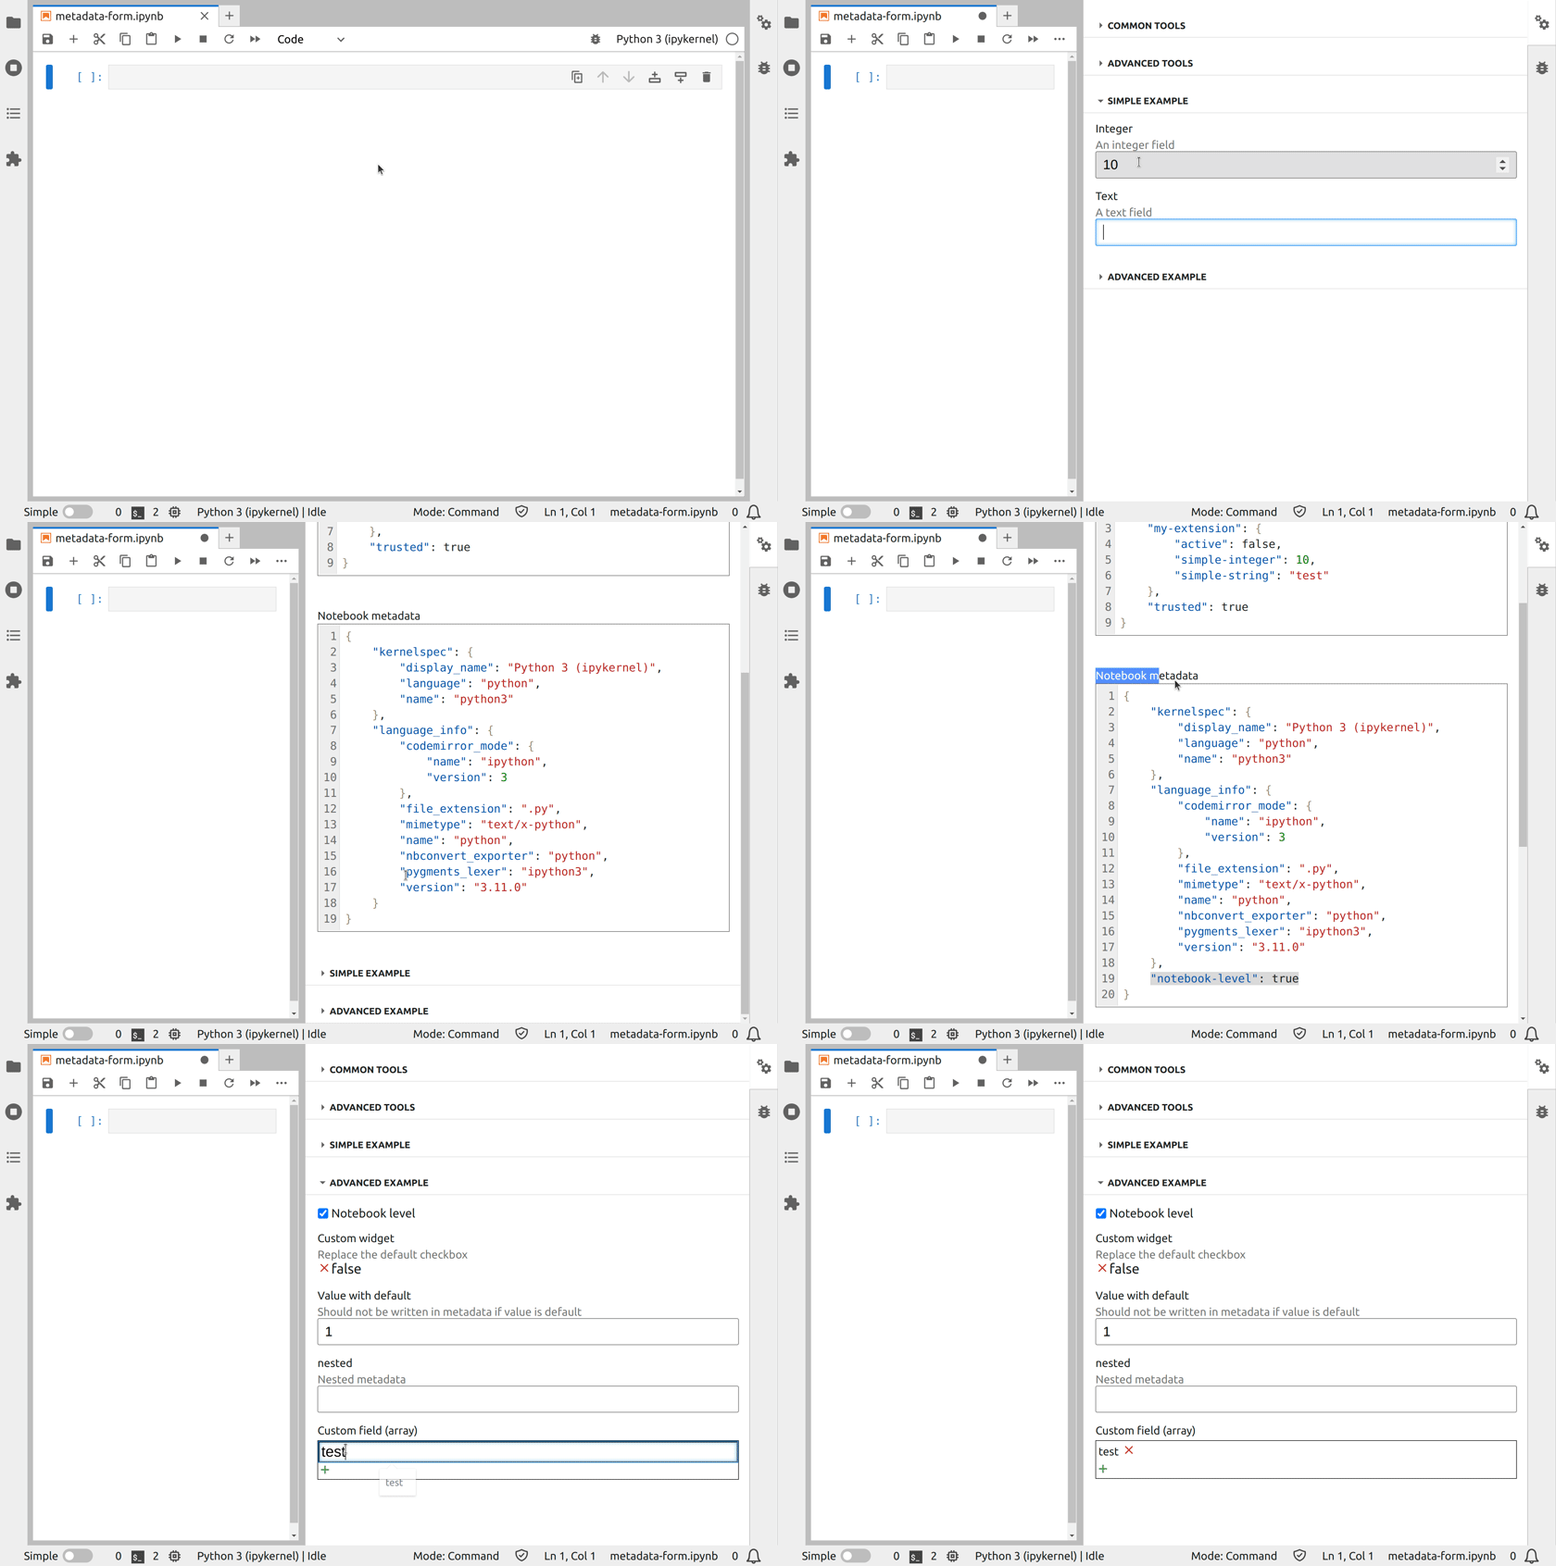
Add user interface to edit cell or notebook metadata.
MIME Renderer
Try it out:
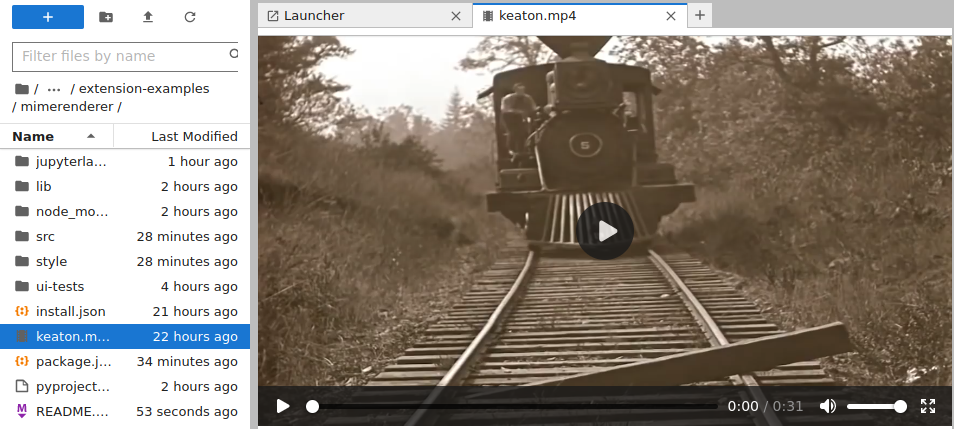
Add a MIME renderer for mp4 content to the application.
Notifications
Try it out:
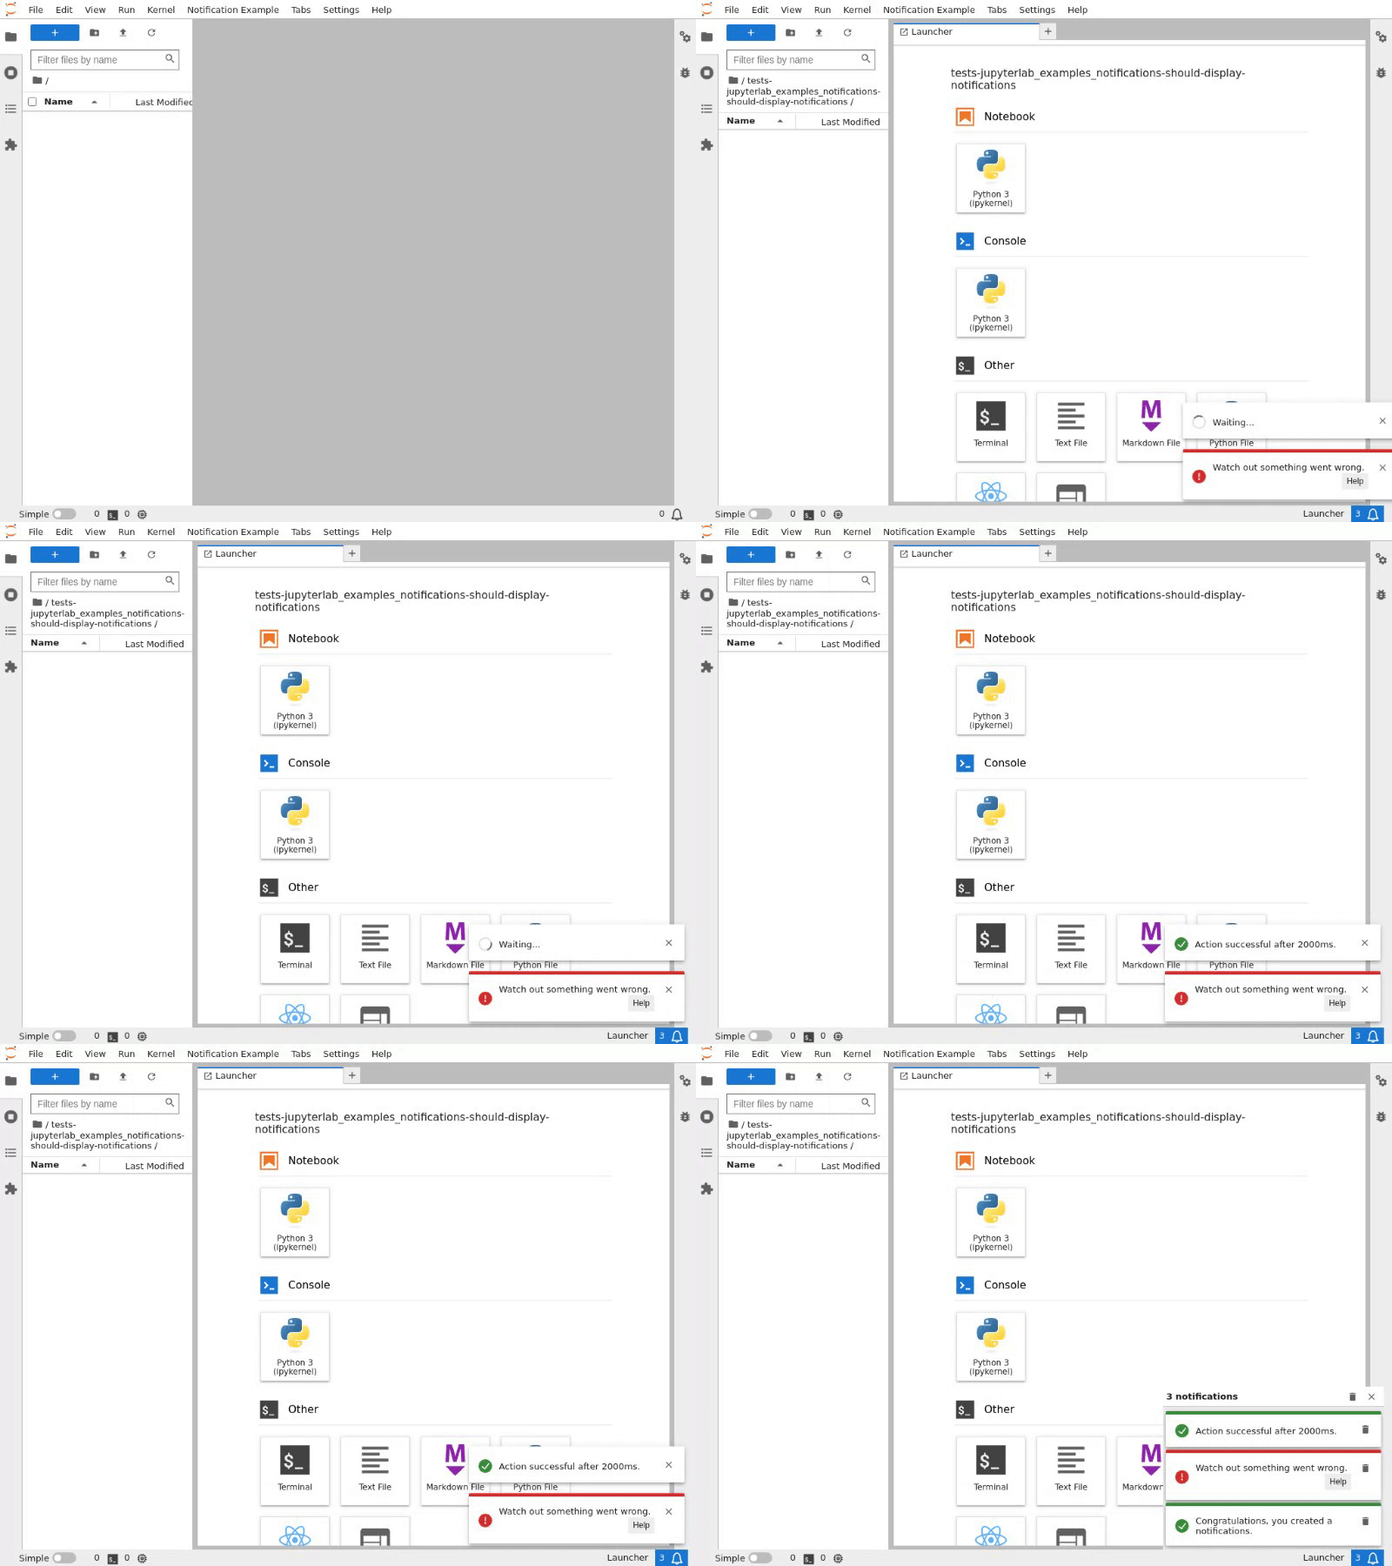
Emit notifications.
React Widget
Try it out:
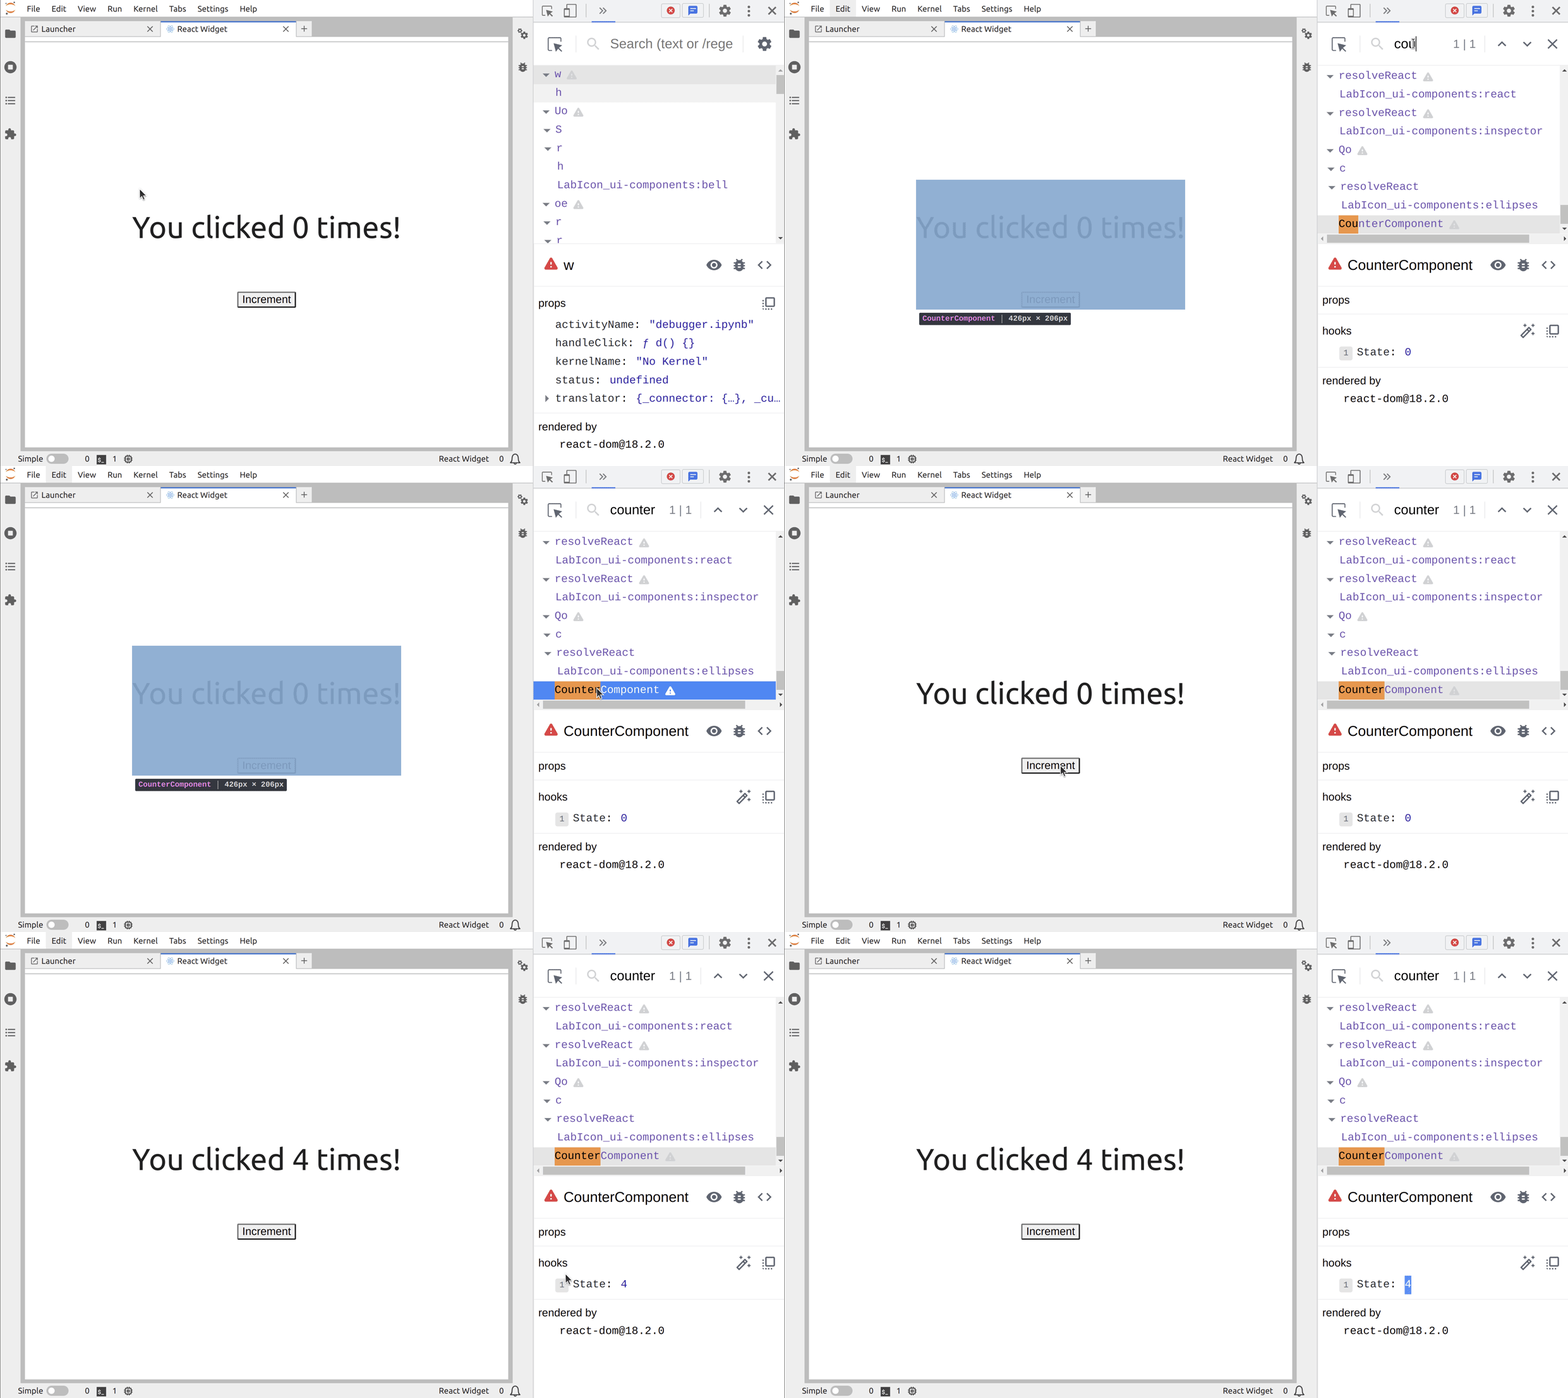
Create a React.js Widget in JupyterLab.
Server Hello World
Try it out:
JupyterLite is not supported for this example by design.
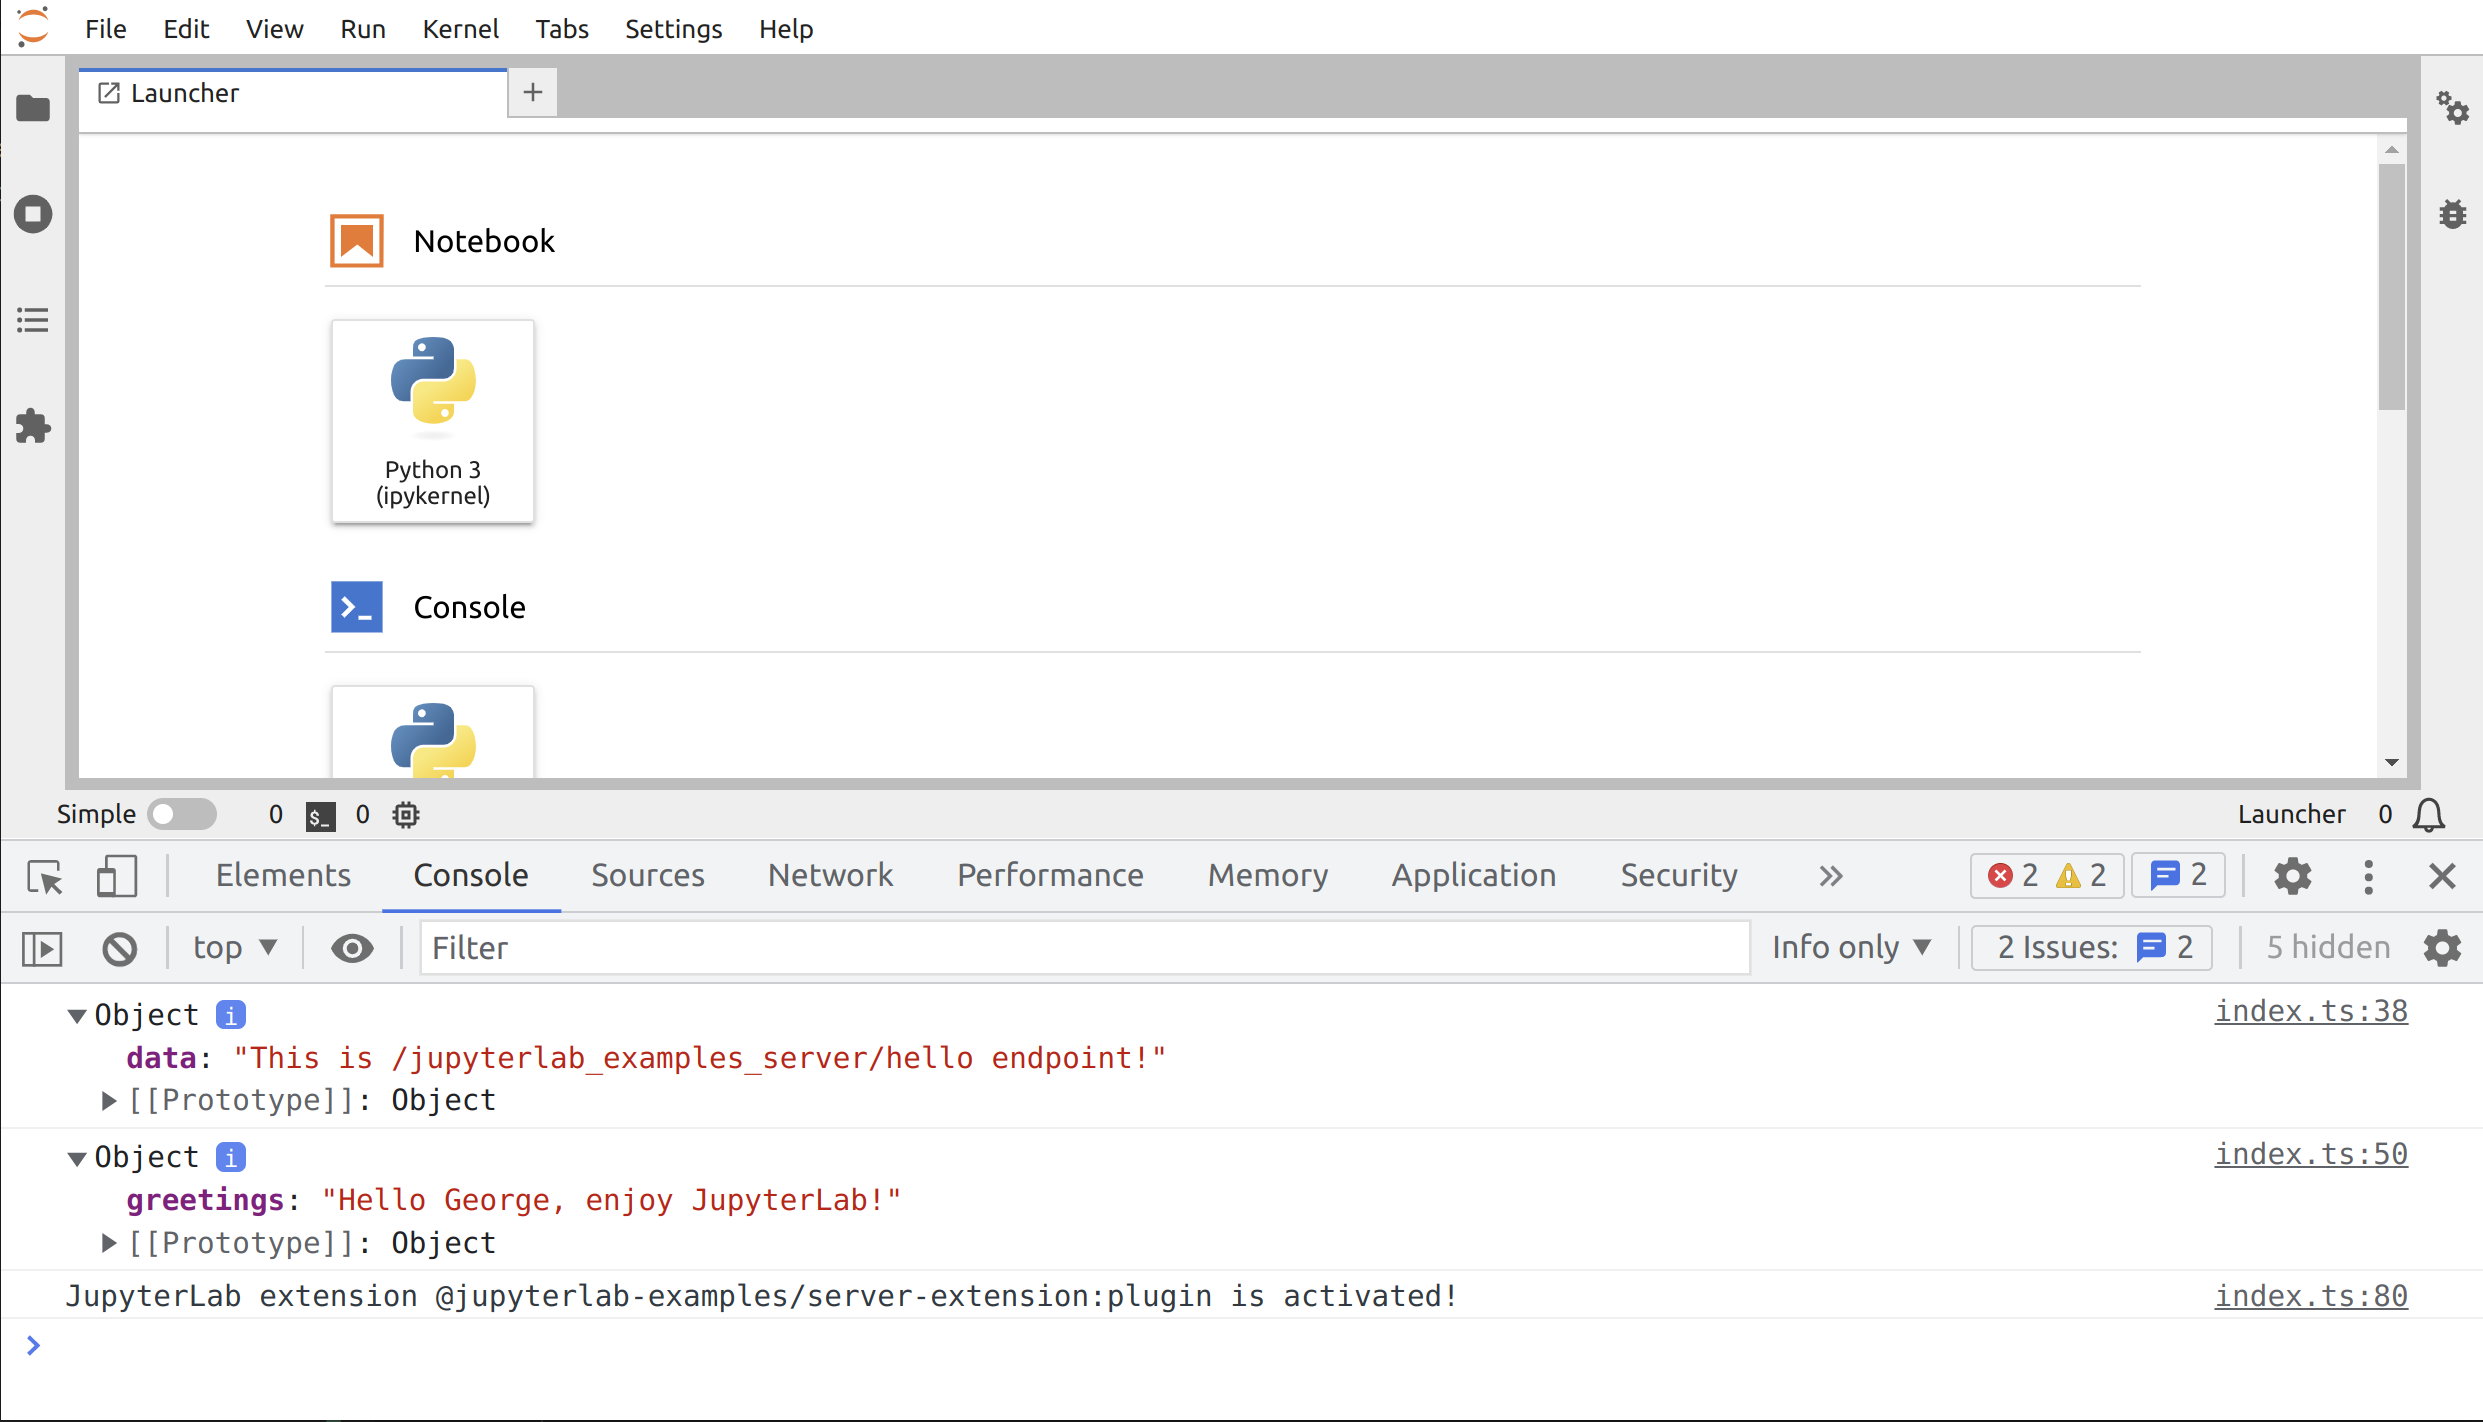
Create a minimal extension with backend (i.e. server) and frontend parts.
Settings
Try it out:
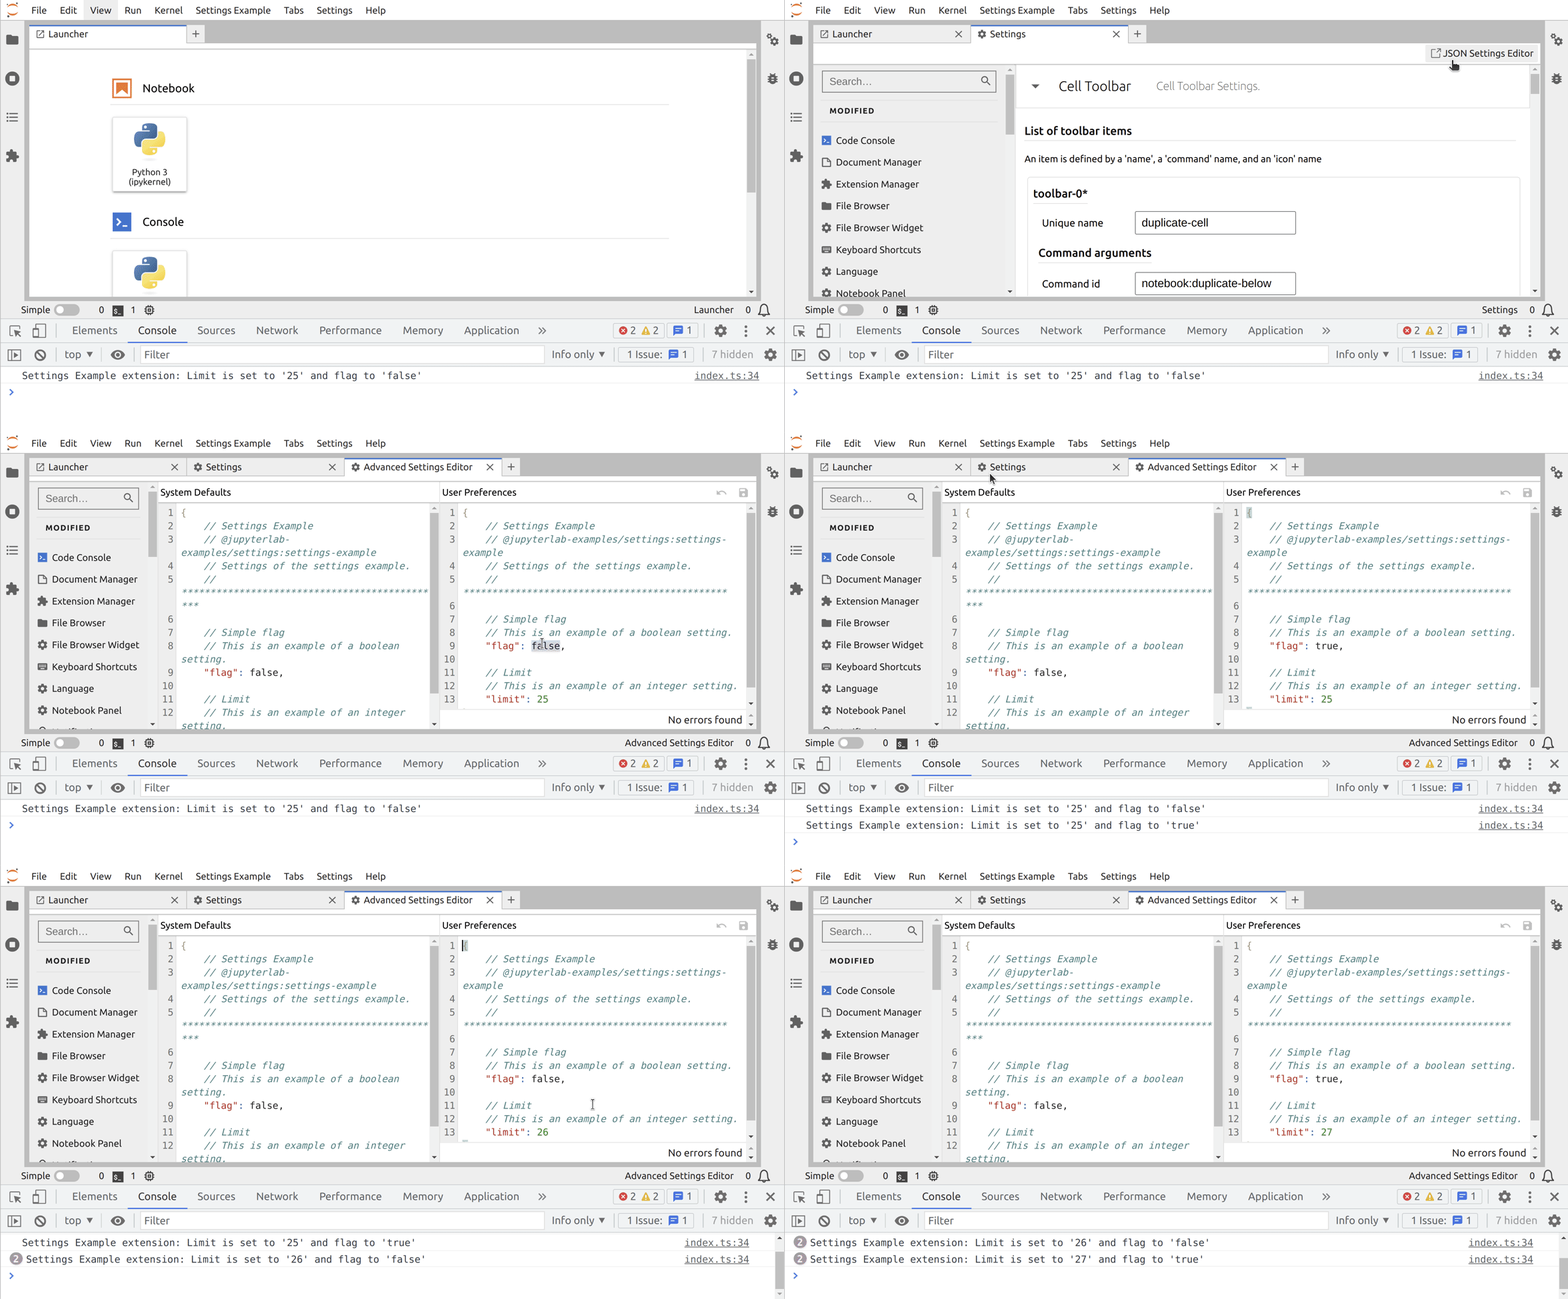
Create and use new Settings for your extension.
Signals
Try it out:
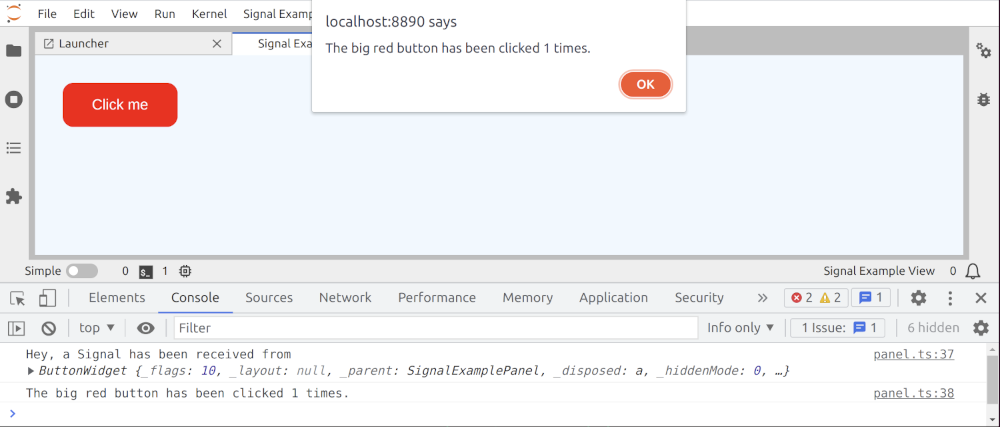
Use Signals to allow Widgets communicate with each others.
State
Try it out:
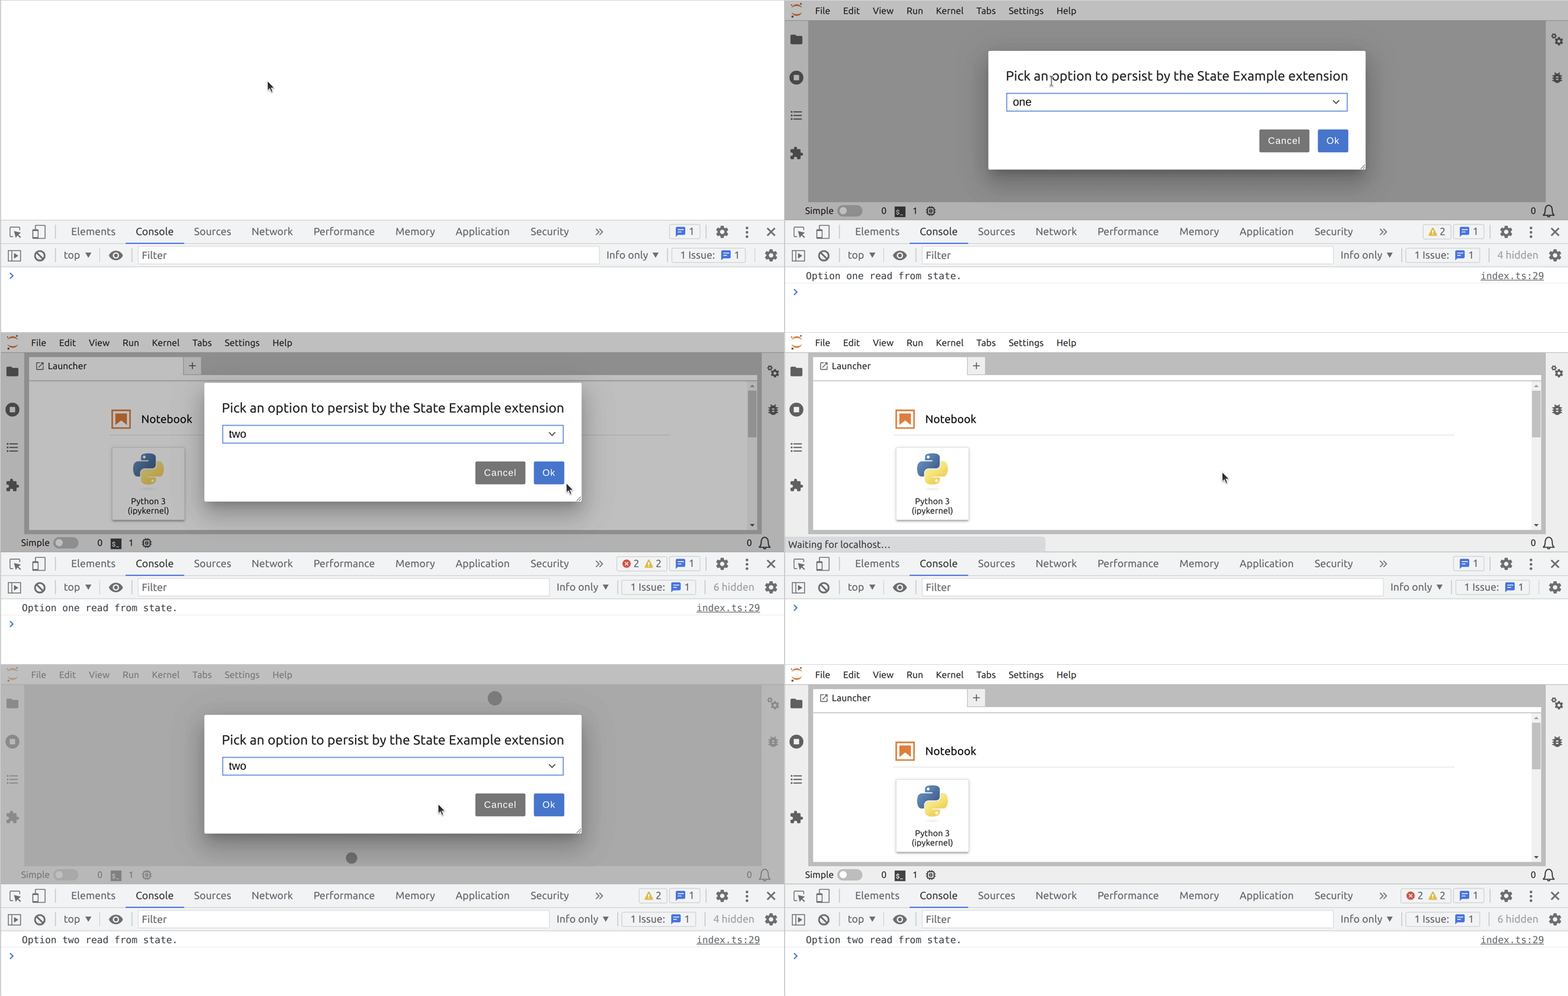
Use State persistence in an extension.
Toolbar Item
Try it out:
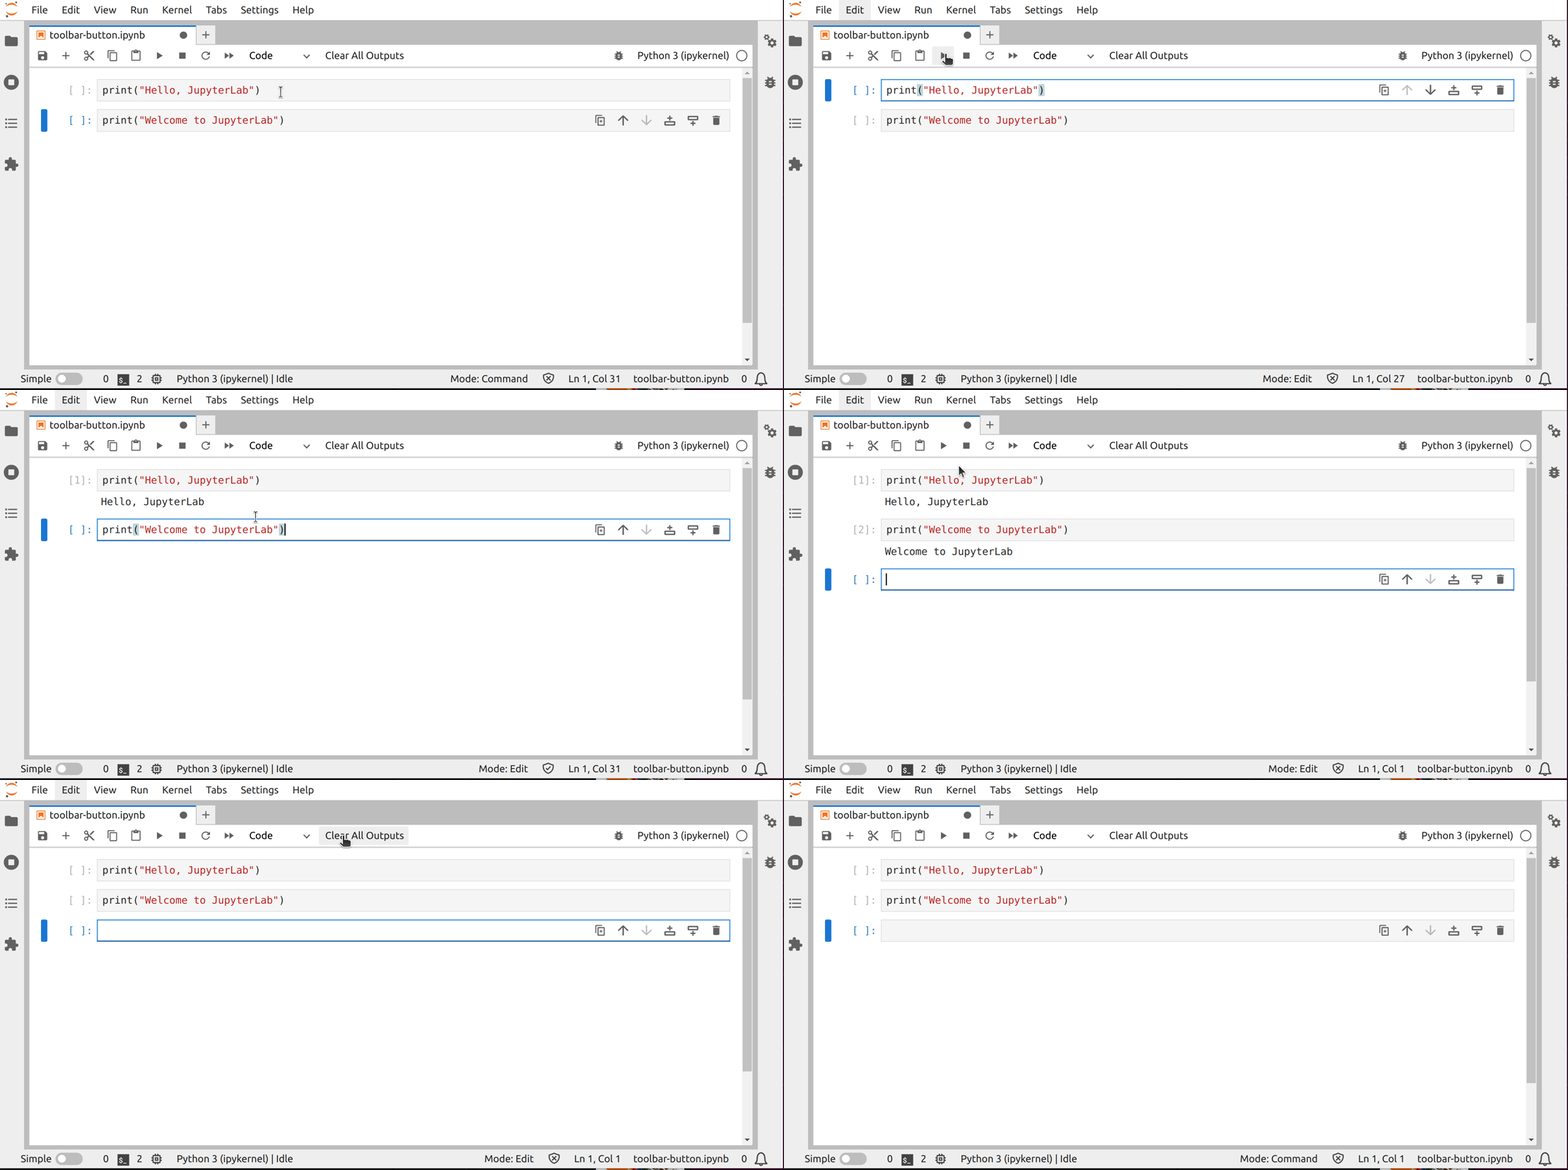
Add a new button to the notebook toolbar.
Widgets
Try it out:
Add a new Widget element to the main window.
Prerequisites
Writing an extension requires basic knowledge of JavaScript, Typescript and potentially Python.
Don't be scared of Typescript, even if you never coded in TypeScript before you touch
JupyterLab you may find it easier to understand than pure JavaScript if you have a
basic understanding of object oriented programming and types.
These examples are developed and tested on top of JupyterLab.
You can create a conda environment to get started
after cloning this repository.
conda env create && \
  conda activate jupyterlab-extension-examples
The previous command will use the environment.yml file as requirements for the environment.
Develop and Use the Examples
Build and Install all Examples at once
jlpm
jlpm build-ext
jlpm install-py
jlpm install-ext
jupyter lab
To rebuild all the extensions:
jlpm build-ext
To clean the lib folders:
jlpm clean-ext
Build and Install one Example
Go to the example directory you want to install, e.g. cd ./hello-world, and run the following commands:
touch yarn.lock
pip install -e .
jupyter labextension develop . --overwrite
Rebuild the extension:
jlpm run build
You can now start JupyterLab and check if your extension is working fine:
jupyter lab
Change the Sources
If you want to develop and iterate on the code, you will need to open 2 terminals.
In terminal 1, go to the extension folder and run the following:
jlpm watch
Then in terminal 2, start JupyterLab:
jupyter lab
From there, you can change your extension source code, it will be recompiled,
and you can refresh your browser to see your changes.
We are using embedme to embed code snippets into the markdown READMEs. If you make changes to the source code, ensure you update the README and run jlpm embedme from the root of the repository to regenerate the READMEs.
Update extension template
Execute from the example root folder:
./scripts/update-template.sh
Then fix the conflicts.
Test the Examples
The examples are automatically tested for:
- Homogeneous configuration:
Configuration files are compared to the reference ones of the hello-world example
- TypeScript code lint
- Installation in JupyterLab:
The installation is checked by listing the installed extension and running JupyterLab with the helper
python -m jupyterlab.browser_check
- Integration test:
Those tests are emulating user action in JupyterLab to check the extension is behaving as expected.
The tests are defined in the
ui-tests subfolder within each example.
This is possible thanks to a tool called playwright.
Install a Published Extension
Once your extension is published on pypi.org (outside of this scope), you can install it
with the following command:
pip install <published_extension>
About JupyterLab
JupyterLab can be used as a platform to combine existing data-science components into a
new powerful application that can be deployed remotely to many users. Some of the higher
level components that can be used are text editors, terminals, notebooks, interactive widgets,
filebrowser, renderers for different file formats that provide access to an enormous ecosystem
of libraries from different languages.
Complementary to these examples, you can rely on the official JupyterLab documentation.
- Extension Developer Guide
- Common Extension Points
- Astronomy Picture of the Day JupyterLab Extension
Credits
We would like to thank MMesch for initiating this work, as well as everyone else who contributed!
Community Guidelines and Code of Conduct
This examples repository is a Jupyter project and follows the Jupyter
Community Guides and Code of Conduct.
